Pages

Wednesday, September 18, 2013

Happy Boo-Day


My Dad's birthday is on October 30th AND.. over at the Stampotique Designer's Blog this week, their challenge is Birthday's. Today is Stampotique designer Kim's birthday too, Happy Birthday Kim!! This is  also perfect because I figured I could just make something for my Dad for this challenge. I went with a tag.. lol
To begin I sprayed my tag with a healthy dose of water and Ranger's  Color Wash. I love their color pallet, they are beautiful. I then dried the tag with a heat tool so I could get right to work.


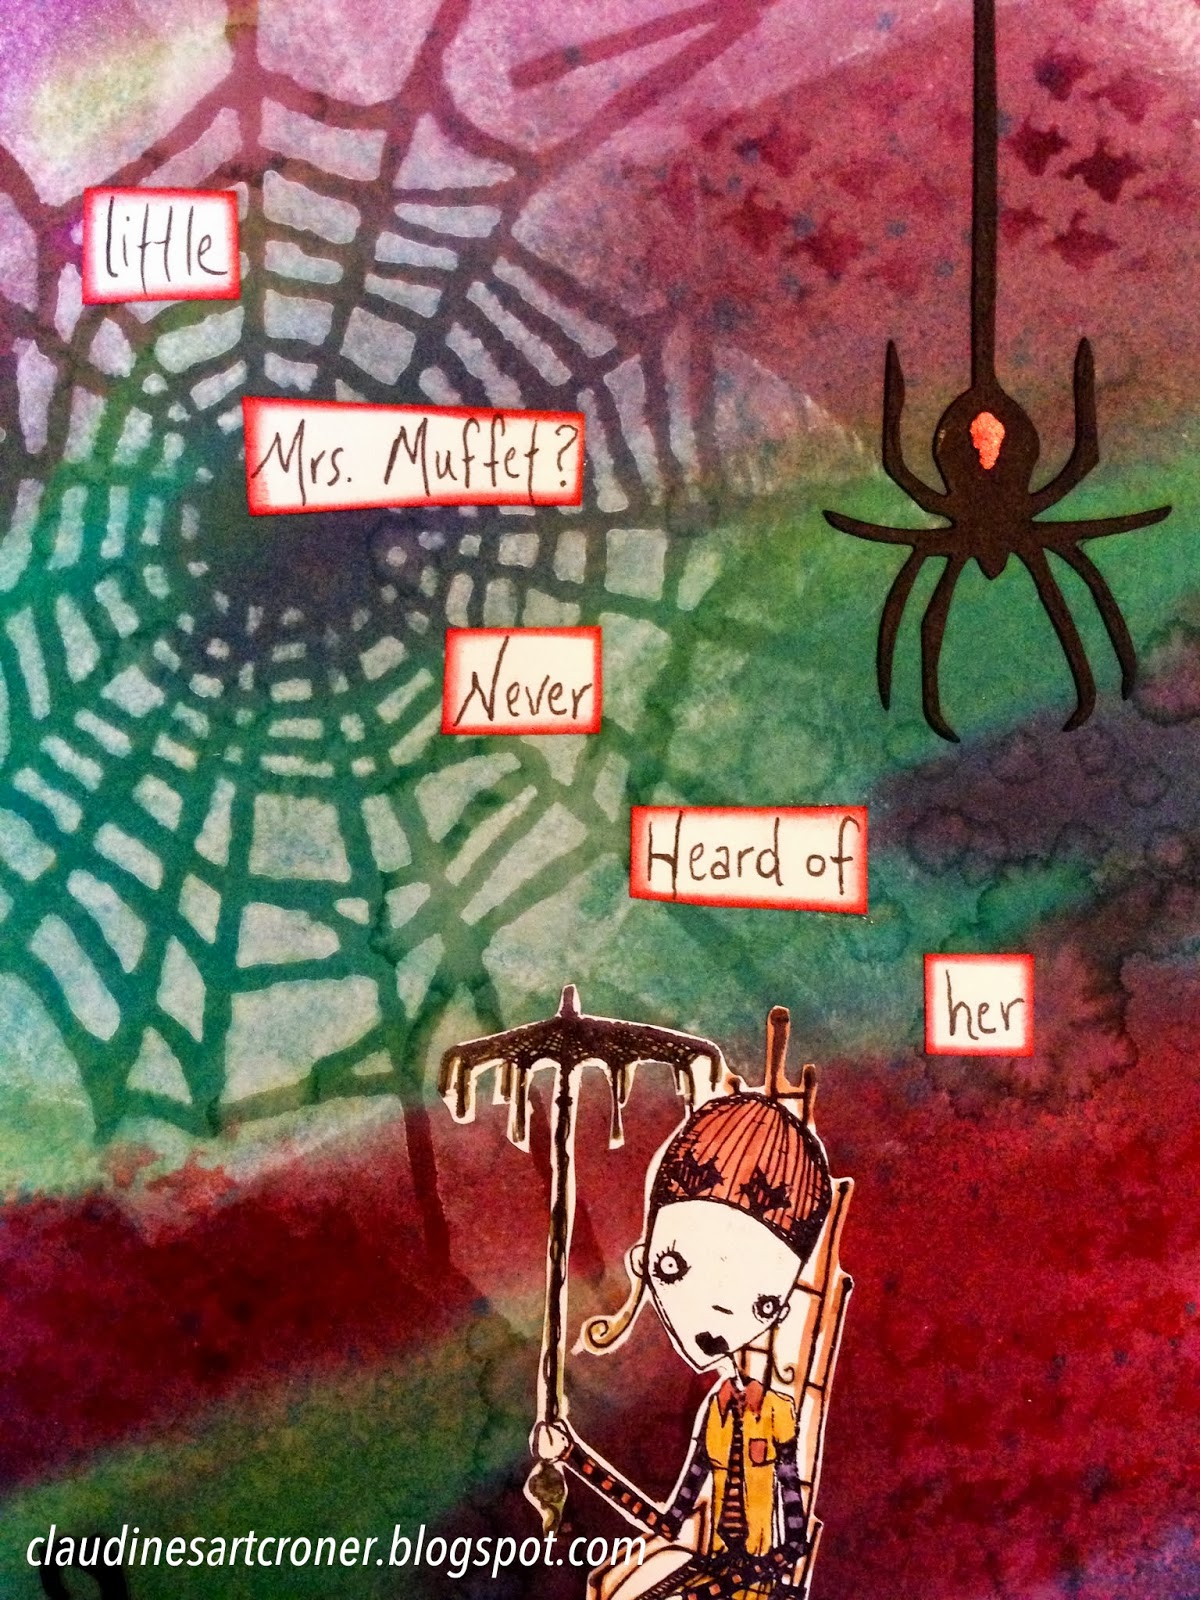
I then decided that I wanted to use my Relaxin girl for this project. By artists Daniel Torrent and Jill Penney. Love their stuff, seriously!!!
I colored her with distress markers and cut her out.
I also wanted to add wings to her so I used my Spider wings stamp and I also colored those with distress markers. I wanted her to have dimensional wings so I made two on the same side and cut a small slit in her back and inserted one so that it would stand out.


I wanted balloons instead of the umbrella so I simply cut it off.

For the balloons I used the Halloween Cube 2, I stamped them in a line on a scratch sheet of manilla card stock.


I then free hand drew balloons around each one and
 used distress markers to color them.


I also edged them with distress ink to make them pop a little more.. (no pun intended there lol)
For the background I used my Seaweed stamp (by artist Jo Capper-Sandon) and stamped it in various Archival colors.


The seaweed stamp really looks awesome here in the background. 
I wrote the words "Happy Boo-day" on manilla paper, cut it out, edged it and added it. I also added a few strips of tissue tape here and there and some ribbon. 
Take a look at my final outcome, I am loving it!


Thanks for coming by and spending a little time with me. Tomorrow I will be posting my Fall project with a Tim Holtz burlap canvas. See ya then...

Tuesday, September 17, 2013

12 Tags of 2013

Now that I am back to crafting again, I was able to sit down and catch up on my 12 Tags of 2013 by Mr Tim Holtz. If you remember, I was working on mine to add to my 7 Gypsies ATC tray and I was adding one a month. Well, I had to stop after I did May's in order to move and haven't gotten going again. 
I was so happy to be able to sit down yesterday and continue on my 12 tag journey. 
I finished June, July, August and September yesterday. WOW! Can you believe it? This was no easy task. 

So my first one (June) came out like this:
If you check out Tim's Blog you can see how different they are and how Tim made this wonderful tag. I love the distress markers on the watercolor paper. Tim used the dragonfly stamp, which I love but it was a big large for the size that I needed to work with so I went with the bird stamp instead.


The next tag was July's and I just love all the details that Tim used with his. I wanted to add more but I just ran out of space. 
Here is Tim's if you want to check it out...


For the August tag, Tim used his mask sheets and I just love those things, they are the greatest! I could have done a dozen of these.


Last but not least we have September, this is one of my favorites! I'm addicted to Tim's technique on this one. If you haven't seen it, you must go over to the blog and check it out.


I have used this technique in quite a few of my projects lately and I just love it! It's stunning!!

Here is how my tray now looks after those four tags were added.


I am really loving how it's coming together and with all Tim's techniques throughout the year so far, it's fab!! 
Thanks once again for stopping by and have a super, artsy day! 


Monday, September 16, 2013

Loads and Loads of Layers

Since I missed a few of the challenges over at Stampotique Designers Challenges, I decided to try and catch up on a few. This next project was for the "lots of layers" challenge that they were having last week. 


Once again, I used one of Tim Holtz's techniques from his 12 tags of 2012 for September. This is becoming one of my favorite techniques. I just love how the white snow cap paint shows through the stains and sprays. 
To begin, I wanted to do another Halloween card, I have a lot of friends that love Halloween so I have a few to do this year. I usually try and make them all different if I can. 
I grabbed a piece of manilla card stock and cut out my card and began with stenciling with snow cap distress paint.
For the Tim Holtz cat stamp, since I don't have a stencil, I just simply used the paint on my craft sheet and stamped with it. 


Once the stenciling and stamping was done I spritzed my card with lots of water and then ran distress stains over it in various colors.


I just love how the white shows through, the cat stamp didn't quite come out as a complete image but I fixed that later using my white gel pen. I simple went around and outlined it with the white gel pen.
I then began laying more and more stenciling with distress inks in various colors using misc Dyan Reaveley stencils and punchinella.


Once that was done I wanted to make sure that my Stampotique Top Knot girl (designed by Jill Penney and Daniel Torrent) was in the right exact spot on the front of my card. So I used my Stampin Up' stamp-a-ma-jig to get her in just the right spot. (this is a great tool)


Once "Top Knot" was stamped I used some color on her with my Smooch inks. I haven't used this in a long time and they were perfect for this project. 

I added a studded color and leash to the cat by just simply drawing one in.


Lastly, I used the Tim Holtz die Word Play to cut out my 
"b-o-o" letters in both black and white so I could layer them to make them pop a little more.


Here is my final outcome for this card. I am loving the background and my "Top Knot" is so stylish with her outfit and kitty cat!! haha!!


I hope you enjoyed today's tutorial, I'll be back soon with some more project!! Until then.......

Saturday, September 14, 2013

Stampotique Design Team Call


I am super excited for the event of the year (according to me) and I have been waiting for this for some time now. Stampotique is doing there design team call and I could not wait to apply. They are one of my favorite stamp companies and I just love their challenges. 
I have actually made top 3 for their weekly challenges 7 wonderful times and it excites me every time.
I have recently moved thus having to take a break from the challenges for awhile but I'm back into the swing of things and cannot wait to get inky again.

So for my design team entry I decided to create something with this weeks challenge theme in mind...
 Try a New Technique is this week's challenge and this was a toughie for me. I have tried so many great techniques it was tough to grab one that I haven't tried haha!!
I decided to go with a technique that Tim Holtz used on this month's twelve tags of 2013. I'm not sure what the technique is called but it's basically a distress paint resist. 
I used some of Tim's masks for this and adhered them to my journal page. 


Using the paint and a dabber you apply the paint over the masks to create a resist. Then let completely dry.

Once dry, I used several different colors of distress stain and one color of Dylusions spray to cover my entire page with bold colors.


I just love how the stains and spray resist the picket fence distress paint, so cool!! and look at how bold those colors are.


I set the background aside to dry and began planning my page. I decided to cut out some spooky cats and also a spider from some of Tim's dies. I also decided I wanted to use one of my favorite Stampotique stamps called Relaxin' by artists Jill Penney and Daniel Torrent. 
I used Distress markers to color her and then just fussy cut her out.


I then added everything to my page and decided it needed a little stenciling too. 

I wrote out my phrase, edged with Barn Door and then placed everything on my page. I also edged the page with black ink and added the stamped word "Happy Halloween". I also added the red eye and back to the cats and spider.


I really love how this page came out, the bold colors behind my Relaxin' girl just really make her pop off the page.

Here are a few of the projects that I previously made for Stampotique challenges:


Thanks again for stopping by and have a super fantastic day.