Pages

Showing posts with label 7 Gypsies. Show all posts

Tuesday, February 4, 2014

Another take on Dry Embossing

I have been having a lot of fun making postcards lately. I just can't stop myself until that 7 Gypsies recipe tray is totally full. Luckily I've been trading quite a bit with some friends too so my tray is getting pretty full

Remember that tutorial that I showed you last week regarding the dry embossing with patterned paper?
Here is the tutorial


At the time that I made that postcard I started another one with the same paper just a different embossing folder
and this time I used Claudine Hellmuth's black gesso on the background instead of the distress ink


I really love the coverage that I got with the black gesso 

I also used a Stampotique Stamp by 
Roc Nicholas called 

and I colored her with copic markers


I then cut her out and adhered her to my background
I used a Wendy Vecchi stamp for part of my sentiment and part of it I just wrote. I also used a Sizzix strip die for the word "you" this one is called Vintage Market by Tim Holtz

I made my Skellie a girl by drawing some eyelashes on her
Have a look:


I think this background came out more vibrant than the one last week


What do you think? Even though the background printed paper is the same, each background gives off it's own unique look using the different ink and paint


Thanks again for stopping by and have a wonderful day!!
CHEERS!


Tuesday, January 14, 2014

New Year Brings New Twelve Tags of 2014

Hello all, I'm so excited to begin a new year with Tim Holtz and the Twelve Tags of 2014. You can find Tim's wonderful tag for January and tutorial on his blog here:


My finished tray from last year was so wonderful and I just love how the year ended up and how my tray looks. You can see it in a blog post here:

So this year I wanted to do something similar, that I could display but also something different, if that makes any sense.
 I decided to do something that I love and that is making postcards. I'm going to make one for myself and one to send to a friend every month. I have this 7 Gypsies recipe card tray that is the perfect size to store postcards and I'm most likely going to store my postcards there. 

I followed most of Tim's tutorial but added a few elements of my own to the postcards. I used Tim's XL die "Word Play" to create the word "Time" and then I just colored the word black with distress paint and also used some copper metallic distress paint to give it a grungy metallic look


I used Tim's Tiny Tabs and Tags die to create my tab on the side of each postcard and I simply wrote in the words and used the mini stapler to staple the tab onto my postcard


One of my favorite things is clock works and steampunk so I always love Tim's January tag because it usually has some sort of Time element and this one did not disappoint, I love how both of my postcards came out!!! Each one is a little different but they both look great. 


Thanks again for stopping by and have a super, fantastic day!!! 

Tuesday, December 10, 2013

Tim Holtz 12 Tags of 2013 - December

Well, I've done it! I've made it through every single Tim Holtz Tag of 2013 and I'm so excited that I stuck with these because my display board looks amazing and I am so happy with it.


For this month's tag, make sure to check out the tutorial and all the details on how to make this one on Tim's Blog here:

Tim really broke the mold with this one, it's beautiful! One of my favorites of this year. 

Some things I had to change in order for mine to fit inside my display board was the poinsettia and the word stamp. 

For my poinsettia I used  the large Tattered Poinsettia die that Tim used, only I used the two smaller sizes and not the larger one. I then used Tim's movers and shapers Poinsettia in order to make one size smaller petal. I also used the holly leaf here as well. 


I also wanted to see how stamping would work and look if I stamped onto the poinsettia's petals. I used Tim's Reflections wording set here and stamped on the smooth, Clearly for art side of my petals. So this way when I turned the petals to the frosted film side, the words are correct. 


I also used two colors for my background, I didn't have the color stain Tim used (antique linen) so I used frayed burlap and tarnished brass.


Since the Verse stamp that Tim used was too big for mine, I made my own word banner. I used manilla card stock and two colors of Archival Inks (Wendy Vecchi) to color my banner.


I  then used Tim's "Simple Sayings" stamp set to stamp my words 

After everything was put together, I'm really in love with this one. It's so amazing!!  (I forgot to do the white paint, but added it after all the photos were already taken, oops)


and again here is my finished 7 Gypsies tray, displaying all twelve of the tags.


Thanks again for stopping by and sharing this year long journey with me. Make sure to check out Tim's Blog to get the full tutorial's on all of the tags.
Have a great day!!

Monday, November 25, 2013

The Twelve Tags of 2013 - November

Hello everyone, today I wanted to share with you my project for this month's tag. As many of you know Tim Holtz is doing his 12 tags of 2013 again this year and he does one a month. We are now into the 11th tag for November. 
I am also putting together a 7 gypsies tray, one ATC sized project for each month of the tags. Tim's tags always always so much fun to do and he always gives us a fun technique.
You can go over to Tim's blog HERE to check out the full tutorial and details. 
Here is my project for this month....


My tray is almost finished, only one more slot to fill. I cannot wait to finish it and hang it in the house. So many fun techniques and projects to see and look at here.
Thanks again for stopping by, have a great day.

Friday, November 8, 2013

Gesso in the Background

Good morning to you all, how is the day treating you? For today's post I have some gesso fun going on. The challenge over at:
Stampotique Designers Challenge this Sarinda is challenging us to "Using Gesso" 
What a great challenge! 


I have used gesso before in many ways but I really wanted to
try it on some pre-printed background paper.
My intention was to use the gesso and then color it but once I got it onto the paper I loved how it look in it's raw white form so I just left it.
Here is my process:

First, I used a really super cool 7gypsies sheet of paper with numbers all over, and used one of my stencils for the gesso.
All you do is use your pallet knife and smear some gesso through the  stencil. 


Once that was dry, I used my prismacolor black pen to go over some of the honeycombs:


I then chose my Stampotique Prom Queen stamp by designers Jill Penney and Daniel Torrrent, isn't she lovely?
I stamped her onto separate paper, heat embossed her and colored her with distress markers. 


Once she was done, I fussy cut her out leaving a tinge of the white on the edges. 

For the flower I used a stamp by Jo Capper-Sandon called Tenticurl
For this application I just took a bit of the gesso and put a little onto my finger and rubbed it onto the stamp
Working quickly I stamped here and there onto my flower. I set that aside for a bit to dry. Gesso dries quicker than embossing paste so it didn't take long. 
(please clean your stamp thoroughly after using gesso onto it, as gesso can ruin your image on your stamp if you allow it to dry)


I then took my paint dabber in pitch black, and dabbed the color onto he flower. At the same time I dabbed a baby wipe over the gesso, this allows that gesso to show through the paint. It's so cool how the gesso shows through here.


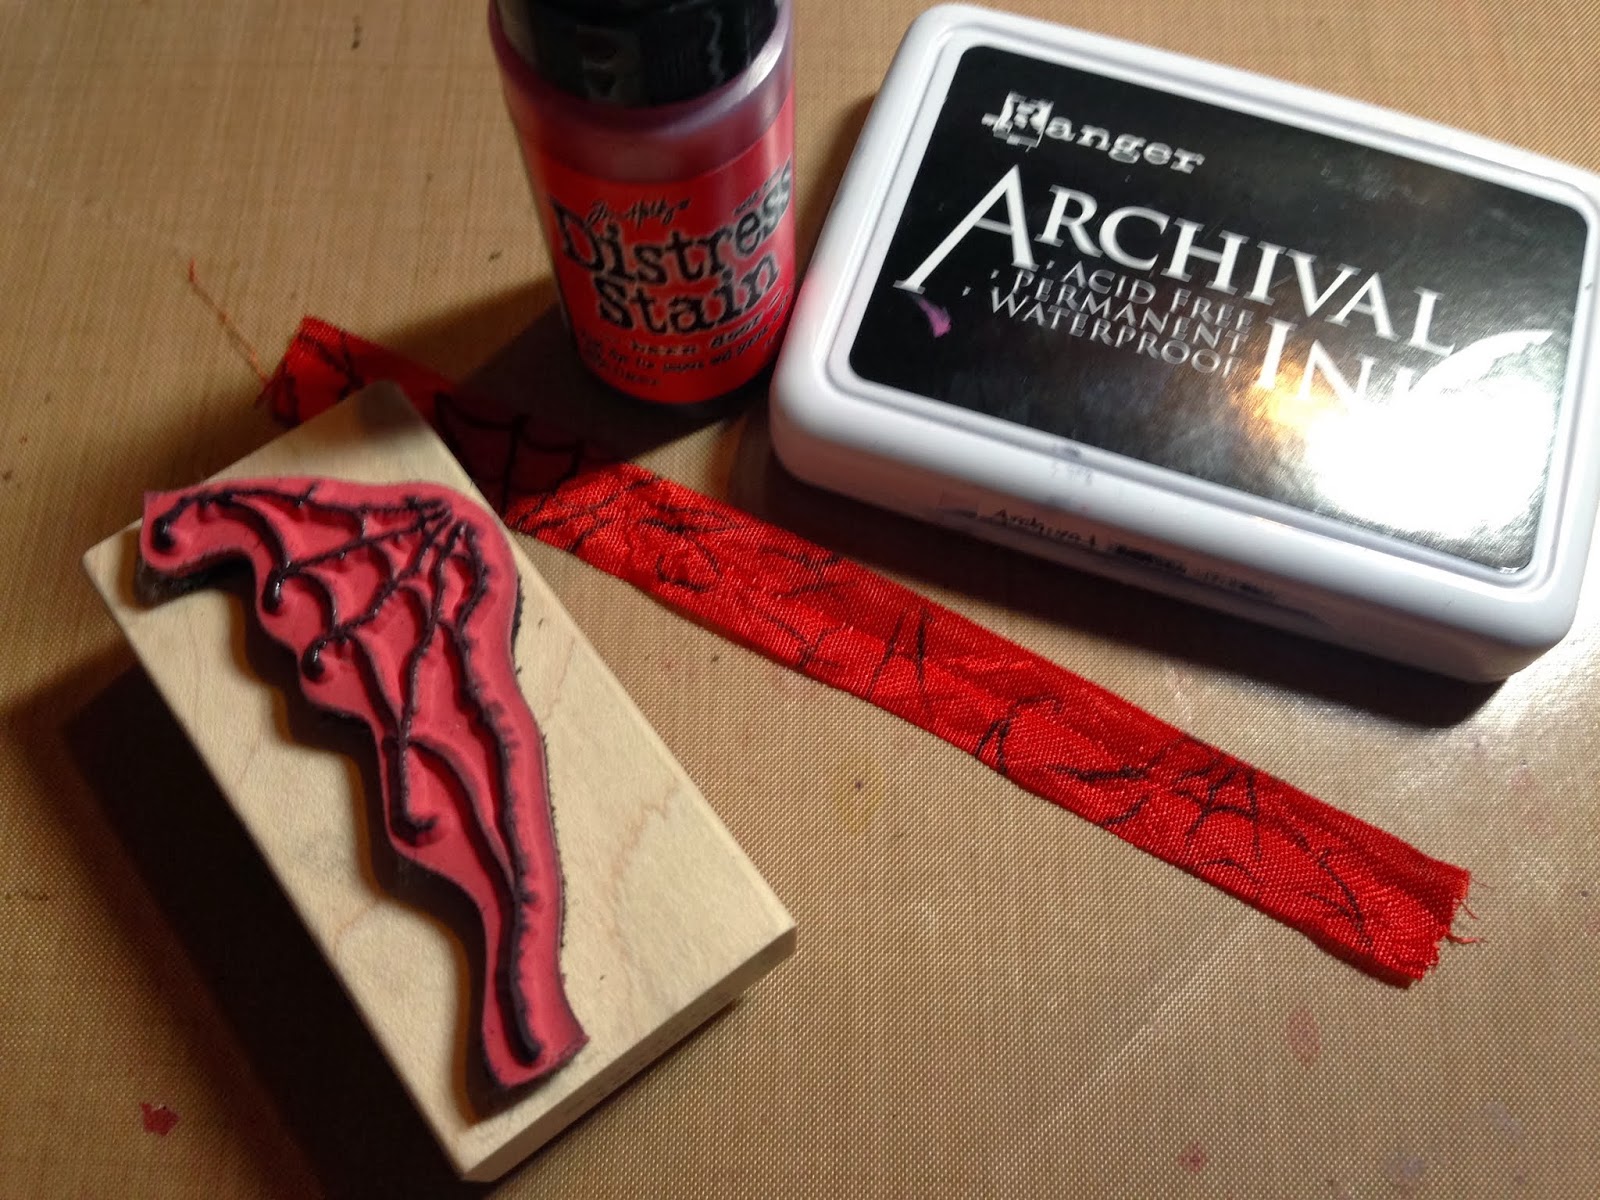
For my ribbon, I died it with distress stain and then used my Spider Wings Stamp (by artist Daniel Torrent)
and just stamped  here and there onto the ribbon. 


Once all that was done, I just put my project together....
Here is my finished card...


I hope you enjoyed the tutorial today, it's been awhile since I've used my gesso and what fun!!
Thanks for stopping by


Saturday, October 19, 2013

12 Tags of 2013 October

Today I am sharing my October tag project from the Tim Holtz Tags of 2013 .. I am doing the 7 gypsy ATC tray for mine and I am so excited, only two months to go until this entire thing is done. YAY!! 
For the October tag, Tim used some of his distress glitter and let me tell you, this glitter is Ah-Maz-Ing. I really love it, it has glitz like no other.

You can see all the details to make this wonderful tag over on Tim's blog here:

Since I am using the 7 gypsie tray I had to alter my tag a bit to make it smaller. 
I decided to go with the scary cat instead of the owl but I did use distress glitter on both my moon and my cat.


For my background I used Distress paints and Acrylic paint dabber. 

Just look at how cool that background came out. I also used a wood mounted Tim Holtz word stamp. 

For my words, I decided to use the Tim Holtz Simple Sayings Stamp set but I had to make the word frame smaller. I simply stamped my word and cut the frame smaller and taped it together.


I added a few small gems and whalla!! The October ATC/Tag is done.
Look at how cool that distress glitter is, beautiful!!


Almost done with my tray YAY!!!
I am really loving how it's looking. 


Thanks again for stopping by, make sure to check out Tim Holtz's blog for all the wonderful details for the October tag.
Have a great day!!