Welcome back to the blog, today I want to talk about my filofax. I recently bought a new one from my Local Store (Simple Pleasures Rubber Stamps and Scrapbooking) , where I work. My boss got in some Personal Maldens and Oh my word! I fell in love with them. They are so soft and fabulous.
At any rate I had to purchase the purple one
I previously had an A5 that I was using, you can see the size difference here:
These are some of the pages I preciously made for my larger A5 - I blogged about that here:
I had set up my A5 to be my all around planner BUT I really like the size of the Malden because it fits nicely into my purse. What I decided to do was switch from my A5 to my Malden and use my A5 as my "Design Team" planner at home and Keeping track of everything I do with the Stampotique Design Team
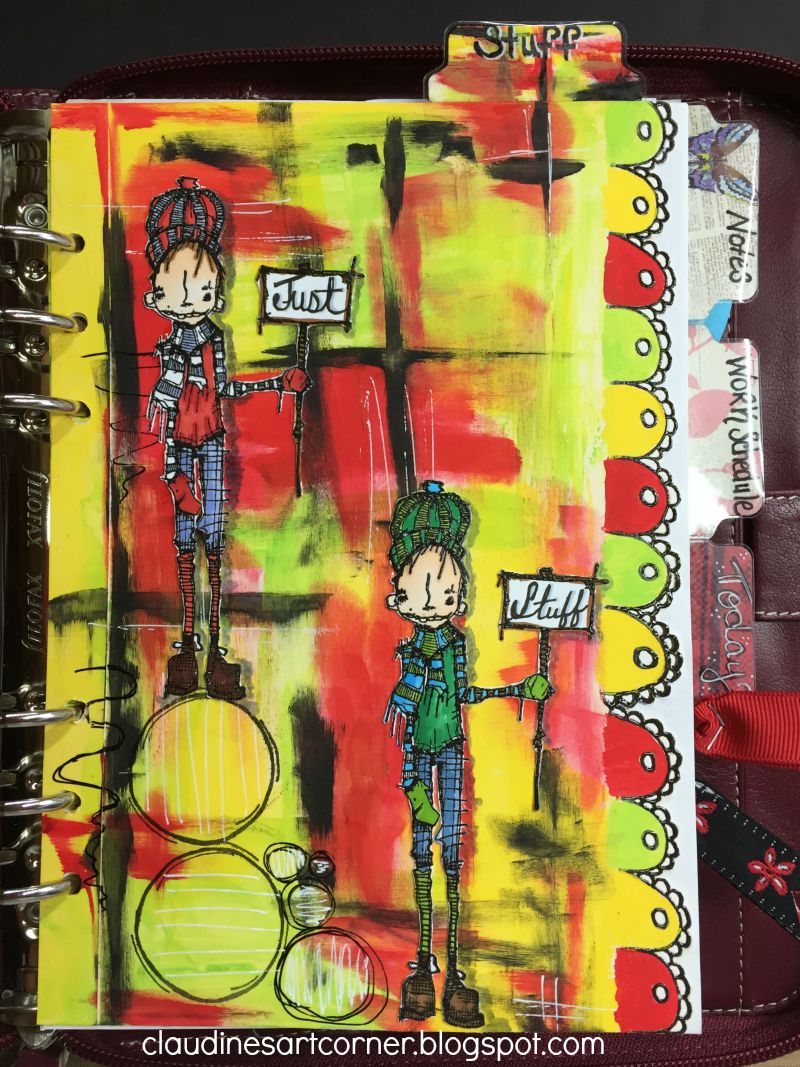
It's not easy to make the switch and it took me a few days, here is what I started with..
I made some section dividers, these were made with Bella Blvd Patterned Acrylic, it's perfect to cut down to size and use for dividers and there are so many fun patterns to choose from
I also cut a sheet of the same acrylic to use for washi tape, I wrapped my tape around the sheet and it's perfect because the washi just comes right off of it and doesn't stick, so I can use it in my planner
I also used Tim Holtz pocket sleeves to create some pockets for my filofax. These are great because they are thin but sturdy. They are not created specifically for the filofax so I had to create my own holes. I first added colorful washi tape to my edge, preparing them for the new holes
I used my crop a dile and a template to punch the perfect holes
These sleeves are great for holding washi tape paper, business cards, photos and so much more
This is a photo of my washi tape holder and my Tim Holtz pocket page together. You can see that I used the Tim Holtz pocket for my colored tape
This is my front page, as you can see I have my credit cards and business frequent shopper cards here, I also created a bookmark with my Bella Blvd Acrylic.
Lastly I created a Work Schedule monthly page so that I can easily look here to see what days I work and what days I am off work
For this I started with a sheet of paper that was exactly the size I needed for my planner, I wanted a full month on one page and the planner is small so I simply created it.
I then traced this same calendar onto a 81/2x11 sheet of printer paper. Once that was done I wrote the days. This way I can make copies whenever I need to and I don't have to do this step again
I then used photo corners on top of my divider in order to insert my calendar onto the page, this makes it easy to take it out each month and replace it again with a new month and schedule. I love it!
Here is a close up of the photo corners
(yes we have Marjie Kemper coming to teach at the store, I wrote that in pink, it's special haha!)
So my final insert looks like this:
 Well hopefully this gives you some ideas on how to make some of these things for yourself instead of buying them. I always love the idea of making things I need, it just makes it more special and personal. I know switching over to a new planner isn't easy and it's a process but these tips might help you make it easier.
We have all of the supplies used in the post in the store
Simple Pleasures Rubber Stamps and Scrapbooking
719-528-1338
Thanks for stopping by!!