Pages

Showing posts with label Tattered Floral. Show all posts

Wednesday, February 5, 2014

Sister's Canvas

Good morning and happy Wednesday to you all.
Guess what?! Today is my birthday and I'm thrilled to be posting at the Stampotique Designer's Blog today. How cool that my birthday is also my day to post over there?

The Fabulous Jackie Payne is our hostess this week at the Designer's Challenge Blog and she is asking us to use a "Heart" in our art this week. We hope you will join us and link up your creation, you might be the winner at the end of the month!!

For this week's project, I made a canvas for one of my daughter's. I am using Stampotique Stamps:
Seaweed - By Jo Capper-Sandon
Tenticurl - By Jo Capper-Sandon
Stacked Love - By Roc Nicholas

I had a great time putting this little canvas together, here are a few of my steps:

First I decided to use a small Tim Holtz burlap canvas, this one has an awesome background but I'm going to cover it up


I used this great textured, almost fabric paper for my background

I just tore the edges to fit my canvas

I also used one of my daughter's photos from Christmas this passed year, they had posed in front of our tree
I wanted a brown/cream vibe for this project so I decided to have my photo printed in the Sepia tone instead of color
I tore around the edge and inked it up with Wendy Vecchi Archival ink

For my Stampotique stamps, I embossed each image with black embossing powder. I cut out my seaweed and tenticurl images so that I could place them on the sides of my canvas
I decided to leave my "stacked love" image alone and not color it, I think it blends in well this way


I created some flowers with my Tim Holtz movers and shapers tattered floral dies and of course I had to ink up the edges
I also used some ribbon that I had stained with distress stains in various colors
I used a Tim Holtz Tag Label to create a "sisters" charm
Check out my finished canvas


I hope you like it as much as I do, thanks again for coming by the blog and have a super week!!!
Cheers!!


Wednesday, March 6, 2013

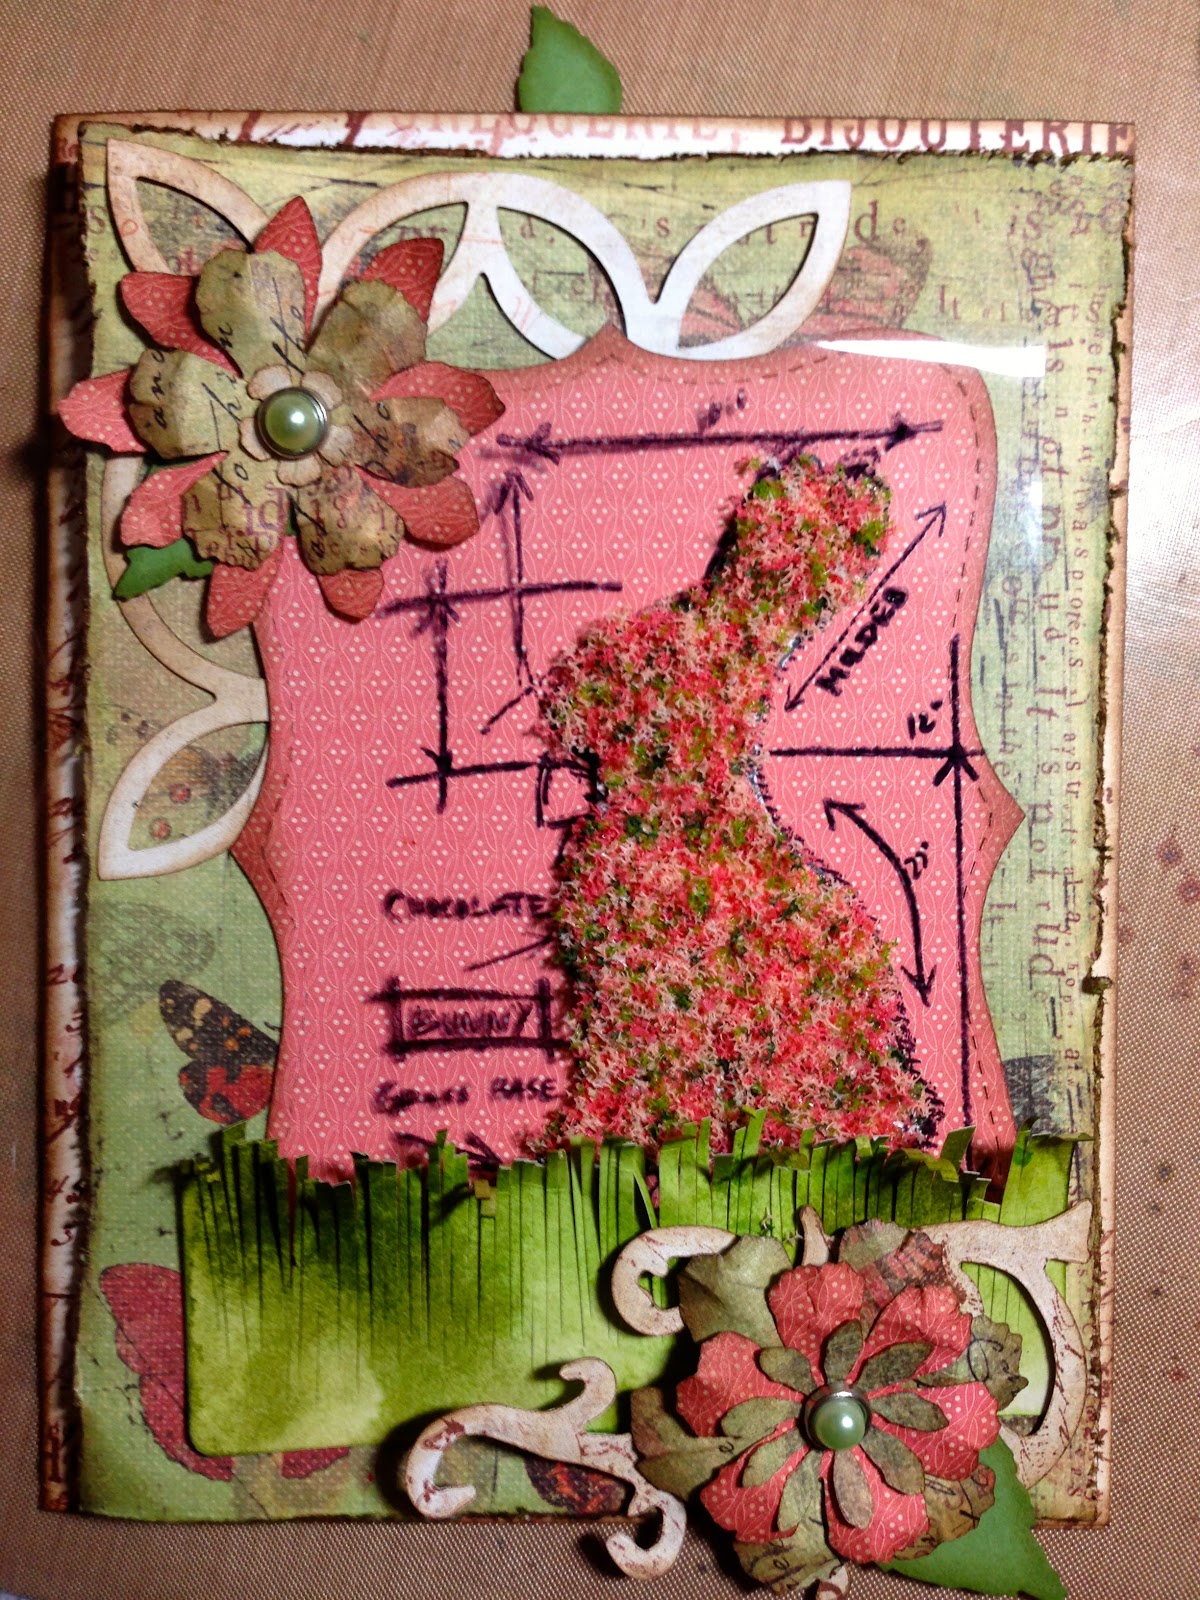
Blue Print Bunny Card


I am inspired this time by Tim's Twelve Tags of 2013 for this project. It's not my final project for the challenge but it is one of them. (I will be making my usual ATC sized card for the Graphic 45 display) but for now I decided to make a card and I had many challenges in mind when I started this project. Here is a list of the challenges I'm entering this card into:
Simon Says Challenge Blog - Their challenge this week is "A Bit O' Green" and they are giving away their usual 50.00 gift card to Simon Says StoreYAY!!!
IBS Inspiration Challenge - This week's challenge is "White, Sage and Light Pink.. This is a new site for me, just found it the other day and she gives away a 25.00 Gift card to the Store Here

Frilly and Funky - Always love the challenges over there, this week it's "William Morris" Style, so muted colors, natural elements and an animal must be included. Linda over at Frilly and Funkie Botique usually gives the winner some sort of gift card or discount at the store. She's great!!
Hobby Cutz Challenge - This is a new Challenge site and a goodie too! There are lots of giveaways this time and loads of fun and a blog hop with prizes as well. The theme for this weeks challenge is "Anything Goes".

So now onto my card..... I took loads of pics and there is explanations of each step so grab a cup of coffee and have a squat for awhile :) OR
scroll to the bottom to see the finished card. :) That's ok too! 

To start this card I picked out the paper I wanted to use and I found some really cool papers in the colors that I wanted to showcase. White - a shade of pink and sage green.
I then cut that for my card and also cut out some Tattered flowers (using Tim's Die) and also Stampin Up's Lattice and Top Note Dies. I wasn't sure exactly waht I was going to use here but I wanted to have enough. 

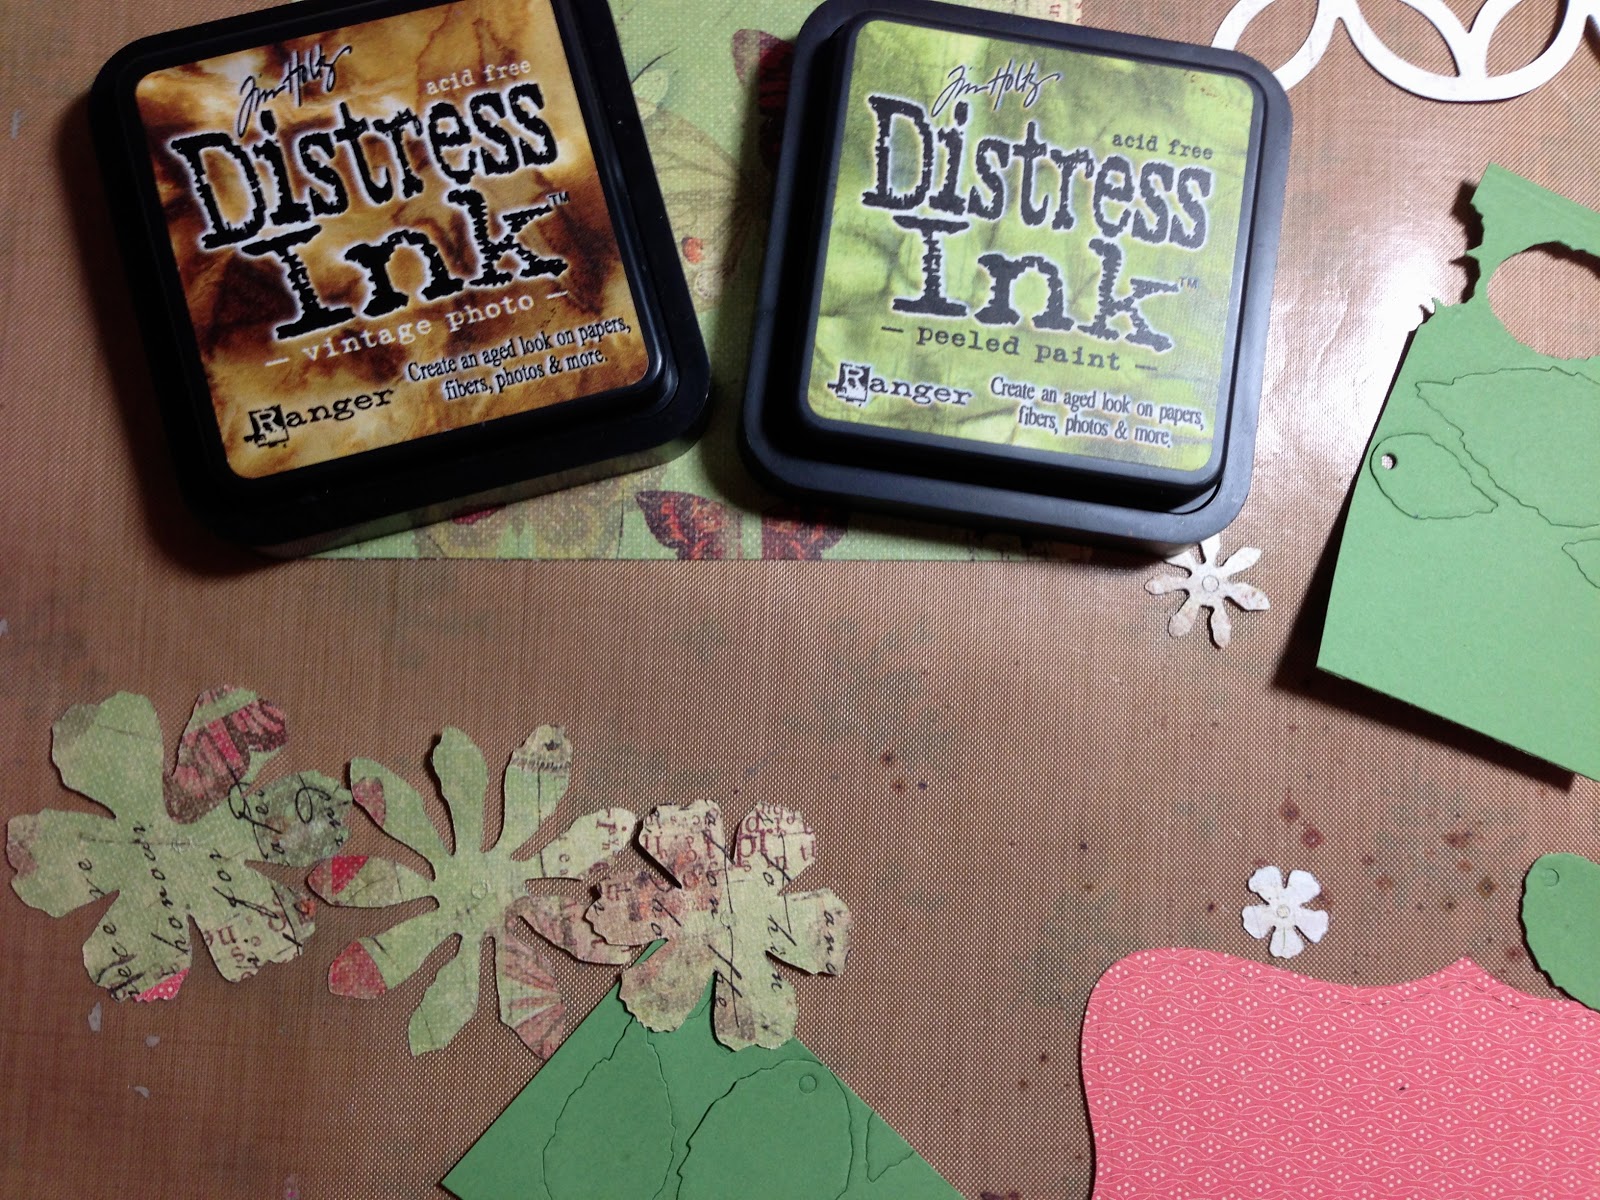
I used Distress Inks in Peeled Paint and Vintage Photo to distress the edges of all the cut outs.


I also used Tim Holtz's distress tool to distress the edges of my butterfly paper (Creative Imaginations Paper) and then used the peeled paint and vintage photo around the edges.

I really wanted to use Tim's Bunny mover and shaper die but alas, I don't have it so I had to improvise on this part. So I decided to stamp the bunny  from the Blue Print Easter set on a scrap piece of card stock  and just simply cut it out. 

After that was cut out I set it aside because I wanted to think about what to do with him before I moved on with it.
Here again I do not have Tim's newest Tapered Fringe Die and I really wanted a grass look so i decided to make my own.
I used a piece of manilla card stock and wiped it through distress stains in three colors... Forest Moss, Crushed Olive and Cut Grass. I just spread them on my craft sheet, spritzed my paper with water and ran it through all the colors. 


I then cut little strips into the paper being careful not to cut all the way down to the bottom. I then cut some pieces shorter, leaving some taller. 

I love the way the grass is different shades of green.
Once that was done I wanted the grass to bend like real grass so I took the end of a small paintbrush and curled up some of the ends, this gave the grass a little depth and movement.

After the grass was done I had a "lightbulb" moment and decided exactly what I wanted to do with my bunny. I had this really cool Flower Soft that was exactly the colors I needed so I used that. I used the glossy accents to adhere the Flower Soft to my cardstock bunny.


 The base of my card was white and I didn't want pure white so I stamped the word stamp from Tim Holtz set called "Papillon" with Archival Ink in Sepia. 

It didn't matter much what most of it looked like, you would only be able to see the edges once it was finished. I also used Vintage Photo Distress ink to go around the edge.

At this point I thought that putting my card together would be simple but I wasn't sure I liked it once I layed it all out. I really wanted to use the entire Blue Print Bunny stamp for the background but I wasn't too sure how it would look. So using an idea I got from the wonderful Marjie Kemper I decided to stamp the entire stamp onto cellophane and try it out before I committed to it. I used Archival Black to stamp it, pictured below...

I layed it all out here, with all the elements and the bunny and I decided I liked it so I went with it. Instead of stamping it in Archival Black I used Sepia for the finished product. 

Lastly I decided to make the word "Bunny" pop more and used a piece of the white card stock to stamp it again and cut it out.

And.. Here is my finished product with everything glued and adhered.


 I also decided to stamp the flourish with the word stamp used above.


If you've made it this far you've MADE IT to the end of the post.!! HAHA! Thanks for sticking with me and I hope you got a little inspiration from my tutorial. 
Cheers!!


Tuesday, February 26, 2013

Blue Print Butterfly Shadow Box


I have to admit I have been in sort of a slump for a short bit and haven't been partaking in my usual challenges last week or the week prior so I decided I better get into my craft room and just do what I love.
WARNING: Lots of Pictures and long post. :) Grab some coffee!!

When I saw that Tim Holtz challenged us over at his blog Here to use our Sizzix tattered floral die, I knew I had to do this. I also wanted to join in on Simon Says Stamp and Show this week. Their challenge is to use a stamp that we love but never use. 
I have had this Easter Blueprints Tim Holtz stamp set for a bit and I bought it because I just love the butterfly (you know me and butterflies, I have a soft spot for them) so I decided that this was the stamp I was going to use for this challenge. I haven't used it yet and I always eye it when I go into my stash.
I wanted to make another shadow box (I had made a smaller one here ) for this project and I got this really ugly 8x10 one that someone had painted orangish/red at the thrift store. Since I'm covering it anyway I didn't need to re-paint it. I used Tim Holtz tissue tape in several different designs to cover the outside. 

I then used the gold distress stain to add a bit of gold shimmer to it. (please excuse my messy craft area)


I then went through my paper stash and I have this wonderful Graphic 45 paper so I used that for my background. I grunged some of the edges on the smaller pieces and added Distress Ink in Gathered Twigs. I also used some tissue tape and gold distress stain on the smaller papers. I also stamped my butterfly onto the the brown colored sheet for my background. (didn't picture that sorry)


Once that was done, I set them aside to dry. I then stamped my butterfly on a sheet of blank white paper and embossed it with Ranger black embossing powder. I then colored and highlighted with distress markers in various colors.

I then created my set of wings with Wendy Vecchi's Clearly for Art. If you haven't use this stuff, it's fantastic. I can't say enough about it. I colored my clearly for art wings with Alcohol inks in various colors. 

I used the same technique with the clearly for art with my flowers. Layering the colors as I went, once that was done you can heat it up and shape it however you want to. If you don't like it, heat it up again and re-shape. The stuff is soooo cool.!!


I also used a background stamp to stamp an image onto one of the larger flowers (clearly for art piece) so that it would match the paper I used. I used Archival Ink in Sepia for this so it would be permanent.


Once that was done I heated these up and shaped them the way I wanted them to look. I'm sorry I forgot to take a picture of that process.
I also created some flowers with the same paper that I used for the background and inked up the edges with Gathered Twigs distress ink.
For one of my other large flowers I used perfect medium to go around the petals edges and then used this really cool Stampendous embossing tinsel. It's shimmery and has a glitter tinge.


I went over this petal with gathered twigs as well. 
This is what the flowers looked like once they were put together. I added a brad to each one.


I love the way they came out, so rusty and grungy looking. The Clearly For Art really gave me the effect that I wanted. So cool!!
Here is my project once I put it all together.

Before I put it in the shadow box. I also added some flourishes from one of Tim's movers and shapers dies. 

I made the little bead pins here as well. I just put together some beads that matched onto a head pin.


Thanks for stopping by. I hope you enjoyed the  shadow box I made. :)
I need to find some more of shadow boxes at the thrift store, I enjoy making these.