Pages

Showing posts with label Tim Holtz Die. Show all posts

Wednesday, June 10, 2015

Altered Puzzle Challenge Week 7

Oh my goodness, I am so sorry that I'm late this week with the challenge. I have been working and running errands for my household. Not to mention doing some things for my mom and extended family too. It's just been busy and time has definately gotten away from me.
Welcome back anyhow and thanks for coming by the blog again.

We are on week 7 of The Altered Puzzle Challenge


Here are the links to the previous posts for this challenge


Our Facebook group is here:

We are using pieces 11 and 12 this week and starting with the first piece I simply painted the background with black acrylic paint
I then used a die from Tim Holtz that I just got the other day to create a stencil


I used two of the dies to create these two, I will use the pice on the left on the 2nd puzzle piece. For now we are going to focus on the black and white piece.


Originally I wanted to glue the paper directly onto my background but I didn't really like it so I used the cut out as a stencil to add paint to my background


I simply dabbed white paint over the die/template and created this cool background, I set that aside to dry


I then used a Stampotique stamp to create my boy and colored him with copic markers. Adding a sentiment (also a Stampotique stamp)
This piece was pretty simple to create, a few tweaks and boom, your done! 


For my second piece I colored the background with Adirondack ink in a light shade


Next I added my paper that I used the Tim Holtz die to create
I simply glued it on and then cut around the edges
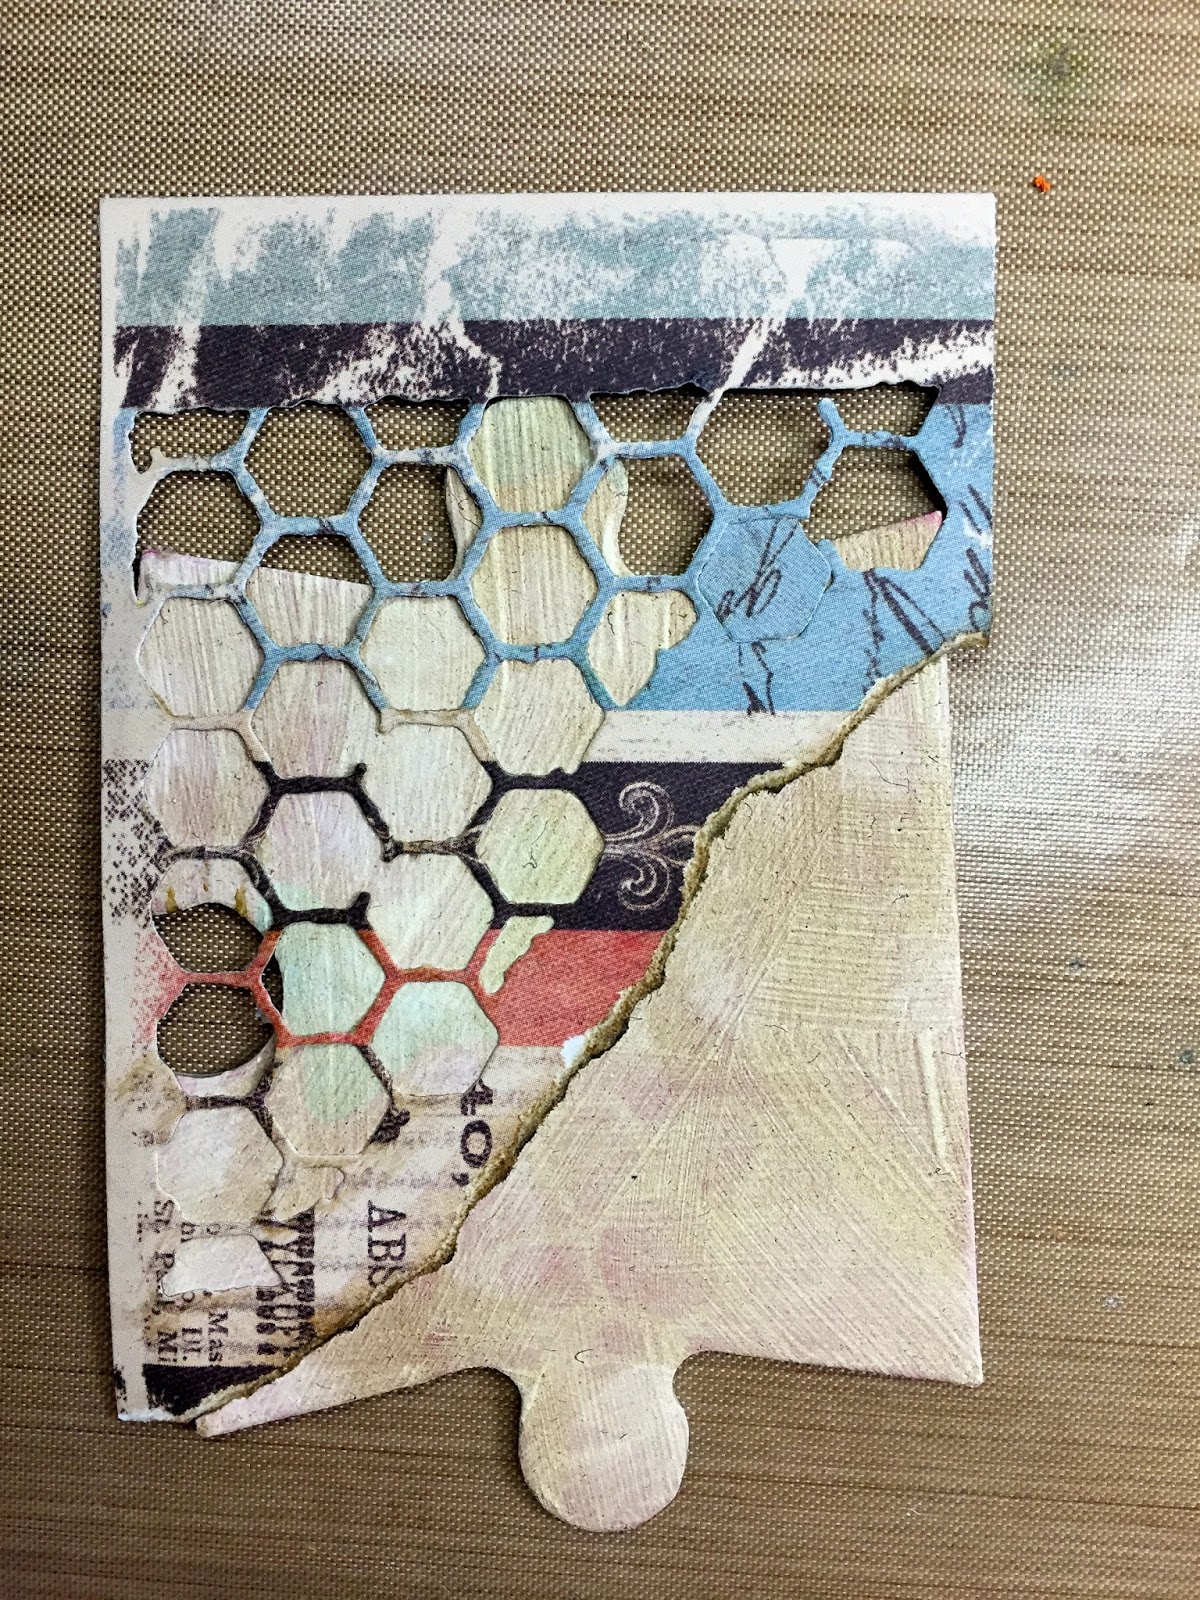


I set that aside for a moment.
To create my Bee I used another Stampotique stamp (Large Bee) 
I stamped my bee onto white paper, embossed it with clear embossing powder and then colored and cut out


I then stamped my bee again onto a clear piece of thick plastic, I used Stayz on ink for this. StazOn works best for slippery surfaces


I added a tad bit of color to the wings with colic markers
I colored on the plastic on the side without the stazOn ink, it helps to not smear the ink


I then cut out only the wings


I glued the middle of the wings to the 1st bee that I had created. I can bend the plastic just so, so that the wings can stand up


I glued my Bee to the bottom corner of the puzzle piece


You can see how the wings stand up, I love this effect, so easy to create too


I dabbed a piece of white paper with brown archival ink and then stamped my sentiment with black ink


I then cut out the sentiment and added dimensionals to the back so that it would stand up a bit


Here is my finished 2nd piece


and here are the two pieces together


I will take a photo of the whole puzzle together next week. I also have to remind myself to take more photos of the steps. I know on the first piece, there were not many photos, sorry about that.
Take care and enjoy the rest of your week!!
CHEERS!

Sunday, July 13, 2014

Compendium of Curiosities #6 Altered Burlap Panels

Hello all and welcome back to the blog. Today I was working on the new Compendium of Curiosities challenge. Hosted by the lovely Linda Ledbetter


This time the curiosity crew are working on page 37 of Tim's 3rd Book. That focuses on Altered Burlap Panels and Tim takes us through putting one together, it's super fun

For my canvas I decided that I was going to work out of my "ephemera" drawer


This is a drawer that is right next to my working desk and I throw just about every piece of extra paper or die cut or just whatever in here. Every now and then when I need something I rummage through the drawer. For this project I decided that everything I put on this canvas (besides the tissue paper and idea-ology pieces)  will come out of this drawer. 
I used alcohol ink along with plastic packaging for my butterfly wings, I wanted you to be able to see through them but also have them POP a little bit
For the butterfly I used Tim's Fanciful Flight die


Check out how that butterfly came out


After using a ton of Tim Holtz products (lol) I finished with this creation


I just love it, I think it was fun to challenge myself to use things that were in my ephemera drawer
I also love how the butterfly wings turned out like a stained glass window, you can see right through them

This was a fun project, make sure you join in as well. There is always a wonderful prize from Tim and Mario themselves and The Funky Junkie Boutique is also giving away a $25 shopping spree to one lucky winner.

Cheers!!


Thursday, June 26, 2014

Artist Trading Block - TIME

I'm so excited to share with you today an Artist Trading Block that I have created. As some of you may know my favorite style of media is Steampunk and I did an ATB awhile back with steampunk in mind
(Warning, this post is photo heavy)


Well, I wanted to do another steampunk-ish/Time block but this time I really wanted it to be clear or see through
You can find Eileen Hull's Artist Trading Block along with all her dies HERE

I decided to use some of the thick clear packaging that I have saved from misc things I've bought
(yes, I save it all LOL)

I cut my ATB out of this packaging material and then embossed it with an embossing folder


In order to emboss each section of the ATB I had to put the embossing folder into the machine sideways and this way I can emboss each section without overlapping


For the middle section of the ATB I had to use a shim so that the middle would emboss but the other two sides would not
This was the result, each section of my ATB is embossed and there is no overlapping or wonky clocks


Next I simply colored my embossed sections with alcohol inks


For the Time plate to open I simply used paper on the back and created a piece that would swing open
(I created this plate with a Ten Second Studio texture plate, metal tape and black paint)


This piece of paper was adhered to the back of my plate and then onto my ATB front (I used red line tape for this)

I then used some grungeboard letters and painted those black with acrylic paint to create my "Time" word for the top of my ATB. I also used redline tape on the back to adhere those


For my flowers, I used Wendy Vecchi's set of clearly for art flowers and stamped this with various Tim Holtz stamps using archival ink


Once dry, I used various colors of alcohol ink to color them and heated them up to shape them

Here are several photos of my finished Artist Trading Block

The first photos are without the light


I figured that these photos would eventually be changed to a photo of Derek and I and our two girls, I just didn't have time to find the perfect photos and print them in the sepia tone


 Now the Photos with the light source under the ATB


I'm going to have to get one of those light stand for my ATB, the kind that turns. 

I hope you liked my creation today and please make sure to check out Eileen's Art With Heart June Challenge, this month it's all about "Summer Celebrations" you could win a wonderful Sizzix prize pack.

Also, hop on over to The Artists On The Block Blog for some more wonderful design team inspiration, there is so much wonderful talent on this design team!!

Thanks for coming by!!

Saturday, March 29, 2014

Art Journaling Today

For today's post I would like to share with you an Art Journal page that I recently have finished

I really don't begin a project with any idea on how it will go, I sort of just "go with it" and kind of let it take on a life of it's own. 


I am working in my large Dylusion's Journal by Dyan Reaveley

I am also working with some of the new Dylusions sprays that came out, my local scrapbooking store got them in and I scooped them right up

For this page I'm using the colors
Pomegranate Seed
Polished Jade
Tangerine Dream

Look at this vibrant background


I also used some of the new Dylusions stencils in that background as well

Here is my finished page


You can see on this page that I used some of the new Tim Holtz dies and many of his stamp sets
I used a quote that my daughter likes and just wrote it out
That girl that is stamped on the left, I just used a piece of folder that I had leftover from some spritzing and stamped her there


For the page above, I used again some of the Tim Holtz dies with card stock and also some of his stamps
I just freehand drew the strings and hearts and used a white pen to go around the honeycombs and hearts

This is my final two page spread


I really love these new Dylusions colors, they are so awesome!!

Thanks again for stopping by and Cheers to you