Pages

Wednesday, June 10, 2015

Altered Puzzle Challenge Week 7

Oh my goodness, I am so sorry that I'm late this week with the challenge. I have been working and running errands for my household. Not to mention doing some things for my mom and extended family too. It's just been busy and time has definately gotten away from me.
Welcome back anyhow and thanks for coming by the blog again.

We are on week 7 of The Altered Puzzle Challenge


Here are the links to the previous posts for this challenge


Our Facebook group is here:

We are using pieces 11 and 12 this week and starting with the first piece I simply painted the background with black acrylic paint
I then used a die from Tim Holtz that I just got the other day to create a stencil


I used two of the dies to create these two, I will use the pice on the left on the 2nd puzzle piece. For now we are going to focus on the black and white piece.


Originally I wanted to glue the paper directly onto my background but I didn't really like it so I used the cut out as a stencil to add paint to my background


I simply dabbed white paint over the die/template and created this cool background, I set that aside to dry


I then used a Stampotique stamp to create my boy and colored him with copic markers. Adding a sentiment (also a Stampotique stamp)
This piece was pretty simple to create, a few tweaks and boom, your done! 


For my second piece I colored the background with Adirondack ink in a light shade


Next I added my paper that I used the Tim Holtz die to create
I simply glued it on and then cut around the edges
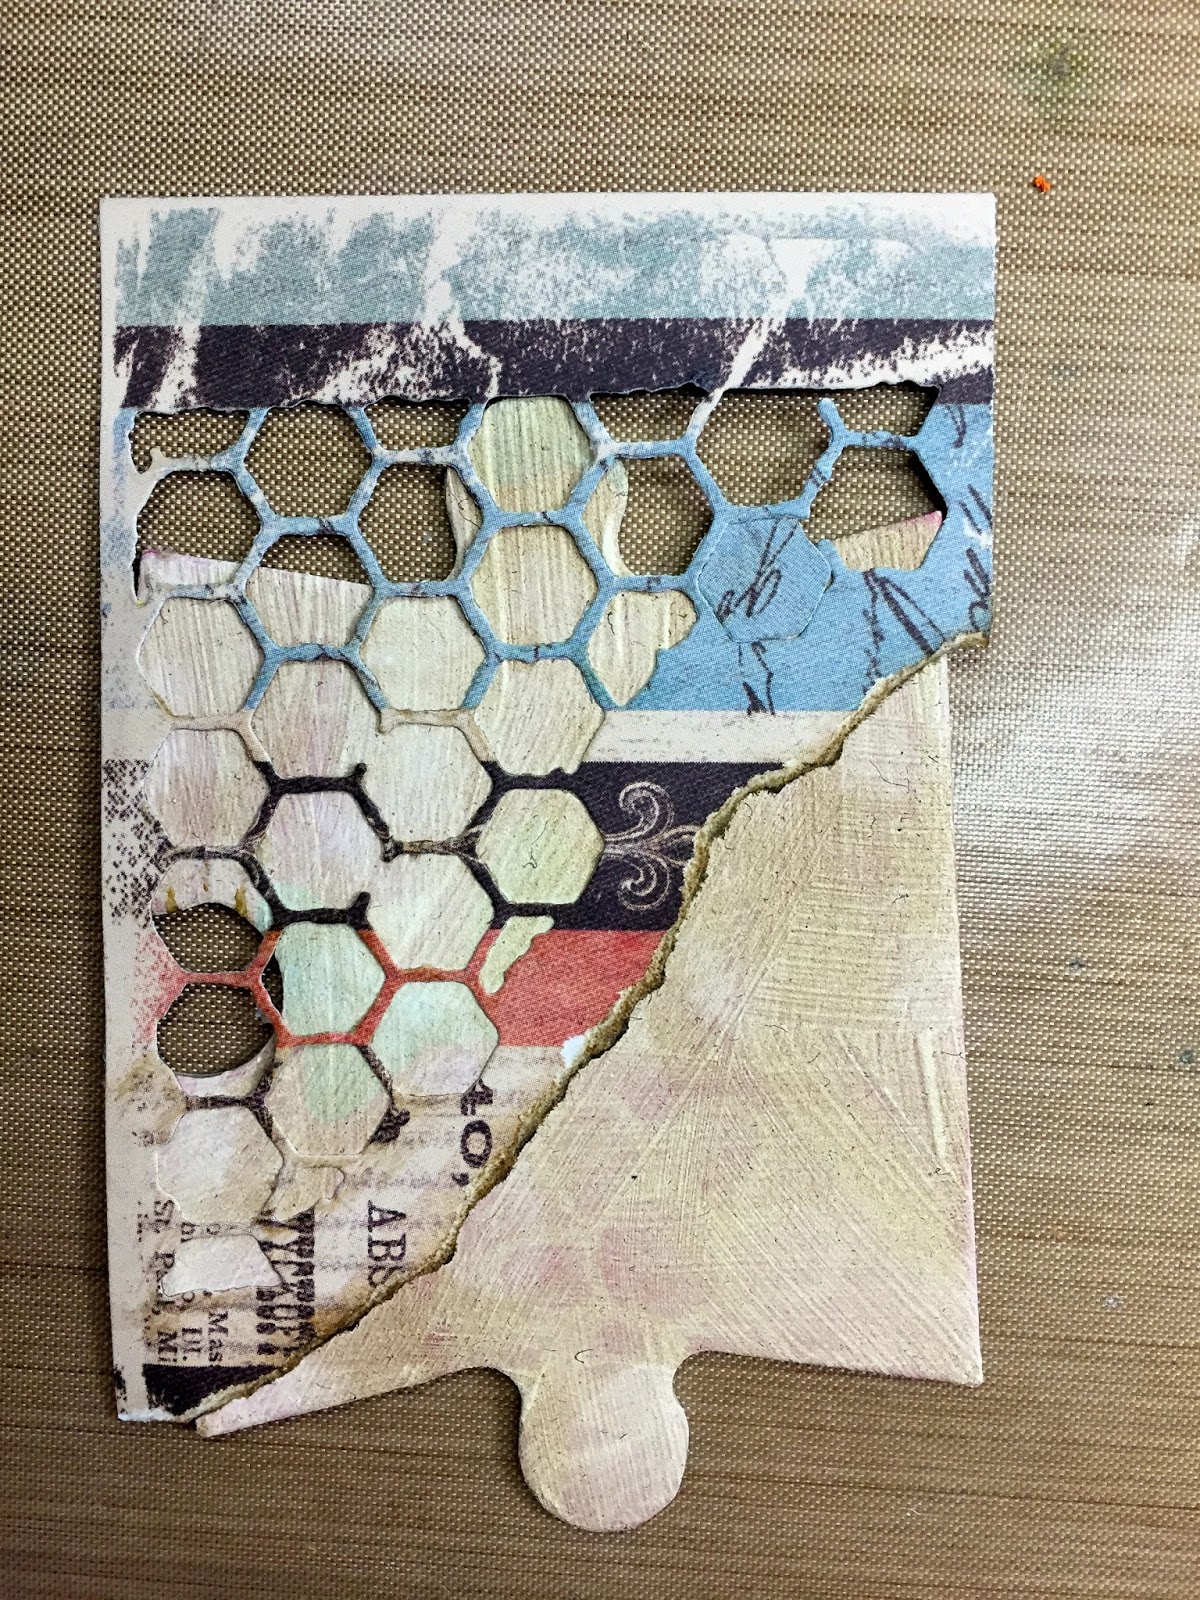


I set that aside for a moment.
To create my Bee I used another Stampotique stamp (Large Bee) 
I stamped my bee onto white paper, embossed it with clear embossing powder and then colored and cut out


I then stamped my bee again onto a clear piece of thick plastic, I used Stayz on ink for this. StazOn works best for slippery surfaces


I added a tad bit of color to the wings with colic markers
I colored on the plastic on the side without the stazOn ink, it helps to not smear the ink


I then cut out only the wings


I glued the middle of the wings to the 1st bee that I had created. I can bend the plastic just so, so that the wings can stand up


I glued my Bee to the bottom corner of the puzzle piece


You can see how the wings stand up, I love this effect, so easy to create too


I dabbed a piece of white paper with brown archival ink and then stamped my sentiment with black ink


I then cut out the sentiment and added dimensionals to the back so that it would stand up a bit


Here is my finished 2nd piece


and here are the two pieces together


I will take a photo of the whole puzzle together next week. I also have to remind myself to take more photos of the steps. I know on the first piece, there were not many photos, sorry about that.
Take care and enjoy the rest of your week!!
CHEERS!

Stampotique Challenge 199 - Shimmer and Shine

Hello all it's Wednesday again and you know what that means!!! Another Challenge over at Stampotique's Challenge Blog. Make sure to partake in these if you love Stampotique, you could win a 30.00 gift certificate to the online store.

This week Kathi Rerek is our hostess and her challenge to us is all about "Shimmer and Shine", here is what Kathi says about this challenge.....
"My spirit animal must be a magpie as I am attracted to all things that shine, shimmer, or glitter. My challenge for you is to create a project that literally shines"

I did a journal page for this project...


My background was a "wipe off" page for some other projects I did and I added a bit of silver shimmer to it with glitter glue
here is what the background looked like 
I love the way each circle has it's own touch of silver glitter


I used Stampotique Stamp
Underwhere - By Artist Daniel Torrente

He looks a bit crazy to me haha and I just love this sentiment, so funny.


Have a great week and have fun creating!!!

Sunday, June 7, 2015

Roc Nicholas Design Team - June is Kindness

Welcome to the blog everyone, today is the 7th of June and that means it's my turn to post for the Roc Nicholas Design team. I always love using Roc' stamps for my creations so this month I chose the stamps:
and 


These are two of my favorite stamps by Roc. I decided to do a journal page this month and I want to
reflect on kindness and the things that you say to others.
Sometimes we tend to blurt out our words before we even think about how someone might react to them. 
So with that in mind, here is my journal page


The background of this page was a "wipe off" page for my Dylusions paints and I just went with it. I love the colors and I think that Bunny looks fabulous against the circles in the background.

I wrote the words that I wanted coming out of Bunny's mouth, Kindness
Love and 
Respect

This should be a rule of thumb I think.
I hope you like my project this month and make sure to stop by Stampotique Originals and check out all of Roc's wonderful stamps.
CHEERS!!!


Wednesday, June 3, 2015

Stampotique DC198 Favorite Stamp

Hello all and welcome back to the blog. This week over at the 
Stampotique Designer's Challenge Blog we have a new challenge and our hostess is Gez. She has asked us to use our favorite Stampotique Stamp this week. Here is what Gez says about this challenge.

"We've ALL got one! What's yours! We would love to see your favourite Stampotique images (if you can pick one!) on your creations this week. Which stamp makes your heart skip a beat!"

Ok Gez, it is going to be so tough to chose just one stamp. I love ALL of my Stampotique Stamps so this is going to be a real challenge.


I basically picked five or six that I really like and did eenie meenie miney mo!! HAHA!

So this week I am using one of the stamps I got when I first joined the Stampotique design team andI have always loved it.

Carol's Flower Large - By Janet Klein

I have used this flower quite a bit but I wanted to do something a little different with it this week and so I worked in my art journal.

I stamped my flower all over the colored background of this page

I then colored all the petals and centers of the flower (this covered up most of the stamping) 
I then re-stamped all the flowers again 
I think this page came out really beautiful. 


I liked this page so much that I created two postcards with the same idea in mind

These are my backgrounds before adding the flowers

and After adding the flowers and painting them

I hope you have enjoyed my creations this week, come on over to the Designer's Challenge and join us this week, if you can chose your favorite stamp. (that's the tough part)
CHEERS!!!

Monday, June 1, 2015

Altered Puzzle Challenge Week 6

Welcome back to the blog everyone, thanks again for coming by. If your following along with the Altered Puzzle Challenge,
we are onto week 6


Here are the links to the previous posts for this challenge


Our Facebook group is here:


We are creating pieces 9 and 10 and
I started with my first piece but adding Dylusions paint to my background. First yellow....


Then some orange  (I added all these colors with a sponge on my finger)


I added red with the side of my credit card by just scraping it downward


Next I added turquoise with a Tim Holtz stencil


and lastly I added a bit of hand writing with my Zig pen
I wrote a quote that my husband just had engraved onto my wedding ring.
"Place me like a seal over your heart" 
Song of Solomon 8:6


Next I added a tad bit of white paint here and there with my brush


Now that I have my background done, I am going to cover up most of it... LOL..
I die cut this heart  and added a bit of double sided removable sticky tape and stuck it into the middle of my puzzle piece


I then used black paint to smudge along the edges


Once I removed the die cut heart, you can see the bright colored background
I then added white paint around my edges


I used my pen again to write the word "Love" and then cut it out
I also used a baby wipe to wipe some of the white paint off around the edges
Here is my first finished puzzle piece


For the second piece I used some Tim Holtz paper and glued a piece to my background and cut it out


Next I used wash tape and added some to a piece of card stock and cut it into a stem
This is going to act as the stem for a flower I'm going to create


To create the flower, I decided to use Wendy Vecchi clearly for art in pitch black
I am also using Ranger's alcohol inks in Metallic silver and gold
 I cut my clearly for art using Tim Holtz movers and shapers tattered flowers die


Simply use a distress tool to apply the alcohol ink onto the clearly for art flowers


Next, heat up the clearly for art and shape it as much as you want. I ended up only using one of the flowers that I cut out
I found a video where Wendy shows how to make a similar flower HERE

I added a Tim Holtz mini gear to the center of my flower and figured out where I wanted this flower to go onto my background. Using E6000 glue I adhered to my background


I added my sentiment and trimmed the stem on the bottom of my flower and last I used my copper pen to edge the piece


Here is my finished 2nd piece


and here are my two pieces together


and the puzzle together


So far so good? I hope you have fun creating your pieces this week.