

Simon Says Challenge Blog - Their challenge this week is "A Bit O' Green" and they are giving away their usual 50.00 gift card to Simon Says StoreYAY!!!
IBS Inspiration Challenge - This week's challenge is "White, Sage and Light Pink.. This is a new site for me, just found it the other day and she gives away a 25.00 Gift card to the Store Here
Frilly and Funky - Always love the challenges over there, this week it's "William Morris" Style, so muted colors, natural elements and an animal must be included. Linda over at Frilly and Funkie Botique usually gives the winner some sort of gift card or discount at the store. She's great!!
Hobby Cutz Challenge - This is a new Challenge site and a goodie too! There are lots of giveaways this time and loads of fun and a blog hop with prizes as well. The theme for this weeks challenge is "Anything Goes".
So now onto my card..... I took loads of pics and there is explanations of each step so grab a cup of coffee and have a squat for awhile :) OR
scroll to the bottom to see the finished card. :) That's ok too!
To start this card I picked out the paper I wanted to use and I found some really cool papers in the colors that I wanted to showcase. White - a shade of pink and sage green.
I then cut that for my card and also cut out some Tattered flowers (using Tim's Die) and also Stampin Up's Lattice and Top Note Dies. I wasn't sure exactly waht I was going to use here but I wanted to have enough.

I used Distress Inks in Peeled Paint and Vintage Photo to distress the edges of all the cut outs.
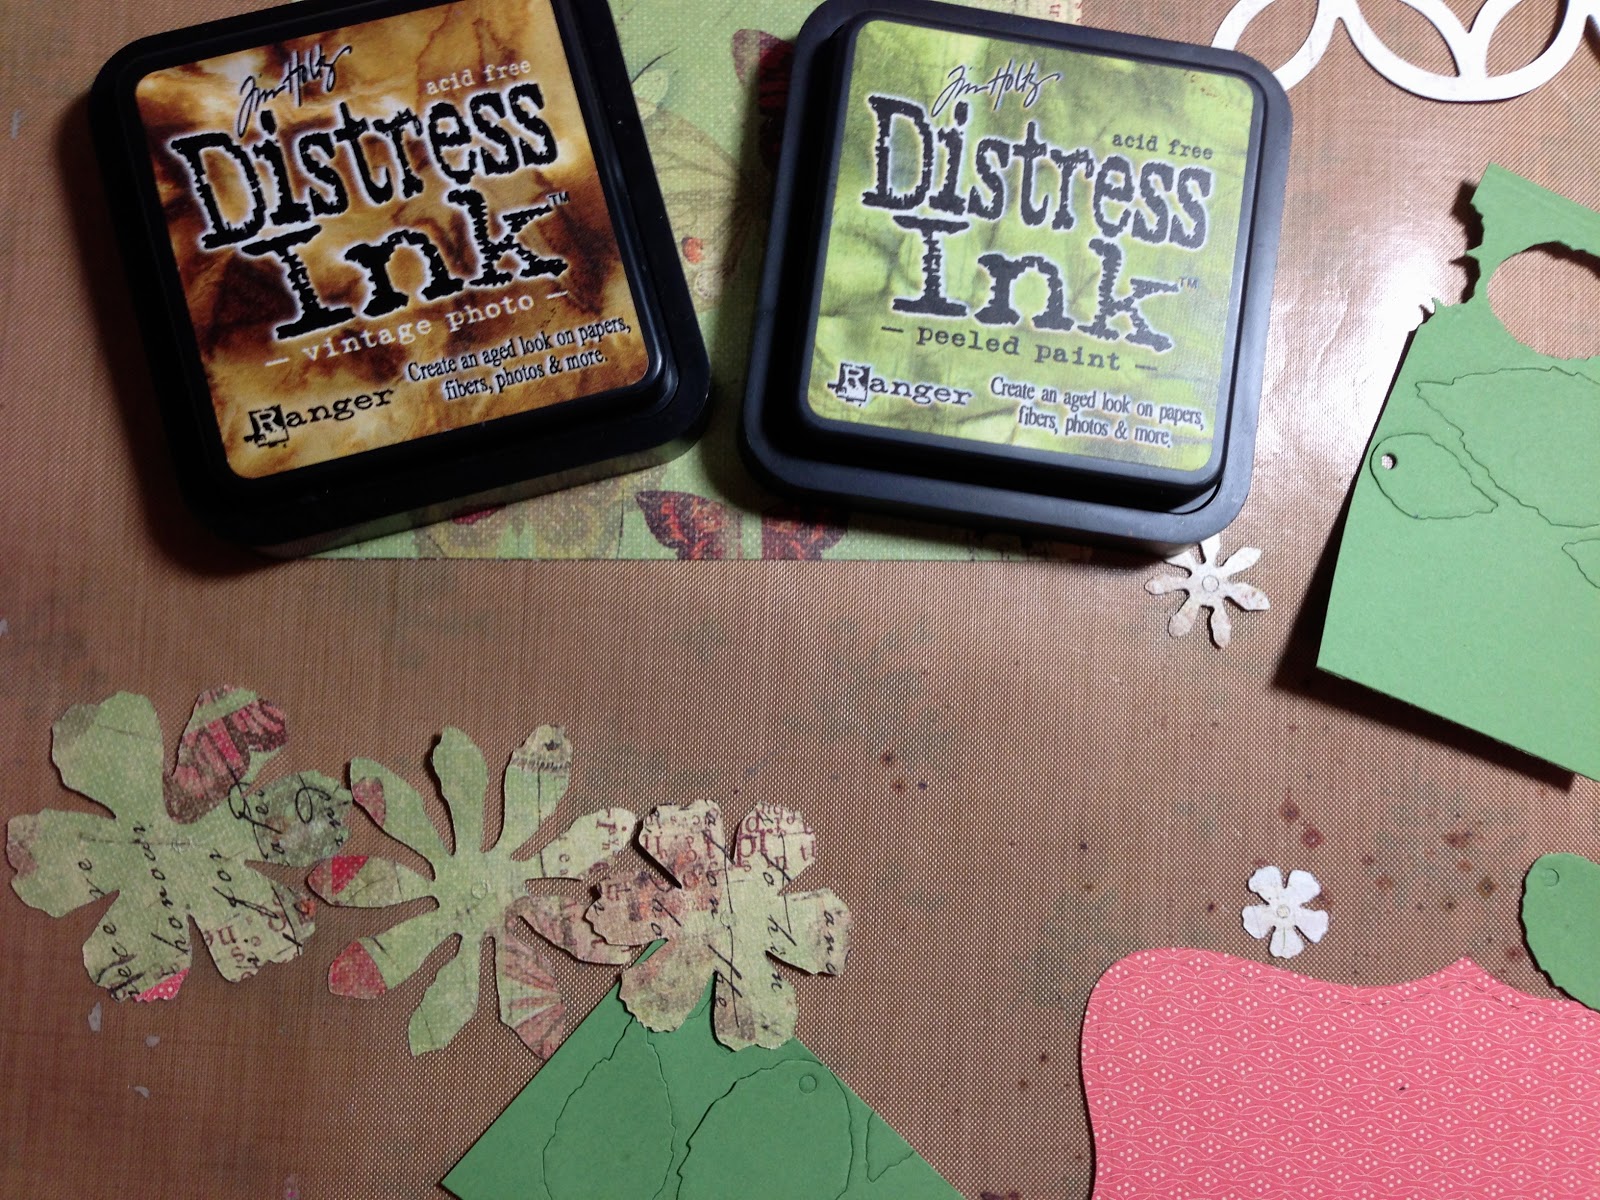
I also used Tim Holtz's distress tool to distress the edges of my butterfly paper (Creative Imaginations Paper) and then used the peeled paint and vintage photo around the edges.


After that was cut out I set it aside because I wanted to think about what to do with him before I moved on with it.
Here again I do not have Tim's newest Tapered Fringe Die and I really wanted a grass look so i decided to make my own.
I used a piece of manilla card stock and wiped it through distress stains in three colors... Forest Moss, Crushed Olive and Cut Grass. I just spread them on my craft sheet, spritzed my paper with water and ran it through all the colors.

I then cut little strips into the paper being careful not to cut all the way down to the bottom. I then cut some pieces shorter, leaving some taller.

I love the way the grass is different shades of green.
Once that was done I wanted the grass to bend like real grass so I took the end of a small paintbrush and curled up some of the ends, this gave the grass a little depth and movement.

After the grass was done I had a "lightbulb" moment and decided exactly what I wanted to do with my bunny. I had this really cool Flower Soft that was exactly the colors I needed so I used that. I used the glossy accents to adhere the Flower Soft to my cardstock bunny.


It didn't matter much what most of it looked like, you would only be able to see the edges once it was finished. I also used Vintage Photo Distress ink to go around the edge.

At this point I thought that putting my card together would be simple but I wasn't sure I liked it once I layed it all out. I really wanted to use the entire Blue Print Bunny stamp for the background but I wasn't too sure how it would look. So using an idea I got from the wonderful Marjie Kemper I decided to stamp the entire stamp onto cellophane and try it out before I committed to it. I used Archival Black to stamp it, pictured below...

I layed it all out here, with all the elements and the bunny and I decided I liked it so I went with it. Instead of stamping it in Archival Black I used Sepia for the finished product.
Lastly I decided to make the word "Bunny" pop more and used a piece of the white card stock to stamp it again and cut it out.

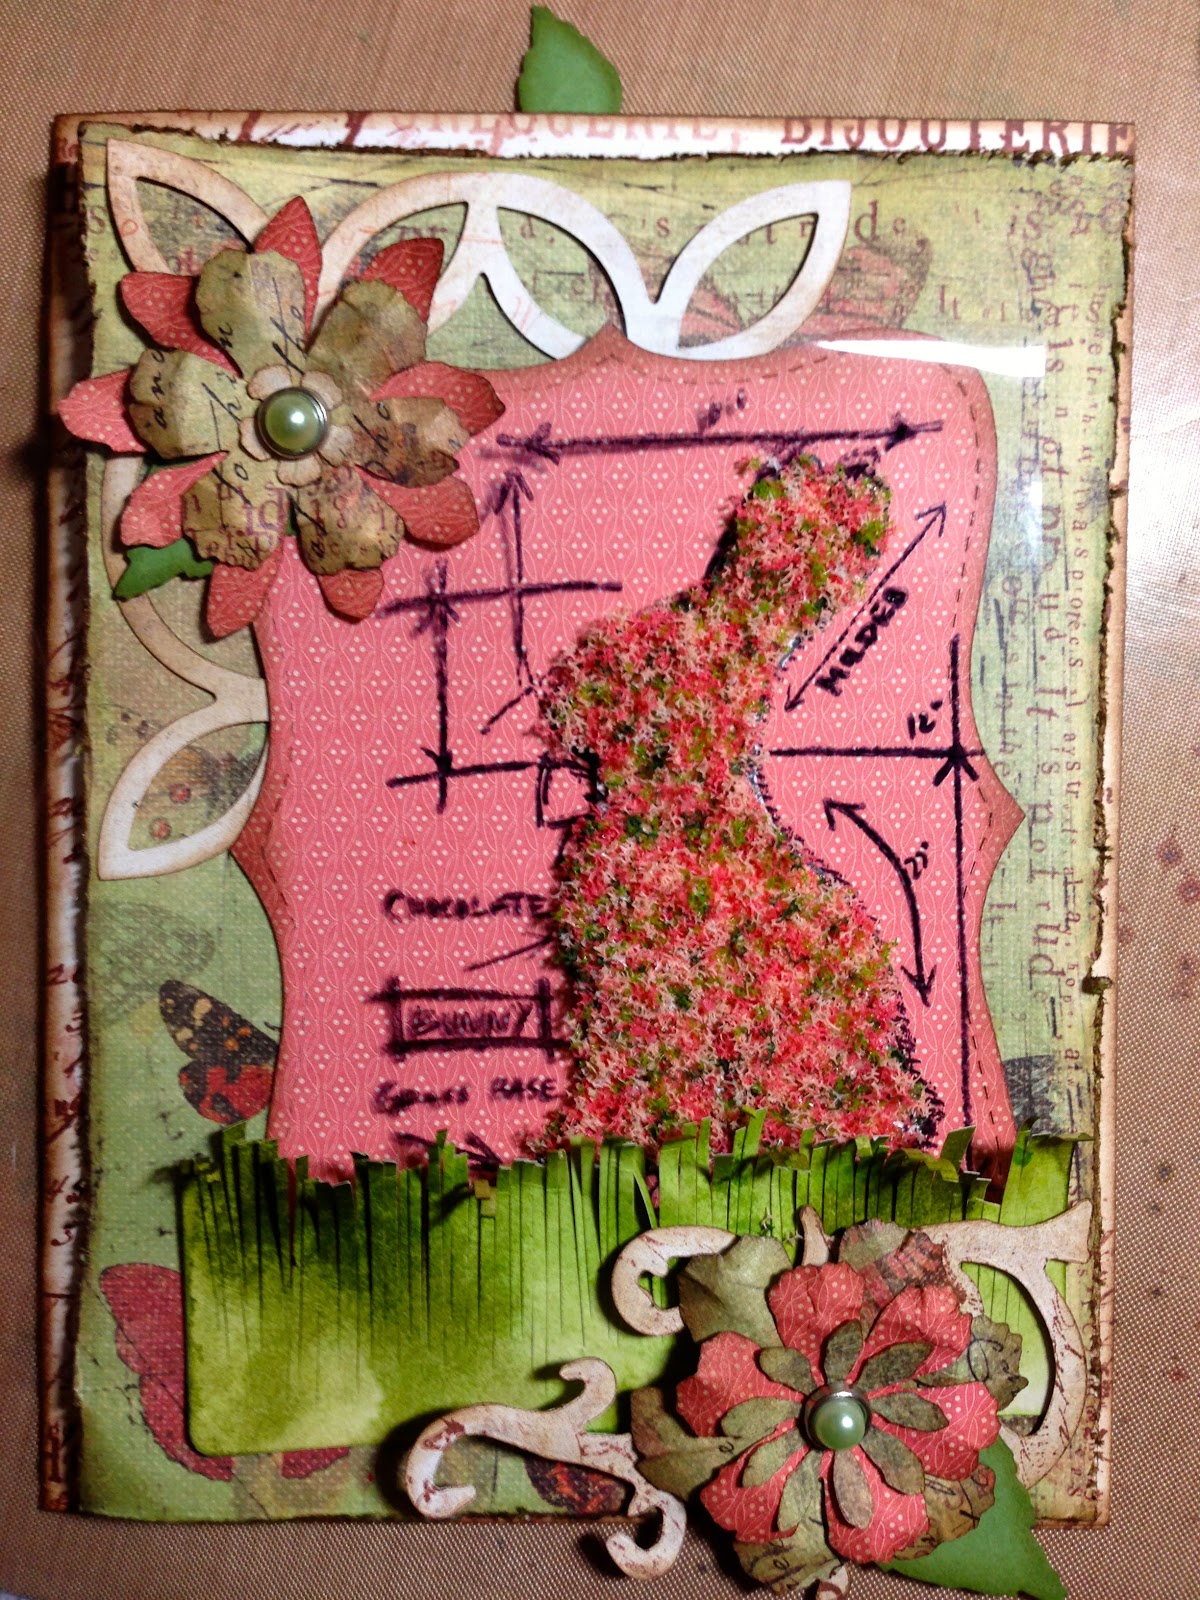
And.. Here is my finished product with everything glued and adhered.

I also decided to stamp the flourish with the word stamp used above.


If you've made it this far you've MADE IT to the end of the post.!! HAHA! Thanks for sticking with me and I hope you got a little inspiration from my tutorial.
Cheers!!
Love your flowersoft bunny. thanks for sharing the process too. fabulous piece of work
ReplyDeletehugs June xxx
Don't you just love Flower Soft? What an absolute STUNNER!!! PINNING!!!!!
ReplyDeleteI adore what you have done here. The foliage elements are perfect and as for that bunny - inspired!! What a clever idea to use Flower Soft. Thanks for joining us at Frilly and Funkie with this. Hugs, Jenny x
ReplyDeleteI adore what you have done here. The foliage elements are perfect and as for that bunny - inspired!! What a clever idea to use Flower Soft. Thanks for joining us at Frilly and Funkie with this. Hugs, Jenny x
ReplyDeleteHow sweet is your bunny? Love the card, the grass, the whole thing!
ReplyDeleteVery pretty Claudine. I like the way you did the bunny. That flower soft stuff is pretty cool.
ReplyDeleteA wonderful card and great use of the flower soft. Thanks for sharing with us at Hobbycutz Challenges and good luck.
ReplyDeleteMags
x
Yes, the best bunnies are the ones shaped like chocolate with the ears bitten off. If I am the one that gets to do the biting!
ReplyDeleteLove your card, I love the TH bunny !
ReplyDeleteThank you for joining us at Simon Says Challenge this week
Hugs
Jo x
Super cute, I love the bow on the bunny! :)
ReplyDeleteLove that flowersoft Bunny!!Thank you for joining in the first Hobbycutz Challenge, and don't forget to join in the Blog Hop! Good luck...........
ReplyDeletexHugx
Denise
Simply gorgeous. Thank you for joining in the first Hobbycutz challenge, and don't forget to join in the hop if you haven't already.
ReplyDeleteHugs
Cathy xx
I Love the Flower soft bunny and also the punched flowers...Thank You for sharing your creation with us on Our First Hobbycutz Challenge....
ReplyDeleteHugs Kobie
Cool! I like the plushy bunny ;o)
ReplyDeleteVery nice card. Love your tutorial. Thanks so much for joining us at HobbyCutz.
ReplyDeleteHugz
Kim
How fun to use your flowersoft for your bunny! I have a lot of it, and never think to pull it out to decorate my diecuts..Thank you! Such fun papers you used too. Have a Happy Easter!
ReplyDelete