Pages

Monday, April 29, 2013

The Other Half...

It's rainy and overcast today in Northern Virginia so i decided to stay in and lock myself in my craft room.

A few weeks back I made a 8x10 picture for my sister to display in her home. She loved it so much that she wanted me to make a matching one for the other side of her wall in her living room. 

This is the print that I made for her previously...


Since this stamp set by Dylusions and Dyan Reaveley has a male counterpart I decided to make the matching one with the guy.
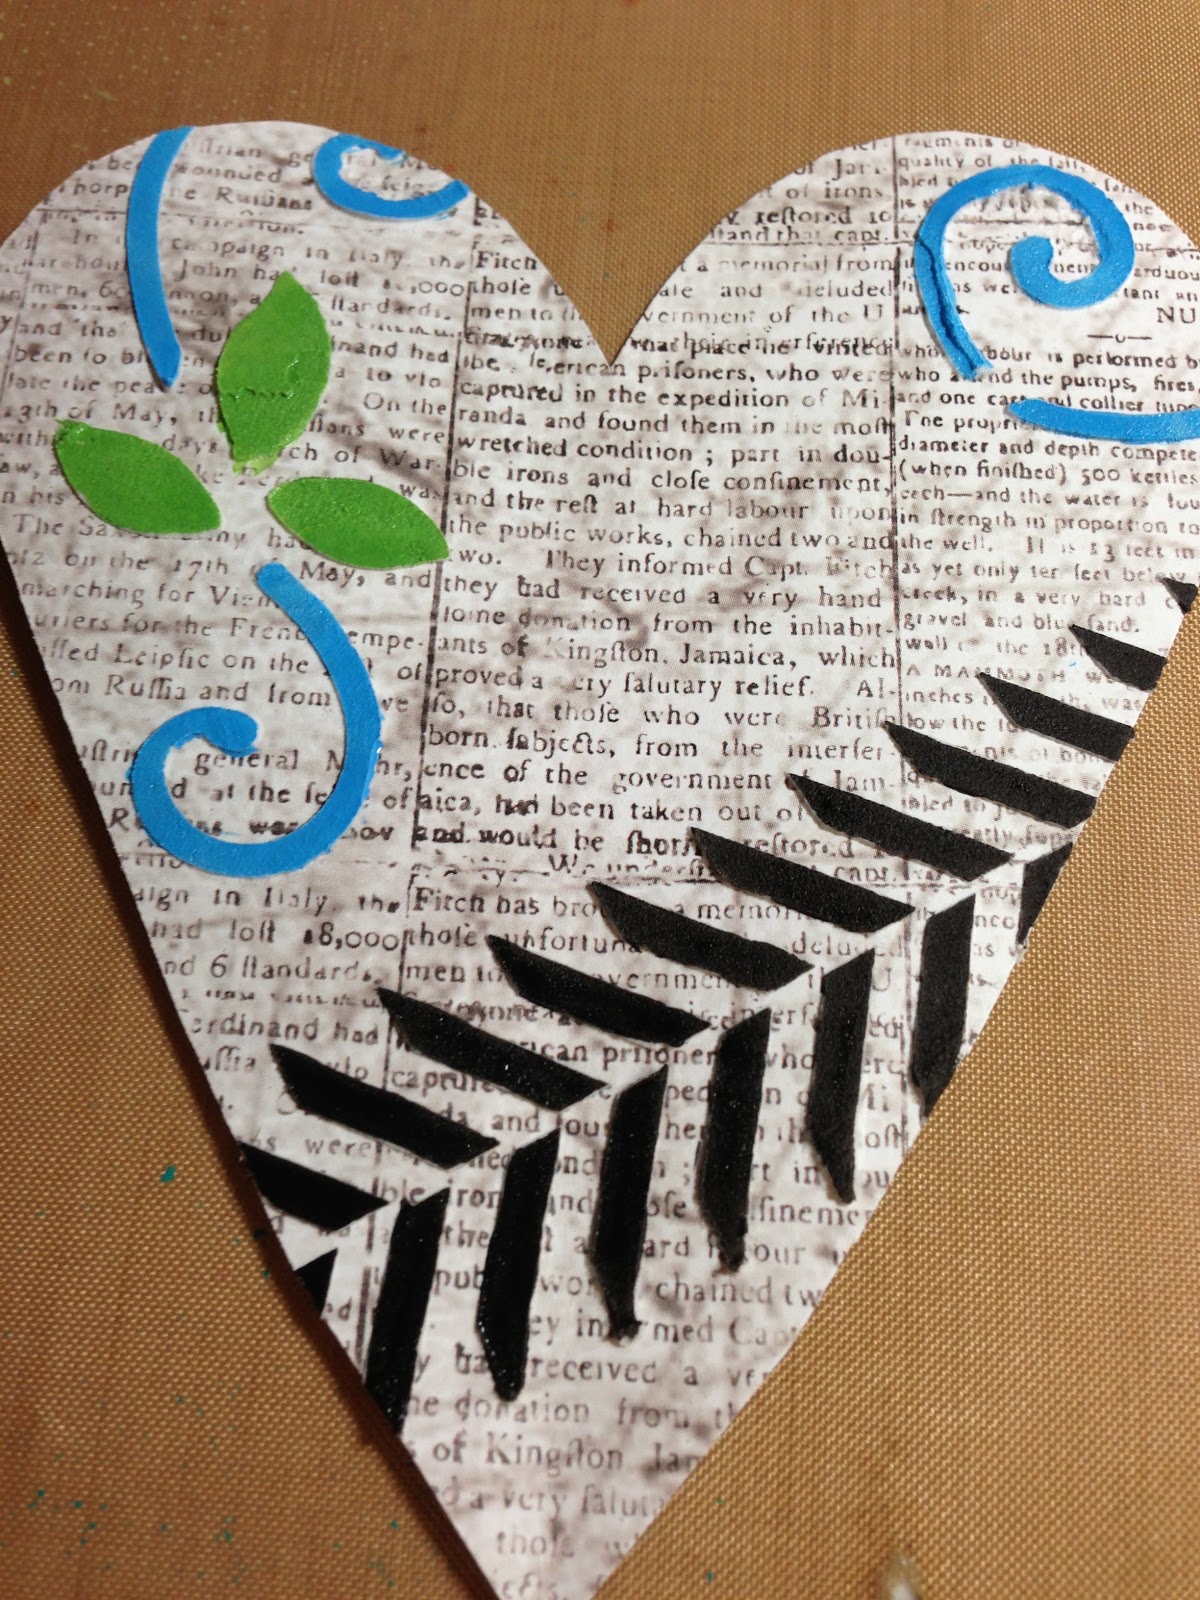
I made this background with my gelli print plate and at the time I had used up the only one I had. YIKES! How do you re-create a gelli print? So what I did was disect the print as much as possible (colors, layers etc) and did my best to make a new one. Here is the outcome:

  
Not too shabby, aye? 
I did not have the male character stamp so I went to my favorite online store The Funky Junkie Boutique and ordered the "Man About Town" Dylusions stamp set. Linda always has terrific prices on all her products. Love them!! 
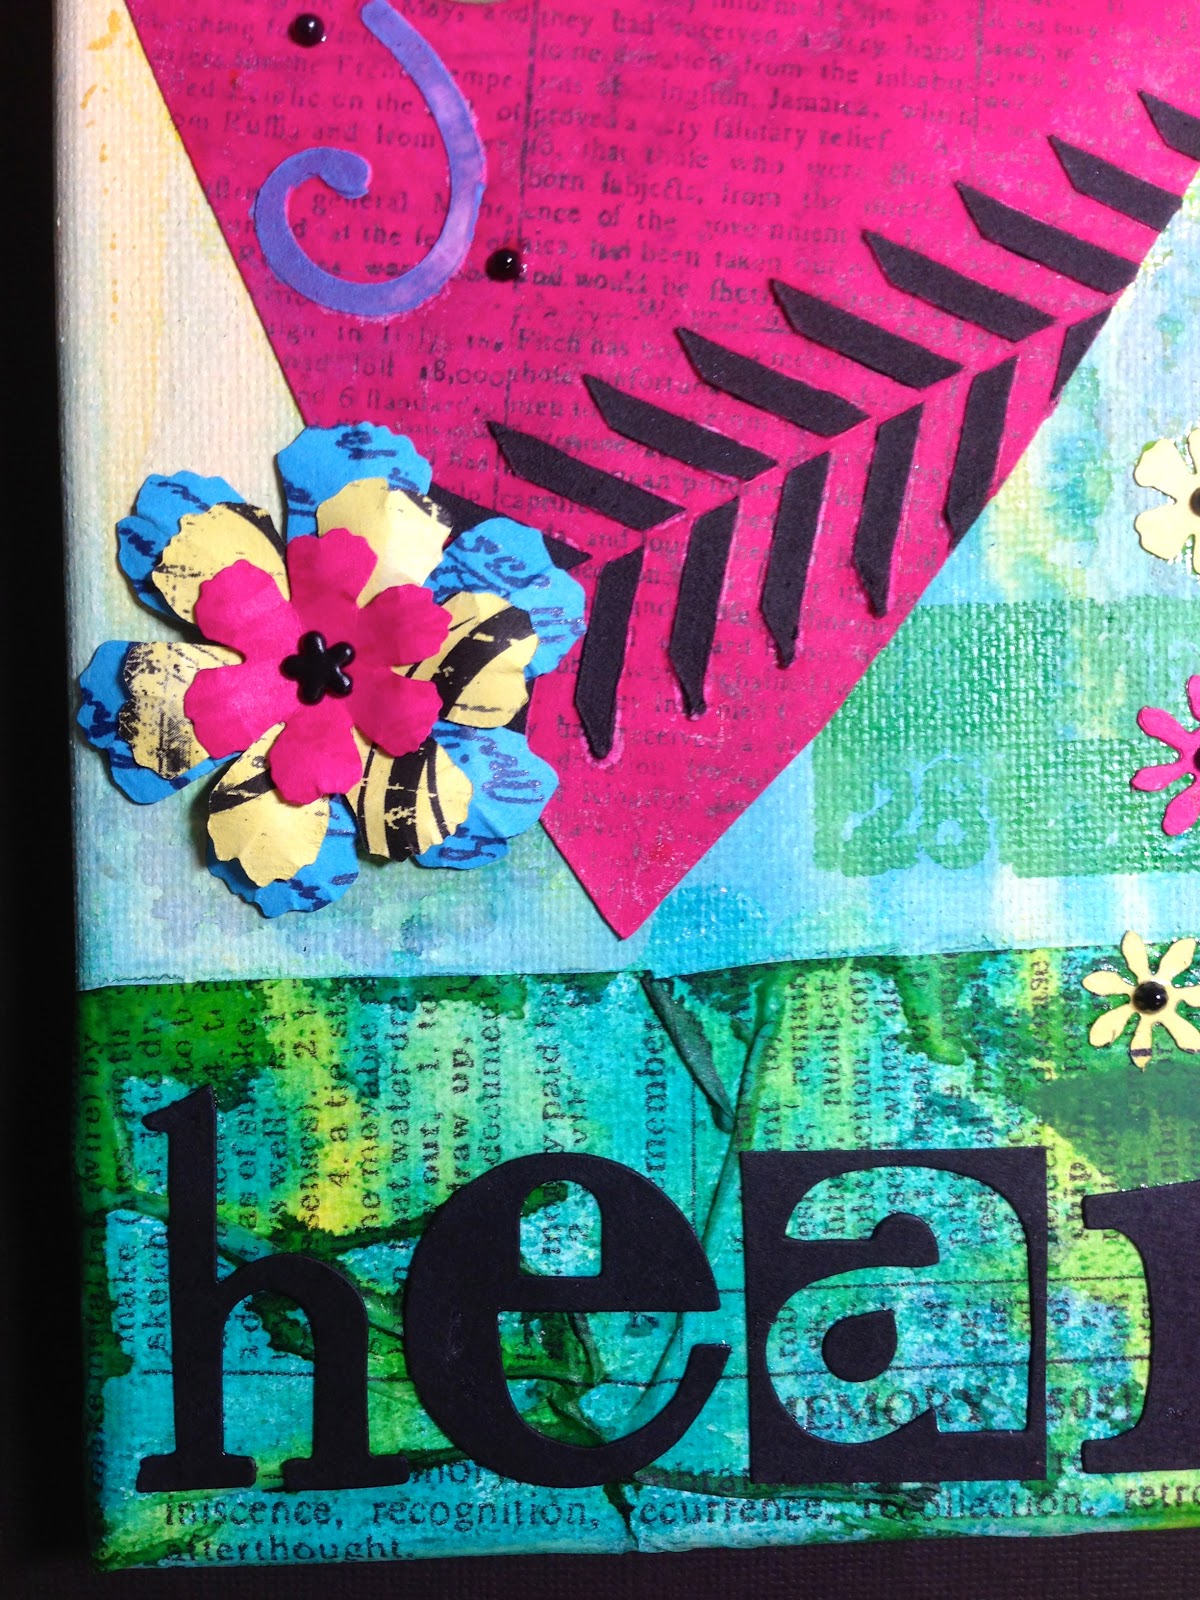
I then used the same process to create this background mostly the same as the previous one. Trying to get them to match closely. I used Wendy Vecchi black embossing paste for the diamonds. I love the depth it gave them.
I also used the Tim Holtz washer strip die.


I stamped the man onto some other patterned paper that was made with gelli prints and cut him out.

I love the way he came out, I stamped a different sentiment this time, saying "Be True".. I used Dylusions stamps for that.


The circles are also gelli prints. 

I think it came out great and I am sure that my sister will love the match to her gal that she has at home.
Here are the two:


I am entering this into the Sunday Share Challenge over at Frilly and Funkie. They challenge you to create something using an item that you bought in the store and you can win a 25% off discount woot!! 

Thanks for coming by the blog today. I hope your day is less rainy then mine. 


Sunday, April 28, 2013

Twelve Tags of 2013

As you all know I am working each month on Tim's Twelve Tags of 2013. I am not doing tags but I am doing a sort of ATC sized card for each month in order to display them in my 7 Gypsies printers tray.

This is what Tim's beautiful tag looks like. Stunning!!


Here is how my finished creation turned out


I used a butterfly stamp instead of the dragonfly because the dragonfly was a bit large for the size I'm doing. I simply took Tim's butterfly stamp from the Papillon set and just used one of the butterflies on it.
I also used this mini blueprint gears from the Mini Blueprint 3 set for the background.


I did the distress paint background the same way Tim did his except I added the color Chipped Sapphire to the mix.


That Distress Metallic is so pretty and shimmery.


Once the background was stamped I used tissue tape. One of the tissue/washi tapes that I chose to use was really white in color so I took some distress stain, Walnut Stain and changed the color to more of a brown, aged look.


I colored the metal for my background the same way Tim did, with distress paint and a finger. 


The sentiment metal piece that Tim used was too large for mine so I made my own with this little frame and a word stamp. I made a background for it with distress paints in coordinating colors.


I added the wings the same way that Tim did his for the dragonfly. With some Wendy Vecchi, Clearly for Art and Archival ink. So cool looking. 


I think it came out really great and it looks super in my display along with my others.


Here are a few more photos of the finished piece.


I always have fun with Tim's 12 tags, I hope you will give this a shot and play along too. 
Thanks for stopping by and have a super day.

So In Love ~

Good Sunday to you all. Things here are once again beautiful. My hubby and I went on our morning walk with out little dog. 

For today's post I am focused on "Clean and Simple". It is the challenge for this week over at Artful Times Challenge blog. Neet and Von always have some fun challenges and this one was a toughie for me. I don't usually do clean and simple with mostly white showing up. I'm glad I did it though, I love a good challenge.

I decided to do a card for this one and started with some scrap paper. 

I used Wendy Vecchi's stamp set called "Art From The Heart". This is a new stamp set for me and I just love everything in it.


I also wanted to partake in this week's challenge over at my yahoo group  everythingwendyvecchi. The challenge this week is "stamp through a stencil". For that I used the wording and Wendy's heart stencil.


I used white cardstock and stamped through her stencil and then outlined the hearts with black marker. The photo was taken after I cut out my hearts (forgot to take one during the process, sorry) you get the idea, right? LOL

I laid everything out onto my card for placement purposes and used a piece of scrap cellophane to "practice" my placement of my sentiment.


I only used part of this stamp for the sentiment, as you can see ih the photo about, this stamp has a heart in it and I left the heart out. I then simply stamped the sentiment onto cellophane and that way I can move it around to see exactly where I want it. (got this idea from my friend Marjie Kemper)

Once everything was placed where I wanted it, I went ahead and adhered everything to my card. I added some paper flowers and used a scrap piece of fabric ribbon. I just love how it turned out. Clean and Simple.


Thanks for stopping by, have a great sunny Sunday! 


Saturday, April 27, 2013

Be Who? Be You!!


Good Saturday to you all! Getting ready to go on a run with hubby and then spend some quality time with the family. It has started out as a beautiful day. 
For today's post I wanted to do something for bright and cheery (again) teehee!

I am entering this tag into the following challenges:

The Octopode Factory  - This week their challenge is "Tag Your It".. do something on a tag or with a tag.

Simon Says Challenge Blog - This week's challenge is "Anything Goes"

I started with a manilla regular size 8 tag and sprayed with two colors of Dylusions sprays. Love these two colors together.


I then embossed parts of the tag with a Cuttlebug embossing folder.


Once that was done, I used a few coordinating colors of distress inks to go over the raised portion of the embossed part.


 I used Perfect Medium and clear embossing powder over the raised portions in order to make them a little shiny and stand out.


I used Archival Ink to stamp some flowers into the lower corner of the tag. I also used some distress ink and a stencil in the upper right corner of my tag. 


I grabbed my favorite white gel pen and went over portions of the embossed and stamped images.


For my sentiment I used Tim Holtz Alpha Parts Letters


I printed out my Octopode Factory image (Whimsical Bee) onto card stock and colored him with distress markers.
Adhered him to my tag and added some ribbon/yarn and it's good to go. 
I really love the way this one came out.


Thanks once again for stopping by. Time for me to go get some things done.  Have a wonderful Saturday my friends.


Friday, April 26, 2013

Spread Love


Hello all, it's another beautiful day here in Virginia. Not too hot and not too cold, it's just right. 
I had many errands to run this morning and then I came home and went straight into my craft room. 
I wanted to finish my challenge projects for a few blogs. So this creation will be entered into the following challenges:

Frilly and Funkie  - This week's challenge is "Upcycle for Earth Day", which should have been easy for me but for some reason was very difficult. I actually used some wood for this one that could have been trash for someone but was a useful piece for my art journal.

Stampotique Designers Challenge - They have a challenge this week called, "trimmed stamp images", which simply means to use parts and pieces of the stamps.

So to get started I opened up my art journal and found a page that had been created as a "wipe off" page and has been sitting there for awhile empty. It seemed like the perfect page for this project. You can see the Dylusions Stencil in there.


I took these little pieces of wood that I had laying around (I cannot recall where they even came from) and painted them with Tim Holtz Distress Paint and then set them aside to dry


I then stamped the Stampotique stamp called Daniel's Tree Topper, designed by Daniel Torrent and Jill Penney. Love this guy!
I stamped him using archival ink and colored him with distress markers.  
This photo only shows one stamped image but I stamped him three times and used the heart twice more in my project. 


I also used a stamped called Tenticurl and one called Seaweed and stamped those onto the bottom of my page. I used portions of both. (those are both designs from Jo Capper-Sandon over at Stampotique)


I also added some circles onto my journal page using distress ink and a piece of paper as a template. (way to recycle, right?) haha!!


Once that was done I wrote my sentiment onto the wood with a permanent marker and adhered everything to my page. I also took a white gel pen and went around my hearts and Daniel, so that they would pop a little more.

Before

After


I hope you like today's page. Thanks for stopping by and spending some time with me. 


Thursday, April 25, 2013

Follow Your Heart


What a beautiful day it is here. My husband and I went on a 2 mile walk and all the flowers are blooming, Spring has definitely sprung. 
I wanted to work on a project inspired by all the beautiful color and flowers that are popping out everywhere. I also wanted to do a few challenges while in that process. (you know me, loving my challenges). 
I am entering this project into the following challenges:

Simon Says Stamp and Show - Their challenge this week is, none other than, COLOR.. yay! They are also giving away a 50.00 gift voucher for the shop to one random winner.

Eclectic Paperie  - Their eTeam Picks challenge this week is Flowers! Woot! They are giving away a 15.00 gift voucher to their online store. 

Ink On My Fingers - Hels Sheridan's Sunday Stamper challenge this week is "Paper," I actually used different kinds of paper in this project.

This is only my second canvas, ever. For some reason I'm so intimidated by the thought of creating on canvas and I'm not really sure why. I guess that's why I have taken this long to actually do something on a canvas. 
I like it, I really, really like it. I might have to do more of these.
Anyway, for starters on this I laid down some plain white tissue paper and some Tim Holtz tissue paper. I used Claudine Hellmuth's gel medium to adhere that to my canvas.


I set that aside to dry and then I used a piece of paper with writing on it to, free hand cut out a heart.
I used Wendy Vecchi white Embossing paste and a stencil to add some swirls and arrows to my heart and then set it aside to dry.


I then used a Wendy Vecchi Leaf stencil and some paint to paint some leaves onto the low corner of my canvas.
I am using a technique that my friend Anita Houston has talked about quite a bit. I have been wanting to give it a try.
By painting with Tim Holtz Distress paint and then spraying Dyan Reaveley sprays over it, the paint resists the spray and comes through, it's really neat. I didn't have the exact color I wanted in Tim Holtz paints so I used one color of regular acrylic paint.


I then Sprayed my canvas with three different colors of Dylusions Sprays. You can see that the paint comes through, it's awesome. I also love the way that the Tim Holtz tissue takes the color so well. I kind of just let the sprays drip down to the bottom.


Next, I painted the embossing paste designs that I had put onto the heart with distress paint.
I then sprayed the heart with Dylusions spray.


The same effect happened, although the green came off a bit so I repainted it once everything was dry.


I wanted to use this black and white Creative Memories paper to make some flowers but I wanted it to be a yellow color. I simply took out my distress stain in Squeezed Lemonade and stained it. I love how I can simply do this with the stain to change the color of paper.


 I used Tim's tattered flower garland strip die to cut out some flowers. I shaped those flowers with a pencil and some foam.


I then stamped onto each flower with a word stamp and Archival ink in coordinating colors.


I also used a few stamps from Wendy Vecchi and Tim Holtz to stamp onto my background prior to applying everything.

I used the Tim Holtz Word Play large Sizzix Die to cut out my sentiment. (one of my favorite dies)

Here is my finished project.


 Love the embossing paste


This sure was a fun project and I really like the outcome. Not too shabby and so much color. 
I hope you have enjoyed the tutorial for today. It's your turn to try a canvas :)
Thanks for stopping by.