
Good morning to you all, how is the day treating you? For today's post I have some gesso fun going on. The challenge over at:
Stampotique Designers Challenge this Sarinda is challenging us to "Using Gesso"
What a great challenge!

I have used gesso before in many ways but I really wanted to
try it on some pre-printed background paper.
My intention was to use the gesso and then color it but once I got it onto the paper I loved how it look in it's raw white form so I just left it.
Here is my process:
First, I used a really super cool 7gypsies sheet of paper with numbers all over, and used one of my stencils for the gesso.
All you do is use your pallet knife and smear some gesso through the stencil.


Once that was dry, I used my prismacolor black pen to go over some of the honeycombs:

I then chose my Stampotique Prom Queen stamp by designers Jill Penney and Daniel Torrrent, isn't she lovely?
I stamped her onto separate paper, heat embossed her and colored her with distress markers.


Once she was done, I fussy cut her out leaving a tinge of the white on the edges.
For the flower I used a stamp by Jo Capper-Sandon called Tenticurl
For this application I just took a bit of the gesso and put a little onto my finger and rubbed it onto the stamp
Working quickly I stamped here and there onto my flower. I set that aside for a bit to dry. Gesso dries quicker than embossing paste so it didn't take long.
(please clean your stamp thoroughly after using gesso onto it, as gesso can ruin your image on your stamp if you allow it to dry)


I then took my paint dabber in pitch black, and dabbed the color onto he flower. At the same time I dabbed a baby wipe over the gesso, this allows that gesso to show through the paint. It's so cool how the gesso shows through here.

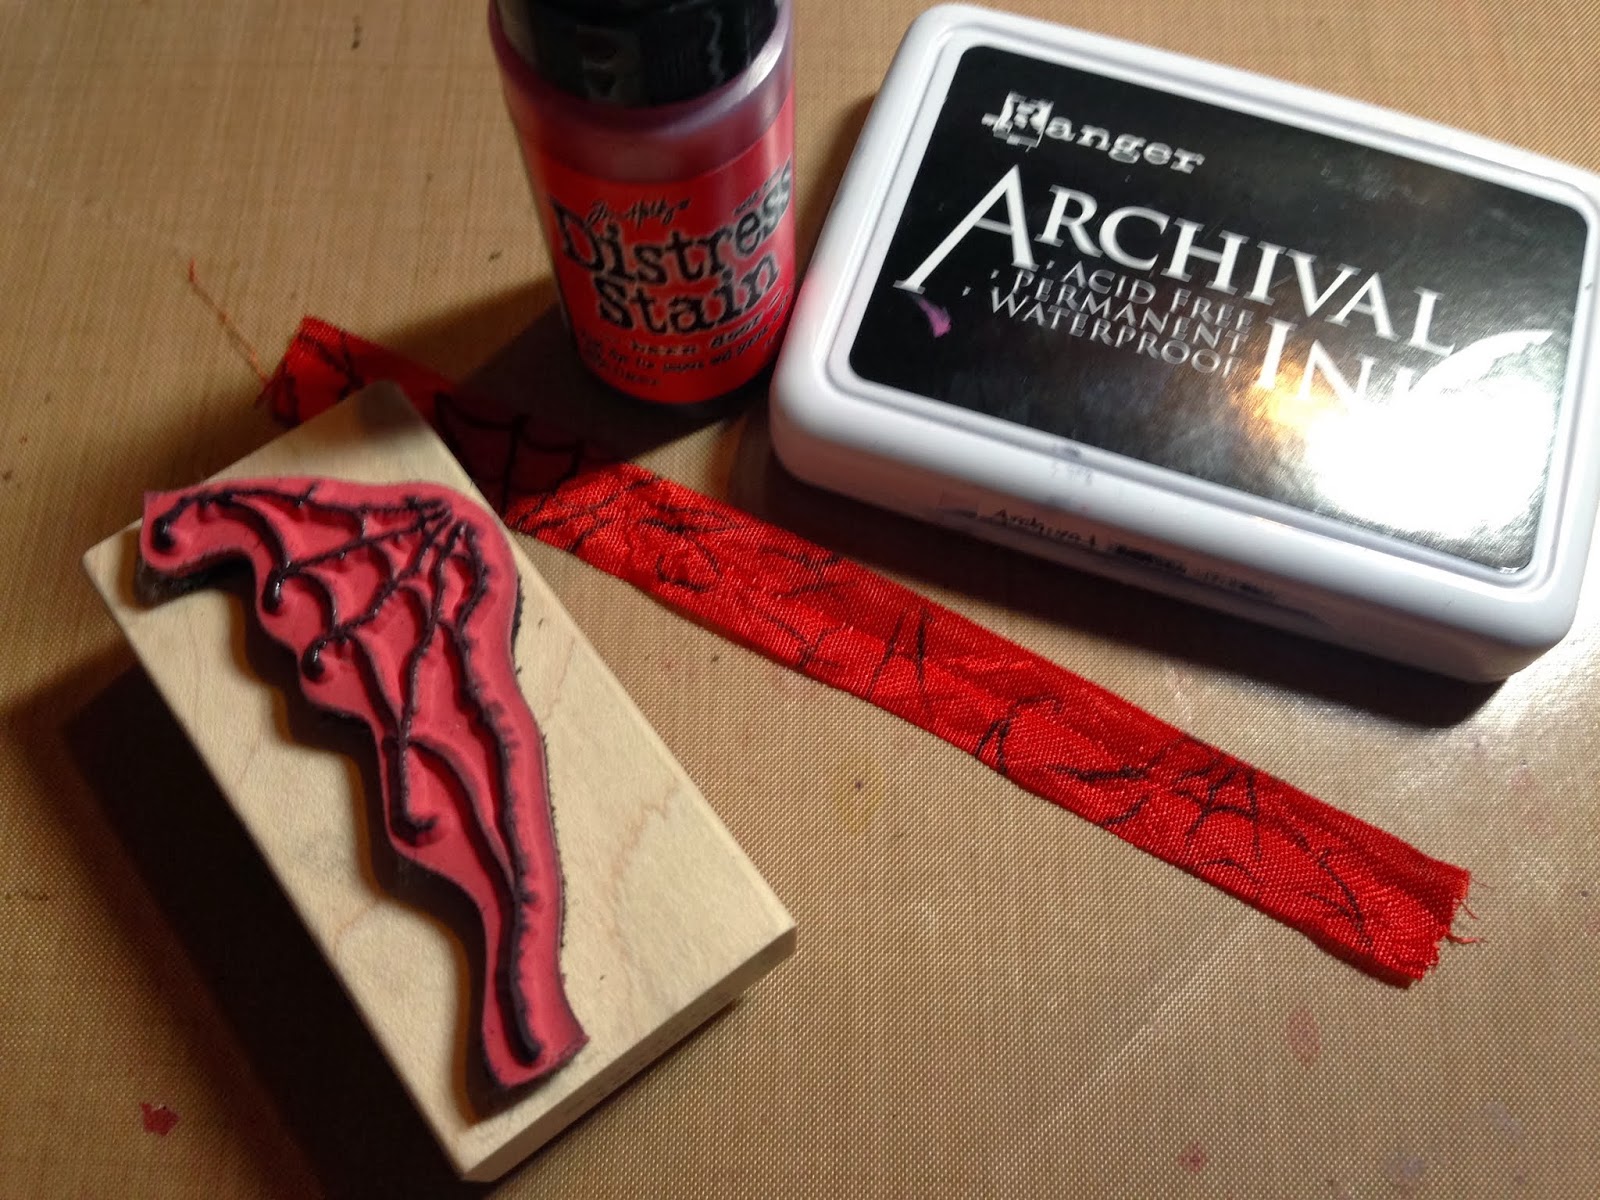
For my ribbon, I died it with distress stain and then used my Spider Wings Stamp (by artist Daniel Torrent)
and just stamped here and there onto the ribbon.
Once all that was done, I just put my project together....
Here is my finished card...


I hope you enjoyed the tutorial today, it's been awhile since I've used my gesso and what fun!!
Thanks for stopping by
Love this card. Prom queen is lovely. I agree with you: that gesso looks really good on the white an black paper ! Well done !
ReplyDeleteCorrie x
Another great card.You just have to love that prom Queen.
ReplyDeleteI really like using gesso on pattern paper. I have not used gesso this way either. You had a great result. Thanks for sharing your talents with Stampotique this week.
ReplyDeletesarinda
Oh dear.... I just LOVE your cards, your ideas, yours way of showing us new techniques. I'm so grateful that you want to share with us. Thank you so very much.
ReplyDeleteHugs from SPAIN
Great tutorial, thanx and your card is great!
ReplyDeleteGesso is definitely fun to play with and try different effects. I love your decision to leave it in the raw over this background paper and your project and tutorial are both great! xx
ReplyDeleteGreat use of all those stamps!!! and the gesso of course. Thanks for joining in with us at Stampotique this week :)
ReplyDeletegreat background and colour combo
ReplyDeleteLove what you've done here Claudine. Thanks for joining us again at Stampotique this week.
ReplyDeleteGreat step by step instructions!
ReplyDeleteLove it great stamp choice!
Jackie
To me, this looks like a magazine cover, Claudine! I just love it and am so happy that you didn't add color. Love the black'n'white which allows your Prom Queen to command center stage. Love how you made her a blonde--totally unexpected (and I love the unexpected!).
ReplyDeleteLove the paper you used, and then adding the embossed paste....fabulous!
ReplyDeleteAwesome Claudine :)
ReplyDeleteLove it!
xx Arwen