Pages

Showing posts with label Cuttlebug. Show all posts

Sunday, May 5, 2013

Product Review - Genius Platform System by Lifestyle crafts

Hey there bloggies, I have been asked by some of my blogging friends if I would please do a review of the lifestyle Crafts Genius Platform System

I figured it would be great to do a review and to try out this product that has gotten much buzz over the past few months. Please know that everything in this post if strictly my opinion and is not the views of anyone else. 

I contacted Lifestyle Crafts and they welcomed the idea and sent me a platform out that same day for free so that I could try it out and do my review. I thought that was so awesome of them and shows how excited they are about this product. 

So for starters, This system comes with three plates, A, B and the platform plate. You also get a free set of cutting dies, all pictured here.


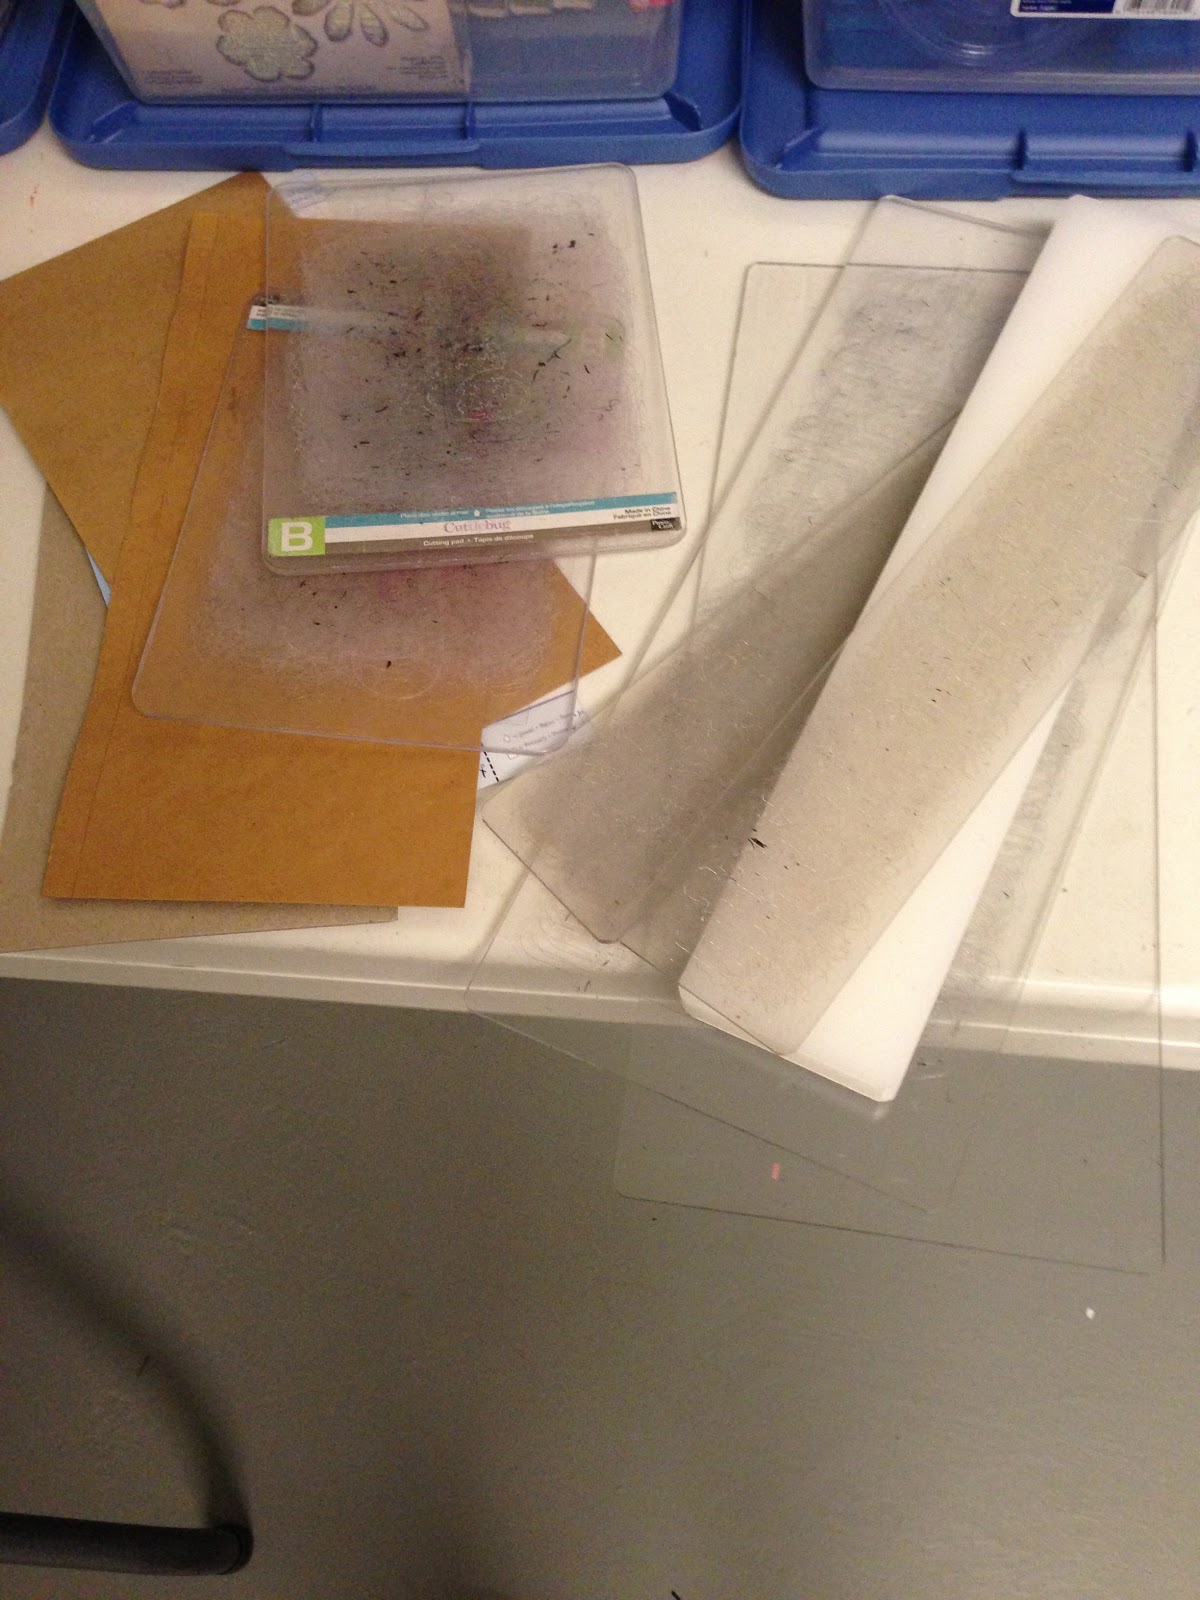
These plates differ from the Sizzix plates because the A and B plates are forgiving and almost "self healing" so as you can see in the picture the thinner B plate will bend easily but will flatten right back out. 

There also are instructions on the back of the box that says what each pad is for and the combos to use to cut

One thing that I noticed is that you need two B platforms and it only comes with one, so you will have to buy another platform in order to do the B + B combos. I'm not sure why they did that, maybe to keep costs down?

The platform of this system is magnetic, which I totally love, no more worries that your thin dies are going to move! I love it!! This is a photo of my dies on the platform and the platform is sitting up, very clever.


I have used the Sizzix Big Shot for all of the demos here.

For starters I began with the platform plus mat A combo
I used the following dies for this trial...
Quickcutz
Spellbinders
Lifestyle Crafts
Memory Box
Sizzix


The dies were all thin, flat type of dies, just different brands.


The cutting system worked great. It cut all the dies perfectly with the exception of the Memory Box die. That is a die I have had trouble with previously so I decided to try out another Memory Box die and run it through again.
It worked perfectly..


Next I used the B matt and Platform combos with the following items, mostly embossing folders (various brands) and Embosslits by Sizzix and Provocraft Cuttlebug Die 


All these items went through perfectly and I had no issues with them.


I also wanted to try the Vintage folder with the metal Vintage pieces with this combo to see how it worked. You can see my results below


As you can see it did emboss the metal lightly.

Lastly I worked with the B + B, but since I only have one B plate I used my existing B Sizzix plastic plate to partner with the Genius plate. I tried this combo with all items below


It even worked fine with the movers and shapers dies.


I also wanted to try it out with movers and shapers dies that require the Sizzix Crease pad, this combo requires the B plate and the movers and shapers tray and then the crease pad on top. It worked beautifully


Lastly I wanted to try the Sizzix Pop and Cuts Die


It worked just fine and the genius system cut it perfectly.

All in all, I think this system is a great replacement for your current plastic plates. No more cracking, bending and warping. This is really easy to use and so far I haven't found anything that I cannot cut with just this system, very easy and simple. 

You can trade in all of these:


For this:

Please NOTE: This system does not work with the smaller green Cuttlebug pictured here, the opening of the Cuttlebug is too small.


I would definitely recommend this system to anyone who asks, its easy and simple to use and I love the matts and platform. I will be buying another B plate to use with my system. It retails for about 49.99 but you will not have to replace it like you would the Sizzix plates, not to mention after you purchase the different sizzix plates that you need, you've already spent well over that amount..Me alone, I have four different sets of sizzix plates.
 I can see this Genius system lasting me forever. 
Thanks for coming by, here is a link if you would like to check it out...
Added Bonus - use the code CACorner for a 20% discount


Saturday, April 27, 2013

Be Who? Be You!!


Good Saturday to you all! Getting ready to go on a run with hubby and then spend some quality time with the family. It has started out as a beautiful day. 
For today's post I wanted to do something for bright and cheery (again) teehee!

I am entering this tag into the following challenges:

The Octopode Factory  - This week their challenge is "Tag Your It".. do something on a tag or with a tag.

Simon Says Challenge Blog - This week's challenge is "Anything Goes"

I started with a manilla regular size 8 tag and sprayed with two colors of Dylusions sprays. Love these two colors together.


I then embossed parts of the tag with a Cuttlebug embossing folder.


Once that was done, I used a few coordinating colors of distress inks to go over the raised portion of the embossed part.


 I used Perfect Medium and clear embossing powder over the raised portions in order to make them a little shiny and stand out.


I used Archival Ink to stamp some flowers into the lower corner of the tag. I also used some distress ink and a stencil in the upper right corner of my tag. 


I grabbed my favorite white gel pen and went over portions of the embossed and stamped images.


For my sentiment I used Tim Holtz Alpha Parts Letters


I printed out my Octopode Factory image (Whimsical Bee) onto card stock and colored him with distress markers.
Adhered him to my tag and added some ribbon/yarn and it's good to go. 
I really love the way this one came out.


Thanks once again for stopping by. Time for me to go get some things done.  Have a wonderful Saturday my friends.


Thursday, April 4, 2013

GIVE-A-WAY AND Vacation AND Call Me.. Maybe...

WARNING: This post is going to be chocked full of information  and it will be a longer read but definately worth your time. If you make it to the end, there is a special give-a-way. Teehee 
(I love give-a-ways)

It has been a really nice week for me and the family. My mother in law was here from California and we did some site seeing in Washington DC. My daughter had spring break and we celebrated her 15th birthday and the entire family Celebrated Easter. It was a very nice break. Here are a few cool photos we took.
My Daughter and her Grandma

Iwo Jima Marine Memorial

Inside the Library of Congress - this is stunning!!


The Cherry Blossoms are not in bloom yet (they are late) but these tulips were so pretty


My favorite part was seeing the Tomb of the Unknown Soldier in Arlington Cemetery. This is so awesome!


Onto Crafting.......

Today I worked on a greeting card. I really want to make more cards and utilize those for gifts for family members and I love using the Ranger Manilla tags for this. For this card I used the 8x4 Jumbo size tag that I bought from The Funky Junkie Boutique


I also used the Tim Holtz Distress Paints and a few metallic distress stains for this project.
To start I folded the tag in half, with the hole on the inside of the card. I then cut a hole with the new Tim Holtz rectangles movers and shapers die. 


The hole will act as my window for the front of my card. 
I dabbed some of the distress paint and distress metallic stain in  Tarnished Brass onto my craft mat and spritzed all with water. I then began to run my tag through the paint/stain combo. The stain isn't as vibrant as the paint but it definitely gave the card a shimmer, the way the paint blends into the tag is so beautiful, it's like marble and the stain blended well with the paint. 


Once the tag was perfect with paint and stain I dried it with my heat tool in order to "set" the paint. 
I did the same with the inside of my card, however, I used a few different colors.


Once my card was colored with paint I wanted to use a border stencil. I went with one of Dylusion's stencils by Dyan Reaveley.


I used distress Ink in Peeled Paint for this stencil.


Look how beautiful that stencil looks on top of that paint. WOW!! I just love that paint!


Moving along.... I cut out a telephone using Tim's movers and shapers die and corrugated cardboard. That phone is too cute!!

I then used tarnished brass distress stain, and black soot distress ink in order to color my phone. I love how it looks shabby and old. I then took the middle circle part out and set it aside for later.


I took that same rectangle die and used some packaging plastic to cut a window border for my window on the card. 

I used this Cuttlebug embossing folder to emboss the plastic once it was all cut and adhered it to my card with glossy accents.


I used a circle punch to cut out a piece of plastic in the same size as the middle of my phone.


Using this template, I made little black dots with Ranger's Enamel Accents, they sort of look like the numbers on the phone. 


I cut apart this mini metal hanger into a "V" in order to use on my phone as the dial. 


I used a dimensional sticky to adhere the middle of my phone to the center so that it would stick out a bit.
I then hot glued the metal piece and used glossy accents to adhere the circle plastic piece to the top of the phone..

This is what the phone looked like when I was done with it! How cool is that?!! I just used some wire to create the chord.


I used my paints and stain in the same colors to create a ribbon
and went around my stenciled leaves in white gel pen so they would stand out more and WHALLA!! Done!
Check it out!!

Front Outside of card


 Inside of card

I will be entering this card into a few challenges:

Simon Says Stamp and Show - A Very Strict Challenge, not really, "Anything Goes" haha!


Frilly and Funkie Sunday Share - They give away a 25% off card to the winner of this challenge. I bought my tags at their online shop Here

Inspiration Emporium - This time they are challenging us to use masks or stencils. For this card I used Dyan's Dylusions stencil. (one of my favorites)

If you have time, check out those sites and their challenges, they give away some really nice prizes to the winners, it's worth it!! 

So here we are at the end, if you've made it this far BRAVO! I'm proud of you for sticking it out. I always like to reward my loyal readers with random give-a-ways. YAY!
I am giving away 3 Distress Paints (because I love them so much, I really want you to try them). These are three of my favorite colors. Perfect for Spring too!


In order to win you must:

1. Follow My Blog (I'm checking this time, I had some sneakies in there last time)
2. Leave me a comment telling me what you think of my card

That's It!!
Deadline to enter is April 14th 11:00pm EST
I will draw a random winner on Monday April 15th.
please make sure to come back on April 15th to see if you won.
Good luck and thanks so much for following.
Cya next time!