
Oh my goodness, I am so sorry that I'm late this week with the challenge. I have been working and running errands for my household. Not to mention doing some things for my mom and extended family too. It's just been busy and time has definately gotten away from me.
Welcome back anyhow and thanks for coming by the blog again.
We are on week 7 of The Altered Puzzle Challenge

Here are the links to the previous posts for this challenge
Our Facebook group is here:
We are using pieces 11 and 12 this week and starting with the first piece I simply painted the background with black acrylic paint
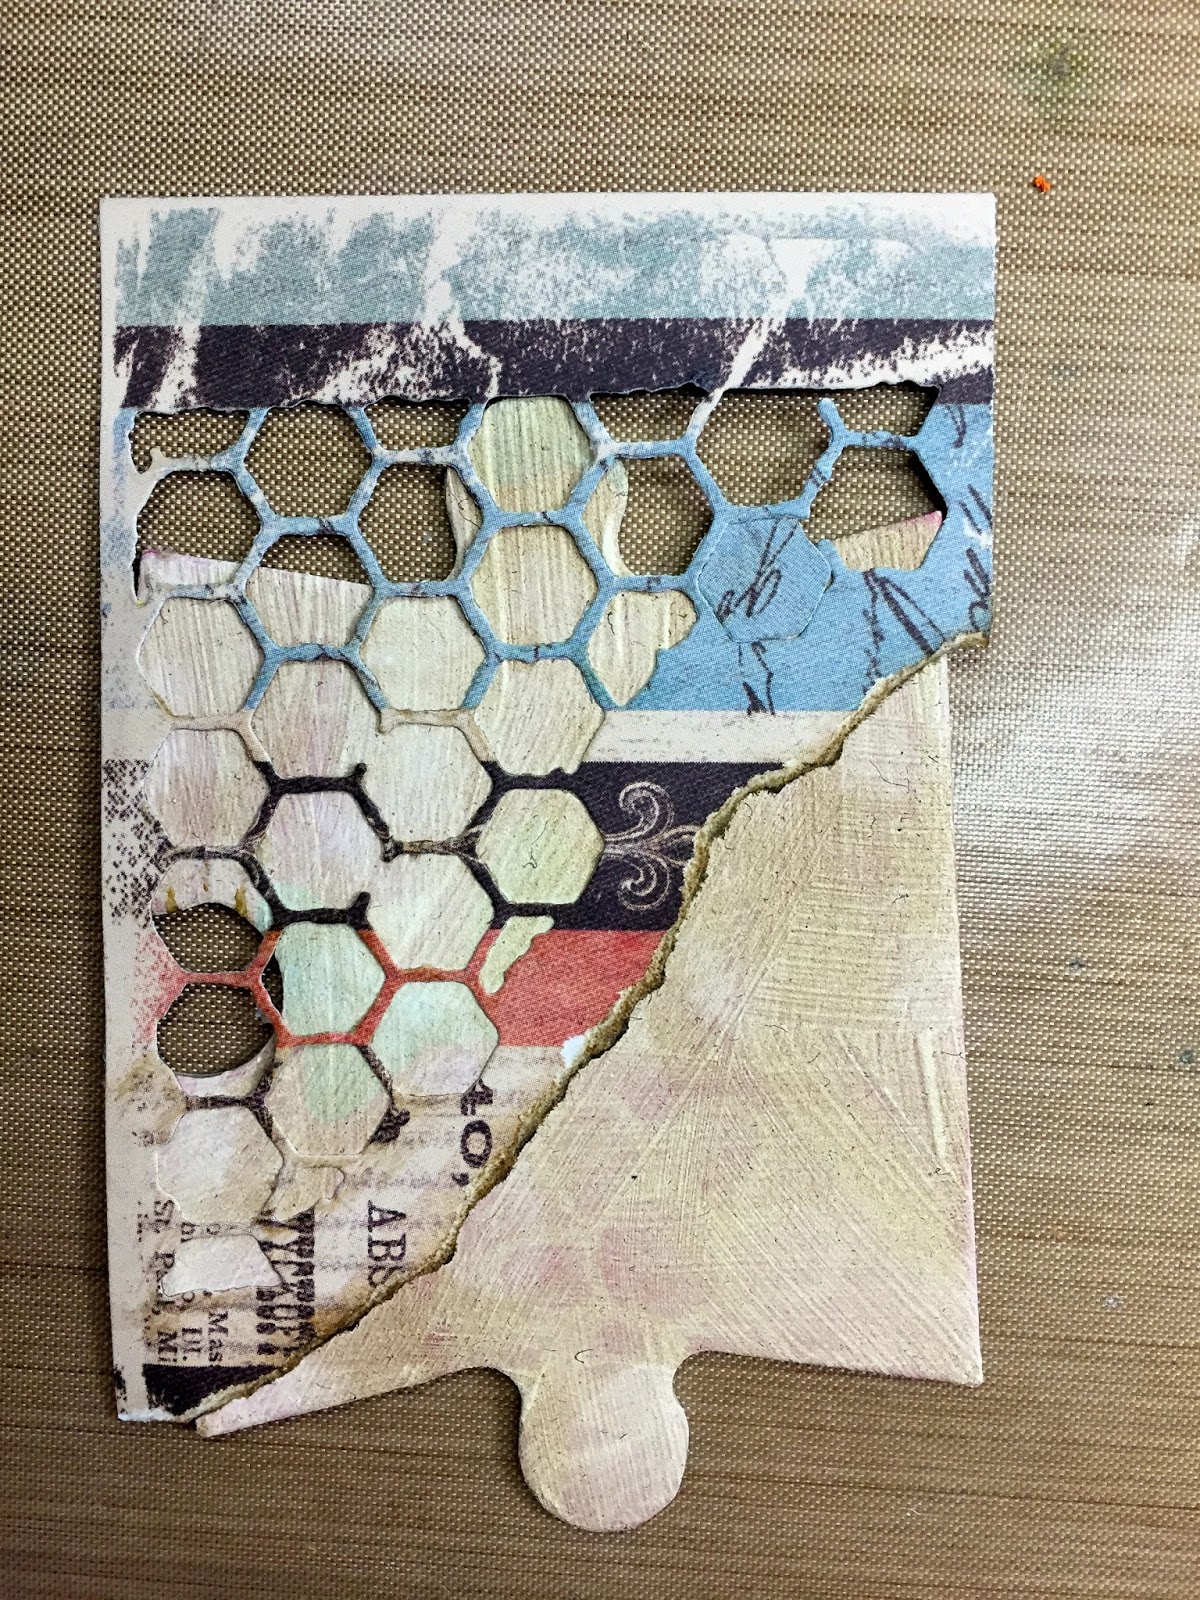
I then used a die from Tim Holtz that I just got the other day to create a stencil

I used two of the dies to create these two, I will use the pice on the left on the 2nd puzzle piece. For now we are going to focus on the black and white piece.

Originally I wanted to glue the paper directly onto my background but I didn't really like it so I used the cut out as a stencil to add paint to my background

I simply dabbed white paint over the die/template and created this cool background, I set that aside to dry

I then used a Stampotique stamp to create my boy and colored him with copic markers. Adding a sentiment (also a Stampotique stamp)
This piece was pretty simple to create, a few tweaks and boom, your done!

For my second piece I colored the background with Adirondack ink in a light shade

Next I added my paper that I used the Tim Holtz die to create
I simply glued it on and then cut around the edges

I set that aside for a moment.
To create my Bee I used another Stampotique stamp (Large Bee)
I stamped my bee onto white paper, embossed it with clear embossing powder and then colored and cut out

I then stamped my bee again onto a clear piece of thick plastic, I used Stayz on ink for this. StazOn works best for slippery surfaces

I added a tad bit of color to the wings with colic markers
I colored on the plastic on the side without the stazOn ink, it helps to not smear the ink

I then cut out only the wings

I glued the middle of the wings to the 1st bee that I had created. I can bend the plastic just so, so that the wings can stand up

I glued my Bee to the bottom corner of the puzzle piece

You can see how the wings stand up, I love this effect, so easy to create too

I dabbed a piece of white paper with brown archival ink and then stamped my sentiment with black ink

I then cut out the sentiment and added dimensionals to the back so that it would stand up a bit

Here is my finished 2nd piece

and here are the two pieces together

I will take a photo of the whole puzzle together next week. I also have to remind myself to take more photos of the steps. I know on the first piece, there were not many photos, sorry about that.
Take care and enjoy the rest of your week!!
CHEERS!
Love these! Still no Stampotique images in my collection...off to see what strikes my fancy!
ReplyDeleteClaudine, I love your blog and look forward to reading your posts. Thanks so much for sharing your creativity with us. xoxo
ReplyDeleteI love these Claudine. I still have a few playing cards to alter. I know, I'm slow. Maybe I'll use these designs. Love the white on black and the die cut on the patterned paper. Gorgeous pieces. Hugz
ReplyDelete