Pages

Showing posts with label Dyan Reaveley Sprays. Show all posts

Wednesday, May 13, 2015

Stampotique Designer's Challenge 195 - Human with Animal Head

Welcome back today, thanks for stopping by the blog. Today is Wednesday and that means there is a new challenge over at Stampotique's Designers Challenge Blog 

This week our hostess is the fabulous Arwen McCullen and she has chosen such a fun theme
"Human with Animal Head"

Here is what she says about this challenge:

"I love to combine designs together. This time I want to see something funny. Combines a human body with an animal head. I am looking forward to your creations."


What a fun challenge, right?

I put together a journal page for this week

I used Stampotique stamps:

Design Cube - By France Papillon


For the background on this I used a combo of Bloom Sprays and Dylusions sprays and paint

I hope that you will join us over at  Stampotique's Designers Challenge Blog this week, I certainly had a fun time putting this page together.
Cheers!

Monday, September 1, 2014

Altered Playing Card Challenge Day 1

Hello all and thank you for joining me in this adventure, I'm thrilled that so many have expressed an interest in doing this challenge. 

I have created a Facebook group for those that would like to join and share photos of the cards that they are creating. You can ask me any questions there along the way as well.
 Just Click the link and ask to join

For today we are going to "prepare" or "prep" all 52 of our playing cards so that we don't have to wait for drying time later and we can just get to decorating in the weeks to come. 
Believe me, this prep is well worth it in the end and will make our process so much more easy.

So for starters, you don't have to do your cards exactly like mine, you can prep yours however you'd like to but we need to give those card something for sprays, inks, paint and markers to hold onto. The surface is too slick "as-is" and nothing will stick to it.
My medium of choice is Gesso,
Gesso will give your card "tooth" so that we can glue things on, decorate and paint any way we want to.

You can also sand your cards if you want to, I prefer the gesso because it also makes the cards sturdy but let me show you both

I use a piece of paper behind my work area and because I'm doing all 52 cards at once, I work mostly on the floor for this

Supplies are basically, a deck of cards (I use basic bicycle cards from Walmart) gesso (if your using it, I used Liquitex), sander or sandpaper and pallet knife


If you are using the sanding technique, simply sand the back of all 52 of your cards, Boom! Your done until next week
(I work onto the backside of my cards because if I want to actually play with my cards afterwards, I can)
If you are doing the gesso you simply apply it to the back of each card like butter on bread, you can leave apply so that some parts of your backing shows through too


This is the fun part, you can create texture by simple dabbing and lifting your pallet knife into the wet gesso and letting it dry that way. You can also draw into your gesso if you want to


I would leave some of the cards without drawings or texture too

Set each cards aside to dry..  your cards may start to curl during the drying process, no worries they should flatten out


Here is a sanded card with three mediums on top
Acrylic Paint, Dyan Reaveley Sprays and Distress Stain


As you can see, the sanded card shows more of the actual card through the spray, stain and paint 


You also will not get texture with the sanded technique, most of your cards will be flat


Here is a gesso card with the same paint, stain and spray
You can see the texture I created with the gesso and the mediums seems more true to color on the gesso card


and here are both cards side by side
(left) Gesso Card
(Right) Sanded Card


I think this will help you decide which type of "Prep" you would like to do with your cards. 
Here are a few of the gesso cards I created for my 52 card project


You can also smoosh tissue paper into your gesso (before it dries) just to give it a little more texture if you want. Above middle, I added some drywall tape stuff from Lowes
I wouldn't add too much to your cards though because we are going to decorate them, you are just creating your backgrounds here
Weather you go with gesso or sanded or you use another medium to prep, make sure to do all 52 cards, if you use gesso, set them aside to dry for at least 24 hours, once dry I just bundled them up and put a rubber band around them to help keep them flat


So get those cards prepped and I will see you back here next week to begin your first two cards! YAY!!
Again, come join us on Facebook too

See ya soon!!!


Friday, April 11, 2014

Artist Trading Block - With Dylusions Sprays

I have been having a ball playing with the Sizzix Eileen Hull  artist trading block dies the passed few days. I made a large one that will be coming up next Thursday for the Inspiration Team and The Artist On The Block website so make sure to check back next week! 

For now, I wanted to use one of the smaller size block dies and make something for my dear daughter 
I decided that the small 1 1/2" x 1 1/2 inch sized block would be perfect for this project

My daughter is 16 now and has had her drivers permit since last August. She will be officially driving without her father and I in the car this coming August. Of course, her father and I really worry about the day we aren't in the car with her anymore. (as any parent would)
I decided to make something to remind her to always drive safely. (to bad I can't put a mini video camera inside this little box!! haha!!)

To start this project off, I sprayed a white piece of paper with Dyan Reaveley's Dylusions sprays in various colors 
I also applied more inks and sprays with some stencils, I then cut down my paper to the perfect size for each side of my artist trading block


I used all of Dyan's stamps for the flowers and words, embossed them with black embossing powder and colored them with copic markers
I then carefully cut them all out, these are tiny so that was quite a chore haha!! 


For the words, I stamped my sentiment and then cut down each part of the phrase that I wanted to use

I added a few lines of white acrylic paint to each side of my paper and also edged each one with black marker

 I painted my artist trading block with black acrylic paint for the base and glued each side of my paper on

In order to get this ATB to hang, I made a hole right in the center of the top and bottom pieces 
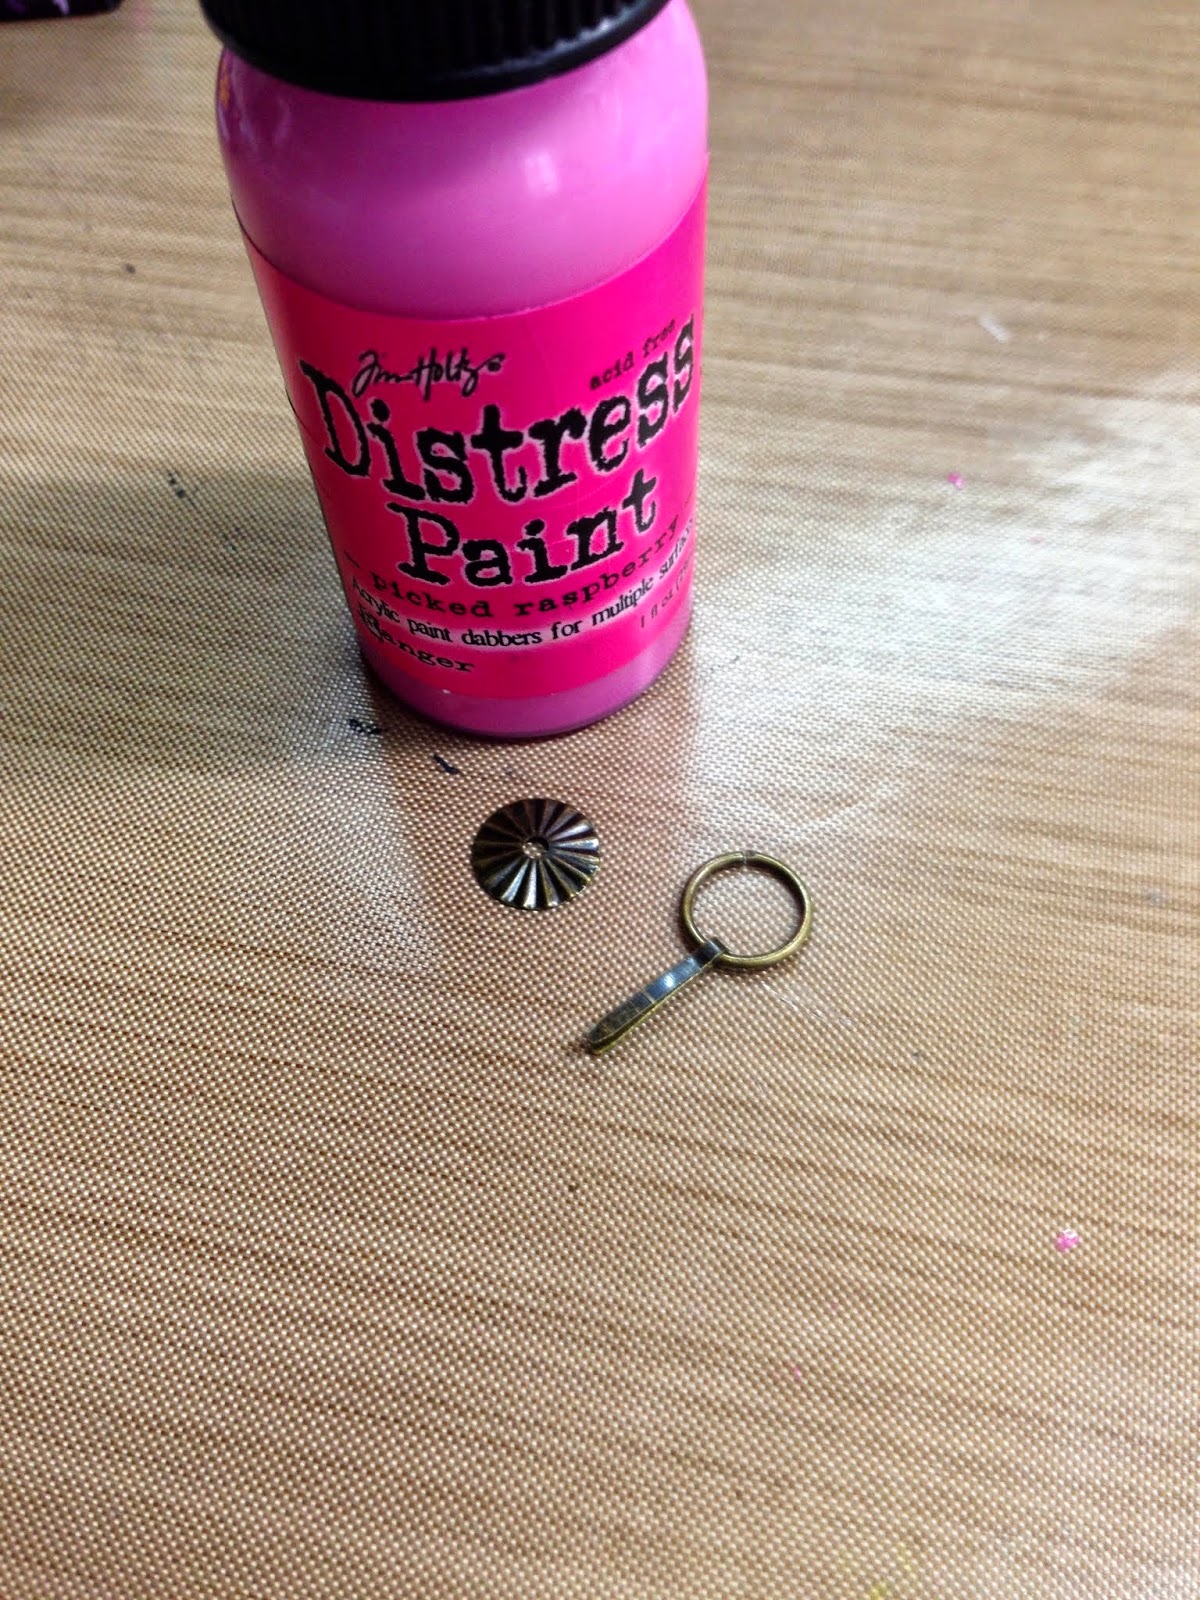
For the top I used a Tim Holtz ring fastener and colored it with distress paint first


For the bottom I made another hole and used a chain, I also used Tim's new Heart Charms and cut out some of the paper I had made and wrote my words for the heart. (try writing that small, its tough LOL)


Here is a photo of my finished Artist Trading Block....


You can see that Tim Holtz ring fastener that I painted in the following photo 


It says "You are loved more than you know" and the heart says "Drive Safe"

Here is a photo of it hanging on her rear view mirror ... (sorry the photo isn't so great, it's tough to take a good photo inside of a car on a sunny day)


Thanks again for stopping by, I hope you enjoyed the tutorial and photos. Maybe you can try your hand at making one of these Artist Trading Blocks, they are mucho fun!!

As always I love your feedback and comments!! XOXO

Wednesday, April 2, 2014

A Bit of Humor

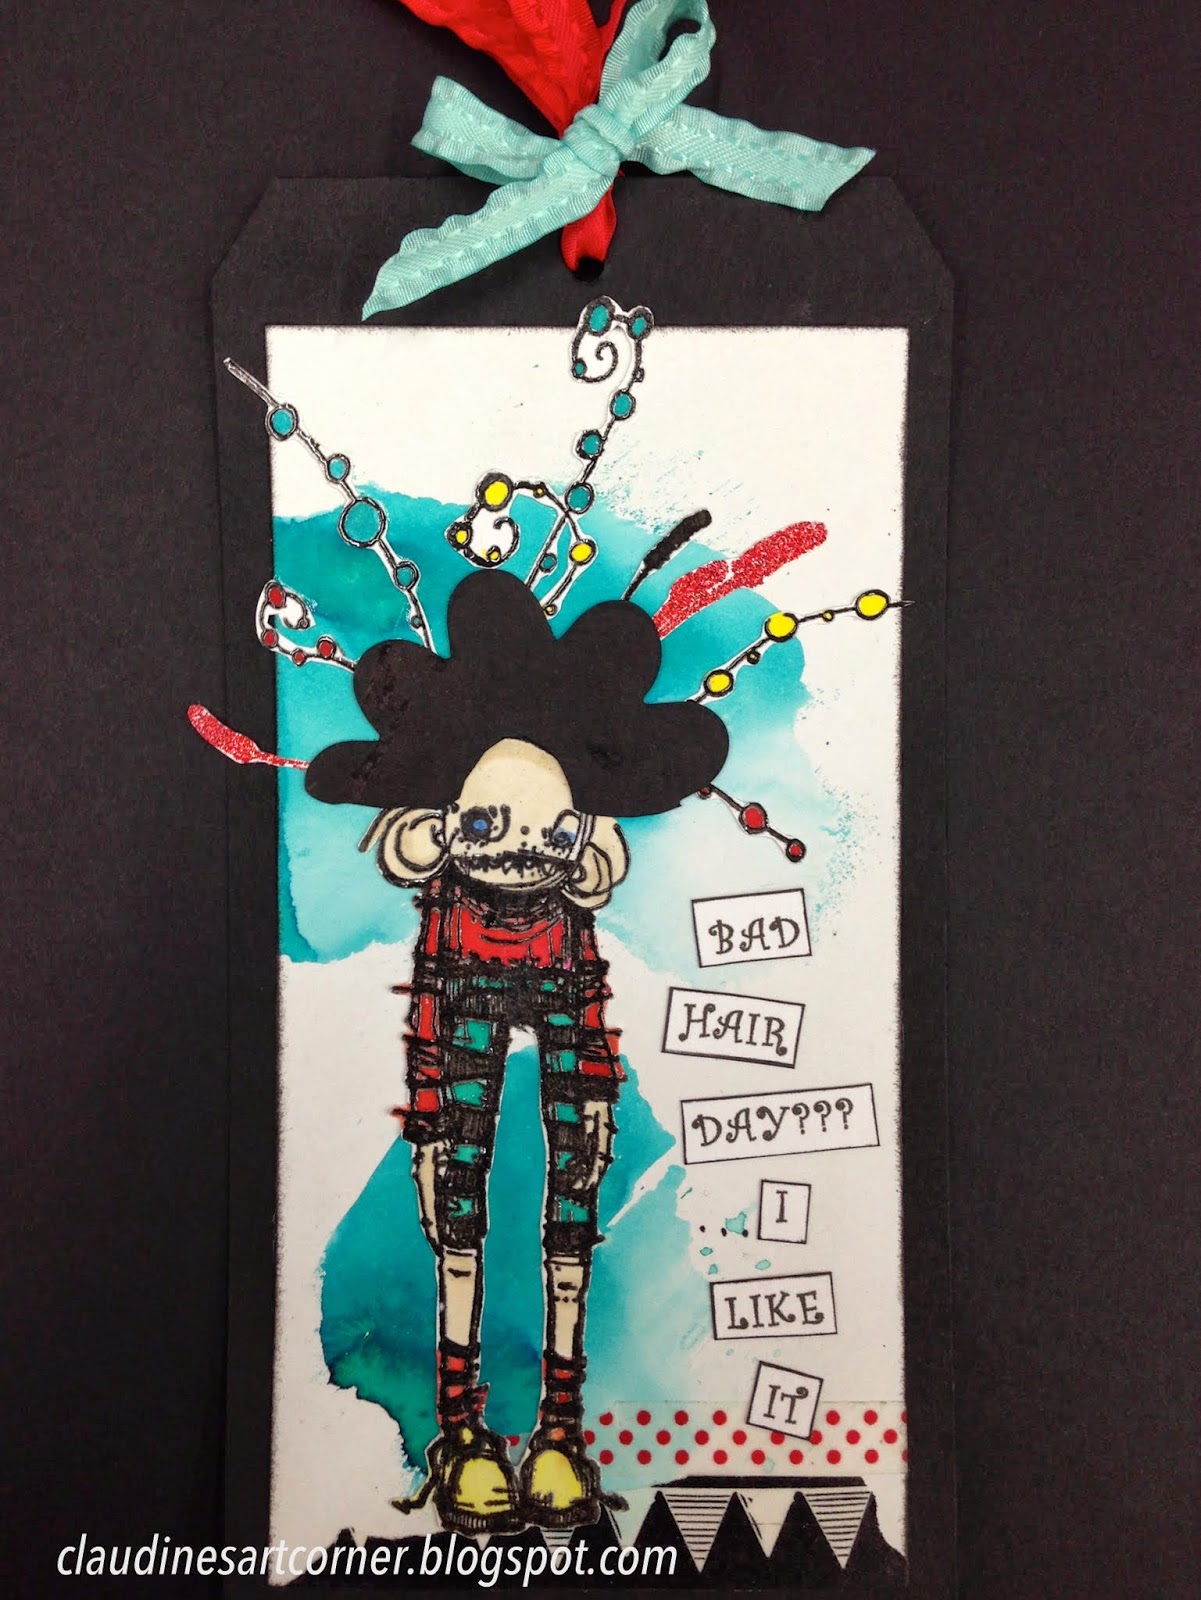
Hello all and Happy Wednesday to you! Thanks for coming by the blog today and sharing a bit of humor with me. It is my turn to post over at the Stampotique Designer's Blog - I hope you will come by and check it out and leave some comments, I always love comments :)

This week over at the Stampotique Designers Challenge Blog our lovely and talented Nellie is challenging us to use "A Bit Of Humor."

I was excited about this challenge, I really love using humor in my creations, laughing is always the best medicine for anything.

I decided to work on a background that I had previously created by using some Dyan Reaveley sprays. I had used the sprays for an entirely different project and then I used this piece of paper to "wipe up" the excess. I thought the color was so pretty and vibrant.

For this project I used Stampotique Stamps:

 Meadow - By Artist France Papillon
Are My Pants Too Tight - By Artist Daniel Torrente
 Tenticurl - By Artist Jo Capper Sandon


I stamped my guy onto card stock and colored him with Copic Markers.
I then simply printed out the sentiment onto card stock from the computer and for the hair I used a flower Sizzix Die and cut it in half. For the hair I used the Seaweed stamp and also the Meadow stamp and just cut them out, I also used a bit of wash tape on the bottom and added some ribbon


I hope you like my tag this week, make sure to check out the Stampotique Designers Challenge and link up your own creation for a chance to win.
CHEERS!

Wednesday, March 19, 2014

A Masculine Postcard

Happy Wednesday and thanks for coming by the blog today
It's Wednesday again and we all know what that means, it's my turn for a post over at the Stampotique Designer's Blog

I hope you all are liking my posts over there, it's been awesome being able to showcase the wonderful stamps from Stampotique

So the challenge over at The Designer's Challenge Blog this week R. Maria Sabina is challenging us to do something in a masculine theme


I encourage you to link up your creation over at the Designer's blog for a chance to win a 30.00 gift card to Stampotique Originals

I only used one Stampotique Stamp this week

Are My Pants Too Tight - By artist Daniel Torrente

Unfortunately I didn't do a full tutorial this week but I can tell you how I started this project...

I started out by using some gesso on a credit card to create some lines and scratches


I then added some Matte Goosebump spray - but instead of using the sprayer I opened the container and smudged some on


I then used a combo of Tim holts Distress Stains and Dyan Reaveley Dylusions Sprays to create the color in my background
I added some stenciling with black archival ink 
I used paint for scratches and the circles
lastly I added washi tape - Even the "Hello" word is wash tape


I hope you have enjoyed my project - please feel free to email me if you have any questions about any of my projects.
Cheers!!

Wednesday, March 5, 2014

Texture and More Texture

Happy Wednesday everyone, thank you so much for stopping by. I appreciate your support of my work and my blog.

Today is my turn to show a project on Stampotique's Designer Blog


This week the Fabulous and wonderful Kay Wallace has challenged us to use some Texture in our backgrounds.
Be sure to stop by the Designer's Challenge blog to check out the wonderful creations by the design team.

For my project I did an art journal page. Texture is one thing that I love, love, love... so this challenge was right up my alley.

I have used the following Stampotique stamps on this page:
Prom Queen - By Jill Penney and Daniel Torrent
Mela - By Daniel Torrent
Topknot - Daniel Torrent
Blocks - Maryse Carrier

I started with an art journal page that was sort of a wipe off page. I brushed some paint onto this page awhile back and just left it.


I love the two colors of blue here and wanted to add upon those.

I got this wonderful Stencil from Jessica Sporn and was itching to use it.
I applied gesso over it to add a little texture to my page, I then set aside to dry


I then added some more color to the page with Dyan Reaveley's Dylusions Sprays


I added some stenciling with black Archival ink
To add more texture I applied Liquitex modeling paste over a brick wall stencil
I also added some stamping around the edges with the Block stamp


I stamped my girls onto a separate piece of paper and colored them, cut them out and glued them onto my page
I then added some white gel pen to some of the blocks around the edges

Lastely I added my sentiment onto a separate sheet of paper that I sprayed with Dylusions sprays as well


Notice how the texture paste takes on some of the color underneath. I love that effect...


Thanks for stopping by once again, have a wonderful Wednesday!!!
Cheers!!

Saturday, March 1, 2014

Tim Holtz Twelve Tags of 2014 - March

Hello and welcome back... I think I have just made myself a new record. This must be the first time I've even done the monthly tag so quickly, on the first day of the month no less!!!
I might just need to pat myself on the back a little LOL

You can check out Tim's beautiful tag here:


Tim did a bit of a softer look to his tag this month and I just really love the outcome

What a beautiful look he has gotten from his Distress Inks

Here is my version of Tim's tag


I always make two and in this case it was appropriate since Tim had us make two


The postcard in the front is the first stamped and the one in the back is the second stamped, you can see the one in the back is lighter

I did not have the stamp set that Tim used so I used Stampers Anonymous Classic set #5

and a few other sets... I added distress glitter to my bee and since I don't have the marker spritzer I used some Dyan Reaveley spray through a Tim Holtz stencil 


Make sure to check out Tim's tag this month and play along, it has been fun for me and I really enjoy them.

Have a great day!!