Hello everyone and welcome back to WEEK 10! of the Altered Playing Card Challenge

If you have missed any week's here are the pertinent links
and our Facebook page
Facebook Group
and the Pinterest Board link
Pinterest Board
Update on foot - A lot of you have been asking how I'm doing with my foot, I appreciate your thoughts, concerns and prayers. My foot is doing better, at my last appointment the doc took some X-rays and also took my bandaged off and he said it was healing up nicely. I'm off my crutches now and just walking in the boot. I have to wear the boot 24/7 still but I am so glad to be off those crutches. My next appointment is on the 17th to take out my stitches. Yay!
Ok now back to the altered playing card challenge ....
This week's theme was supposed to be image transfers, I have done a few image transfers but not many over my crafty lifetime. They are not easy to accomplish well and I proved that this week haha!
I started with two APCs and two different types of paint
I also cut out some photos from magazines that I have
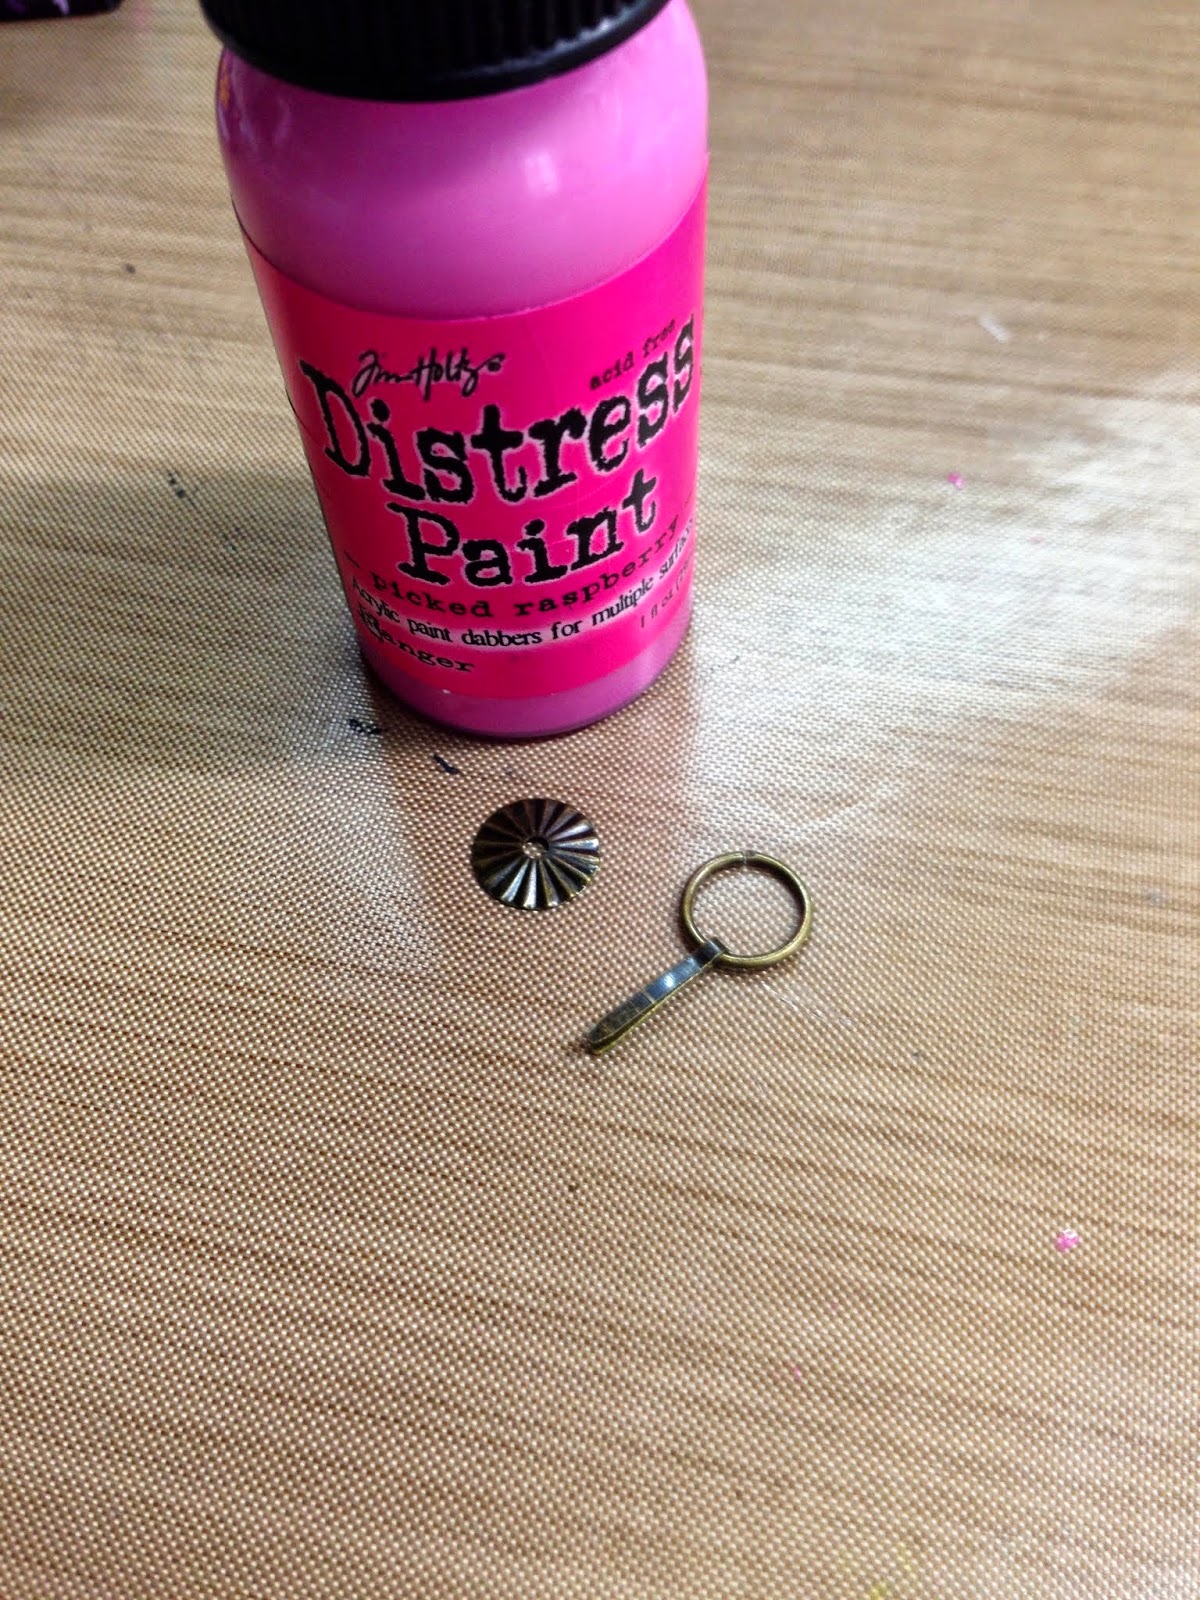
On this first APC I used Tim Holtz paint for my background, I wasn't sure if this would work but took the chance anyway
I applied paint to my craft matt and then spritzed with water
ran my APC through the paint and immediately put my photo face down in the paint. I pressed the photo down really well and then brayered over it

For the second card I went about the same process only this time I used Claudine Hellmuth paint and painted it directly onto my APC and then added my photo


My two cards didn't come out so great, the Tim Holtz paint worked better than the Claudine Hellmuth but both were unsatisfactory to me

This is my "make it work" moment, I decided to go in a completely different direction, Dyan Reaveley has always been one of my favorite artists and so I decided to go with her style and really think outside the box on this one
I decided to change the theme at this point.....
So the theme for this week is "Outside the Box" Quirky and whimsical.
I used the face on the first card that I had transferred and I drew around her chin and outlined her nose to make her stand out a bit more.
I also looked through my magazines again and found some eyes that would work great for her

I also used various Dylusions stamps to create the lips and legs
I had to draw my own little hat because Dyan's were to big to fit on the card and I also
highlighted the hair with Copics and drew it longer


This was the stamp set I used for the legs, I had to cut them shorter to fit on my card but they worked out great

I also doodled on one side of my card with a black pen and my white gelli pen, Here is my finished card

I know this style isn't for everyone but I hope you will get a kick out of trying it out this week
For my next card, I wasn't happy with the image transfer at all so I just simply covered it up completely.
I used Dyan's stamp set and one of her heads and eyes, I then colored both with my copics


I used an edge stamp (also Dyan's) to create my edging and my white gelli pen to color in some portions

I used another one of Dyan's stamp sets to create a "stem" body for my doll, I was thinking quirky here. I also colored that with copic markers

I used another of Dyan's stamp sets for my sentiment, here is my finished 2nd APC, I really love how it came out

Here is a photo of my two finished cards for this week

So for this week, think "outside the box" and quirky and fun!
Here is a photo of the cards we have created so far

It's really cool to seem them all laid out like this.
I am also going to have a give-a-way this week.. One person will win the following:

In order to win you must be following along with the Altered Playing Card Challenge and creating your own.
Just leave a comment to be entered to win and I will randomly draw a winner. I will announce the winner in next week's post.
HAVE A GREAT WEEK!!
and the Pinterest Board link
Pinterest Board
Update on foot - A lot of you have been asking how I'm doing with my foot, I appreciate your thoughts, concerns and prayers. My foot is doing better, at my last appointment the doc took some X-rays and also took my bandaged off and he said it was healing up nicely. I'm off my crutches now and just walking in the boot. I have to wear the boot 24/7 still but I am so glad to be off those crutches. My next appointment is on the 17th to take out my stitches. Yay!
Ok now back to the altered playing card challenge ....
This week's theme was supposed to be image transfers, I have done a few image transfers but not many over my crafty lifetime. They are not easy to accomplish well and I proved that this week haha!
I started with two APCs and two different types of paint
I also cut out some photos from magazines that I have
On this first APC I used Tim Holtz paint for my background, I wasn't sure if this would work but took the chance anyway
I applied paint to my craft matt and then spritzed with water
ran my APC through the paint and immediately put my photo face down in the paint. I pressed the photo down really well and then brayered over it
For the second card I went about the same process only this time I used Claudine Hellmuth paint and painted it directly onto my APC and then added my photo
Once that was completely dry (I let it set for 12 hours or so but most likely would only take an hour to dry)
Spritz your card with water and start rubbing off the excess paper, careful not to rub off your image itself
My two cards didn't come out so great, the Tim Holtz paint worked better than the Claudine Hellmuth but both were unsatisfactory to me
This is my "make it work" moment, I decided to go in a completely different direction, Dyan Reaveley has always been one of my favorite artists and so I decided to go with her style and really think outside the box on this one
I decided to change the theme at this point.....
So the theme for this week is "Outside the Box" Quirky and whimsical.
I used the face on the first card that I had transferred and I drew around her chin and outlined her nose to make her stand out a bit more.
I also looked through my magazines again and found some eyes that would work great for her
I also used various Dylusions stamps to create the lips and legs
I had to draw my own little hat because Dyan's were to big to fit on the card and I also
highlighted the hair with Copics and drew it longer
I used a portion of Dyan's "Be Bold" stamps to create my words for my card
This was the stamp set I used for the legs, I had to cut them shorter to fit on my card but they worked out great
I also doodled on one side of my card with a black pen and my white gelli pen, Here is my finished card
I know this style isn't for everyone but I hope you will get a kick out of trying it out this week
For my next card, I wasn't happy with the image transfer at all so I just simply covered it up completely.
I used Dyan's stamp set and one of her heads and eyes, I then colored both with my copics
I used an edge stamp (also Dyan's) to create my edging and my white gelli pen to color in some portions
I used another one of Dyan's stamp sets to create a "stem" body for my doll, I was thinking quirky here. I also colored that with copic markers
Here is a photo of my two finished cards for this week
So for this week, think "outside the box" and quirky and fun!
Here is a photo of the cards we have created so far
It's really cool to seem them all laid out like this.
I am also going to have a give-a-way this week.. One person will win the following:
In order to win you must be following along with the Altered Playing Card Challenge and creating your own.
Just leave a comment to be entered to win and I will randomly draw a winner. I will announce the winner in next week's post.
HAVE A GREAT WEEK!!