Pages

Showing posts with label pitt pens. Show all posts

Wednesday, April 9, 2014

Pen, Paint Pen or Marker

Good afternoon all, I'm so excited about this week's challenge over at Stampotique's Challenge Blog

Magda Polakow has asked us to use a Pen/Paint Pen or Marker on our projects and I have to tell you, I love using all of those on my creations. 
Spring has definitely been on my mind lately and I'm SO ready for some burst of heat and sunshine so this postcard was for a "Spring" swap that I joined


Come on over to the Stampotique Designers Blog and check out my postcard

For this postcard I used Stampotique Stamps -

Carol's Flower Large - By artist Janet Klein
Carol's Flower Small - By Janet Klein
Jasmin - By Artist Jo Capper-Sandon

In the background I used Tim Holtz distress paint and inks and I also used Tim's stencil called splatter
I added bits of tissue tape here and there
I used Tim's new Framework die called "lattice" to create my green pieces in the background. 

I simply stamped the Stampotique stamps onto separate white paper and colored everything with copic markers, I then cut them out and glued them onto my background
I drew the flower stems with Pitt Pen Black marker and then went over them again with a white gelli pen
I drew scratch marks here and there with the same two pens
I wrote my sentiment out and cut it out and glued it on


As always I love/cherish your comments and am so excited to get feedback.  Thanks for coming by and take care

Cheers!!!

Thursday, May 23, 2013

Time To Go

Well, it is time for us to move again. If you haven't already heard my husband is in the Air Force and after being in Northern Virginia for 4 years, we are being stationed in back to Colorado. 
I felt I needed to make a goodbye card..... (stay tuned, there is a matching pendant at the end you will want to see too!!)


Of course I can't create without joining in on a few challenges, right?
I am entering this into:
Frilly and Funkie Sunday Share - This is an open theme, you just need to use something that you purchased from The Funky Junky Boutique and I am using my wonderful Metallic Distress paint on this one! This shop is owned by another wonderful gal, Linda, so sweet and talented she is.

Simon Says Stamp and Show - The challenge this week is "Favorite Ink", which is super hard to choose just one! WOW! I love them all. However, in the spirit of the challenge, I chose Vintage Photo (I used Evergreen Bough too) hehe!!

Hobby Cutz Challenge - The challenge over there is "More than One fold" I folded mine twice :) so I think it counts 


I started out this by choosing my distress inks, since Vintage Photo is one of my favorites I had to use that and I added Evergreen Bough as well. These two look awesome together.
I swiped a little onto my craft sheet, misted with water and ran my jumbo tag through it, front and back.

I had a vision in mind for this card so I cut a hole in my tag in exactly the spot I needed it. I used Tim Holtz movers and shapers Sized Circles for that. These are great because you can move them around wherever you want them to cut.


I cut out a Mini Globe from card stock and then used the Vintage Photo distress stain again to color it.


I then cut out another mini globe and cut the center part out of it. I used that as a mask in order to stamp

I stamped a Tim Holtz map stamp across the top using Vintage Photo Distress Ink.

I used my black pitt pen to color in the center and then went over that with glossy accents


I used another Tim stamp from the set "Mixed Media" and Archival Ink to create lines on the front of my card

I used an oval that I cut out using scrap paper as a template and also stamped the inside of my card

I used my Distress Marker in the Vintage Photo color to go around the oval and also added that inside piece from the scrap globe I made.

I used Tim's Envelope  die to make small buttons for the front of my card. I cut these out with grunge paper.

I then used Distress embossing powder in Vintage Photo (of course) to make the buttons have a bit of a grungy look. I inked them a bit with Black Soot Ink as well.
Those were added to the front with brads.


I also did the same with this little hinge and added a few small copper colored flat beads.


I had made the front flower awhile back and it was just sitting there on my craft sheet, it worked great! Sometimes it pays off not to clean up. haha!!
After that was all done I used my Tarnished Brass Distress Paint to go all around my cards edges, it added just the right touch.


I used these three colors of distress paint to color my tag for the inside of my card. Including Vintage Photo of course. :)


So last but not least... I cut small letters from Tim's Typeset
strip die.
Here is my finished project...


I left the inside oval blank so that I could write something there to a friend of mine.


Last but not least, I wanted to show you a matching pendant I made. I bought some ice resin the other day and had an itch to try it out. I decided I wanted a pendant to match this card.
I started by using the same process as before.
I cut a circle using my Spellbinder Die that matches my pendant.

Instead of stamping with distress ink I used Archival since I wanted it to be permanent and not run once I pour in the ice resin. The paper turned out great and matched the card wonderfully.

I then added my embellishments, Mostly Tim's holtz trinkets but some were odds and ends. I made two, just in case, one larger and one smaller. The smaller piece also has a Tim Holtz Sticker Word in it. Lastly, I mixed the resin and poured it in. I'm waiting for that to set now. YAY!! After it's all set I will make a necklace. 


I hope you have enjoyed the tutorial today. Sorry for the long post, I just had more steps to this process. Have a great day!!!


Sunday, May 19, 2013

Butterfly Fly Away

I have a few things to share with you today. The first being that my family and I went over to Leesburg Virginia yesterday to The Old Luckets Store there. They were having a big hoorah and had hundreds of vendors there with loads of antiques. It was awesome and so fun to go over and check out all the wonderful goods. Here are a few photos..


this door was amazing, I wanted to buy it for my house haha!!  

talk about having a big head!!  

Wouldn't these be so cool to do in Tim's new fabric?!! I might have to buy me some old suitcases!! 


I had a fun time and came away with an old printers tray, some watch parts and typewriter keys. I also bought funnel cake and kettle pop-corn!! I was actually pretty good, I could have bought SO much more.

Onto crafts now.. for my project today I worked on a journal page. I'm entering this page into the following challenges...
The Octopode Factory Challenge - This time it's all about Music. I used the old Miley Cyrus Song in my page "Butterfly Fly Away"
Stampotique Designers Challenge - This week they are doing "Anything Goes" WOOT! I love anything goes. I only used one Stampotique stamp on this page, but it's one of my new favorites.
Our Creative Corner - This week they are also having "Anything Goes" Double YAY! They have revamped the site and are starting out fresh and new, led by the new owner Laura, be sure to check them out.
Simon Says Stamp Challenge - This week is all about "Flower Power", that's easy for me, I love flowers.

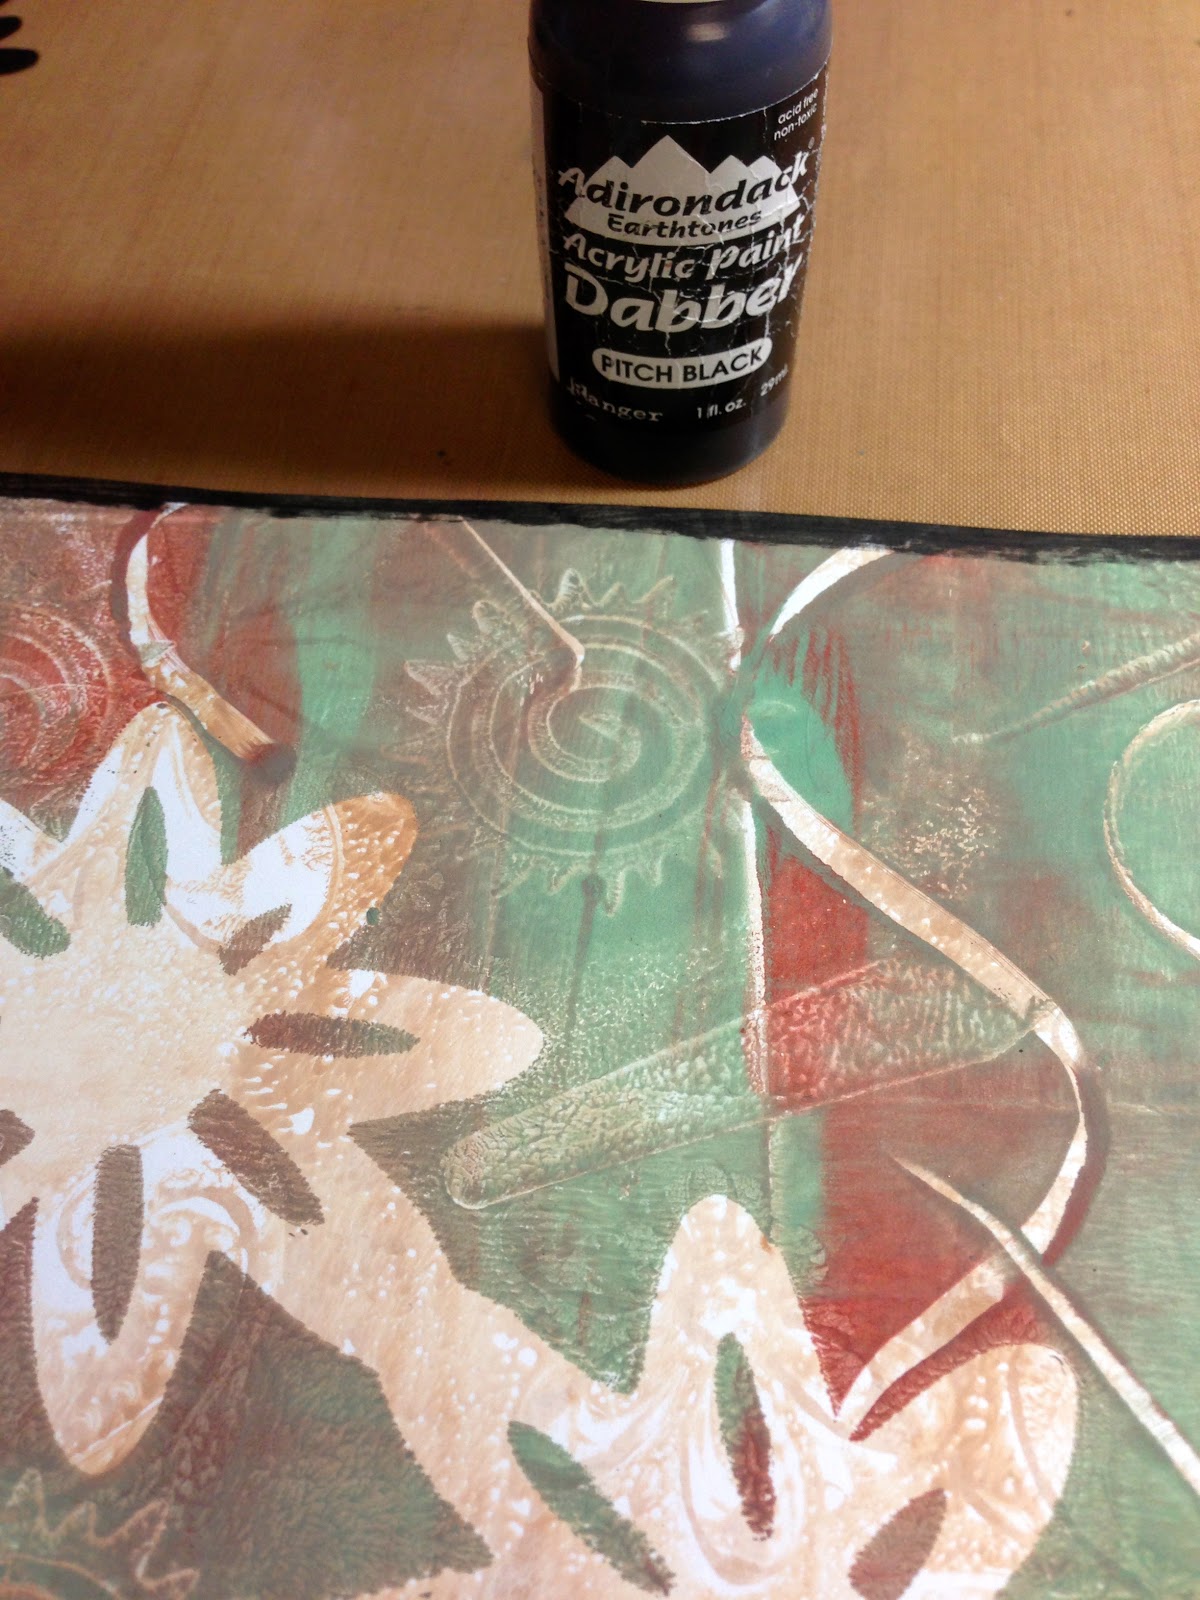
For starters I wanted to use this wonderful Gelli Print that I made a few weeks ago, I love that it has swirls and two big flowers right in the middle. I just love the contrast of color as well.

I used a little Tinkerbell girl from the Octopode Factory Shop
I colored her using a combo of watercolor pencils and chalks of various brands, I did the house the same way but I forgot to photograph it.

For the Butterfly I used three different colors of embossing powders and heat set

I then fussy cut the butterfly out and colored around the outside  with my wonderful Faber-Castell Pitt pen

I went around the entire outside of the page using Tim Holtz acrylic paint dauber

I used  my Memory marker to color the Seaweed Stampotique Stamp and then stamp it onto my page.. this stamp is by artist Jo Capper-Sandon.. this is a seaweed stamp but here I'm using parts of it for my butterfly swirls. 

I then used another marker (Zig) to go over it and make it stand out more and deeper black. I actually colored and stamped my seaweed twice here.  

I also used my white gelli pen to highlight the swirls


I also used a Sizzix Die for the black flowers

Here is my final page, I really love how the gelli print fades into the background so nicely and the characters pop off the page. Gotta love those gelli prints!!! 


The reason I chose this song title is because it reminds me so much of my daughter and our relationship and make me think of the not so distant future, she will be graduating high school and flying away from home like a butterfly. She will flourish and be beautiful and do many wonderful things, I just know it.. 


Thanks for stopping by, have a super Sunday.