Pages

Monday, March 16, 2015

Altered Playing Card Challenge Week 26

Oh my gosh, only one more week to go for The Altered Playing Card Challenge, Wow. How fun has this been? I've had a great time and I can't believe it's almost over

We are now onto week 26 of this challenge


If you have missed any of the previous week's here are the links

and our Facebook group

and the Pinterest Board link
Pinterest Board

This week I wanted to focus on something called Monochromatic which basically means creating something with one color in many different shades. You can also use white or black in a monochrome project. 

I am no good with monochrome and it's a tough concept for me so this week will be a sort of challenge for me as well.

I started out with two different printed papers, one was a light teal color and the other was purple


I then grabbed some stencils, both of these are by Dylusions


For the next step I used acrylic paint but feel free to use inks if you choose
I did the purple card first and used a slightly darker shade of paint along with the stencil
( I like to use sponge dabbers with paint and stencils, you don't want too much paint on your dabber, I usually dab in the paint and then dab onto the craft sheet a few times and then begin to work)


For the second teal card, I did the same


Working with the teal card first, I first added a bit of ink around the edges


I then used my fine tip Bic marker and doodled a bit 


I then stamped Roc Nicholas's stamp called Screaming Bunny onto white card stock and colored him with copics
I used several different shades of teal for this


I then cut my bunny out

I used a different color ink to stamp Bla Bla Bla by Jill Penney and Daniel Torrente onto my background, then adhered my bunny and my words Even Silence Speaks By Jo Capper-Sandon
Here is my finished card

For the purple card I first used ink to edge my card


I then used my white gel pen to created some doodles here and there


I added some wash tape, I like to tear my washi tape and then add it to my backgrounds


I stamped  Mervynboy and Hat onto white card stock and colored them with several different shades of purple


I added the Goody, goody gumdrops sentiment last
Here is my finished card

and here are my two cards together


I hope that you will try this monochromatic theme this week. You don't even have to do yours like I did mine, as long as the concept is the same. The same colors in different shades.
Have fun this week, next week is out last and we will have a huge giveaway!! So come back!
Cheers!

Thursday, March 12, 2015

Stampotique ATC Facebook Swap

Hello and welcome back to my blog... today I would like to show you some ATCs that I made for the Stampotique Facebook page ATC swap. The Facebook group does a swap about once a month with people from all over the world and it's been so fun.
This months theme for the swap was all about "Swaperoo"
The idea is to create an ATC for your partner with Stampotique Stamps and swap out the body parts and mix and match them.

Here are the two ATCs I made for my two partners.


I used the following Stampotique Stamps:
Carrot - By Artist Jill Penney
 Halloween CubeRogerPenelope all by artist Daniel Torrente
When I grow Up - Carol's Collection
Barcode Text 2Design Cube 2 - By Artist France Papillon

This was such a fun swap and I love how these came out. I just had to show you!!
Have a great day!!

Wednesday, March 11, 2015

Stars - Stampotique Challenge 186

Welcome back to another wonderful Wednesday. The weather this week has been really good here in Colorado, in the 60s. It's a nice break from all that snow and cold so I'm in a pretty good mood. haha!


Our hostess for the Stampotique Challenge is Carol Fox and her challenge to us is "Stars"
Here is what Carol says about this challenge:

"Feature stars this week, one or more on your arty creation. As part of your background or a main feature it's up to you. Just Have fun with the challenge."

You can see all the inspiration over at the Stampotique Designer's Challenge Blog and you can also enter to win a 30.00 gift certificate to the Stampotique Originals online store
It's a great way to get your hands on some of the wonderful stamps

For this challenge today I decided to make more of a masculine Birthday card for my husband. His birthday was on the 5th of this month and it's always so nice to have a handmade card

I started out by using a technique by Wendy Vecchi, I had used this technique on the Altered Playing Card Challenge this week too. It makes a beautiful background to start with

I created my own star stencil for this because I don't have a star stencil that I really like nor do I have any star stamps (amazing right?)


I stenciled some stars onto my background here
I then used Stampotique Stamps:
Agatha Traveler - By Artist Magda Polakow
Happy Head Appliances Cube  and Happy, Happy, Happy - Both by Daniel Torrente
Blocks  - By Maryse Carrier


I think this one came out nice and my husband loved it. 
Thanks for coming by everyone, be sure to check out the challenge over at the Stampotique Designer's Challenge Blog
Have a great day!!

Monday, March 9, 2015

Altered Playing Card Challenge Week 25

Thanks so much for coming by, I owe some of you an explanation from my absence last week. I know that most of you (on Facebook) already know that I was absent last week because I fell and ended up with a concussion. Those of you who are not members of the Facebook page had no idea and I apologize about that. I didn't come online at all last week due to the fall. I took a pretty scary spill down my basement's unfinished stairs and hit the back of my head pretty good. Had a baseball sized bump and went to the ER. Thankfully everything was ok and I didn't have any internal bleeding but I had a concussion and pretty serious bruise and lump. I'm much better now and feel more up to crafting and blogging. Thanks to everyone for the well wishes last week!!!
We are now onto week 25 of this challenge


If you have missed any of the previous week's here are the links

and our Facebook group

and the Pinterest Board link
Pinterest Board

I figured that we would do something simple and not too tough this week
I have always loved the ideas and styles of Wendy Vecchi and this week our backgrounds are going to be inspired by her technique from last years CHA .... If you want to watch the video on how this is done click HERE she demos how to do this technique and with what supplies. 

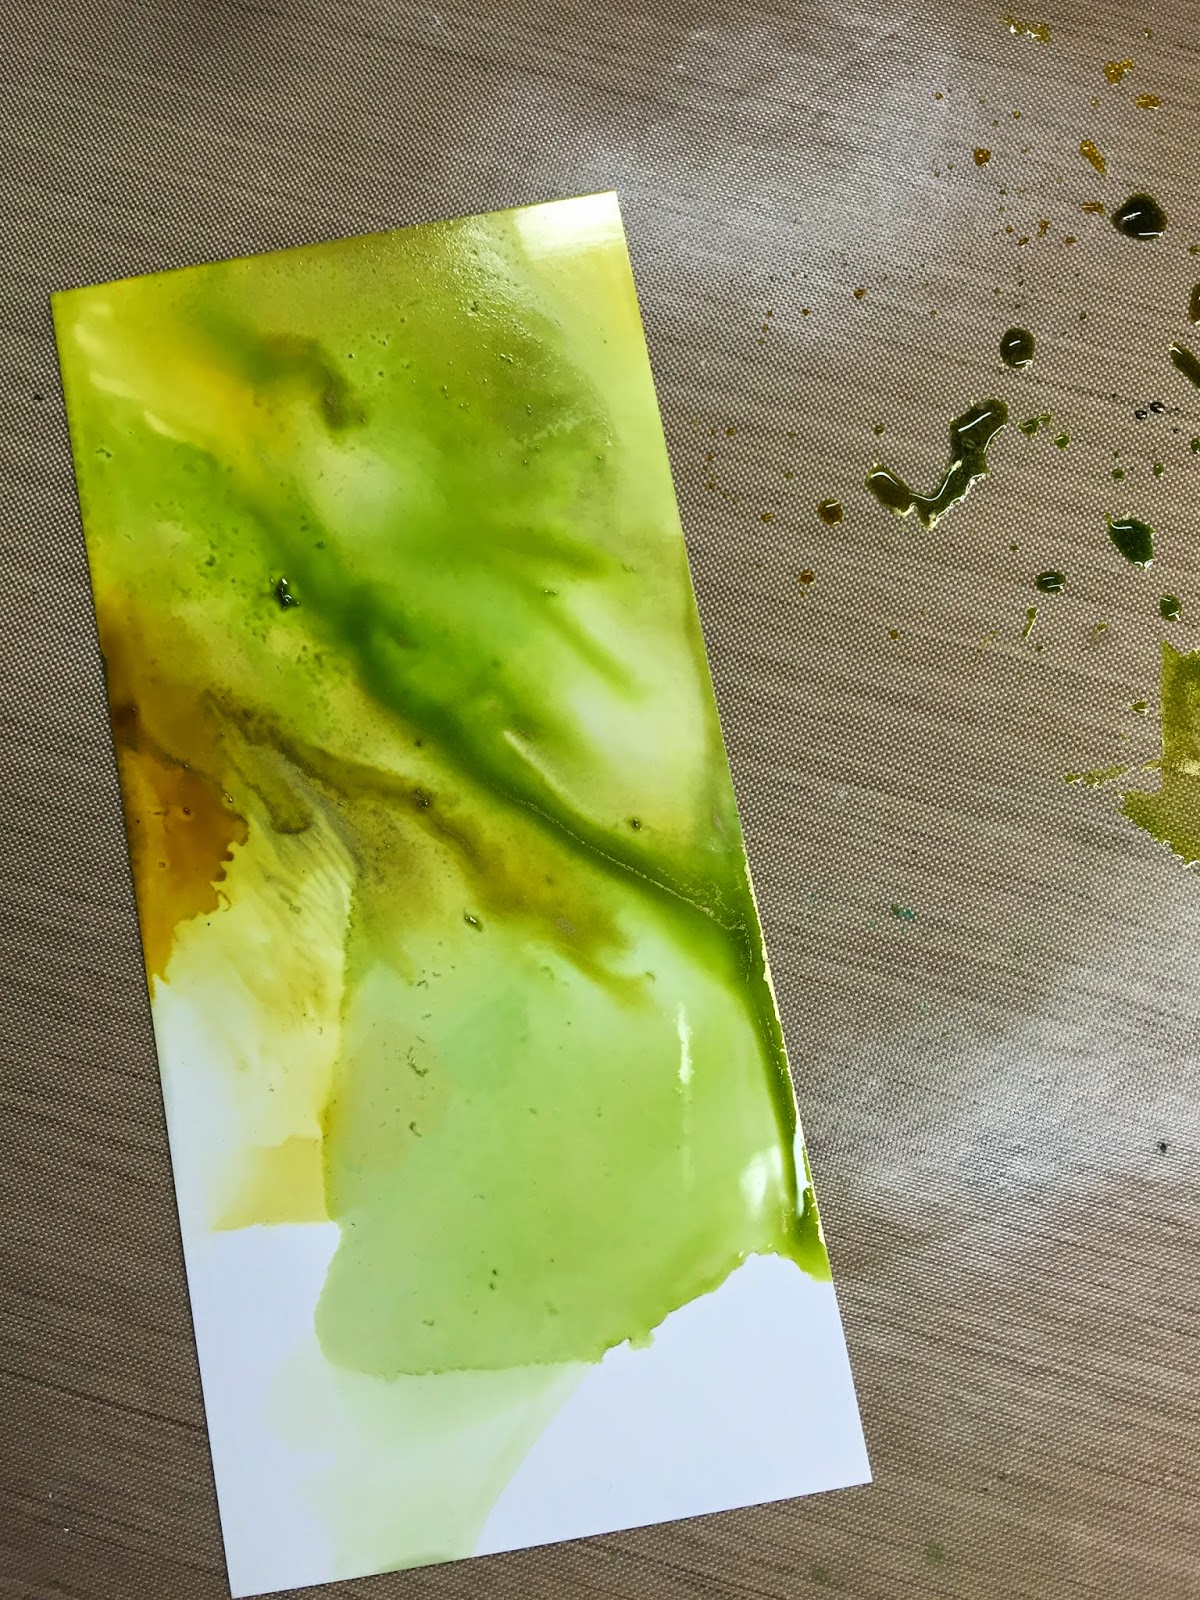
You need some glossy paper for this technique and I used Ranger's glossy, I just cut a few pieces that were slightly larger than my playing cards


You will also need some different colors of Archival re-inkers and a bottle of alcohol or Ranger's blending solution

All you are going to do is add a few drops of the re-inkers onto your craft matt. For this one I also used Gold Mixative by Ranger and Tim Holtz


then add some alcohol or the blending solution


take a popsicle stick or paint stick and run it through the alcohol and the re-ink colors slightly


The simply run your glossy card stock through the colors


You can add more blending solution to your paper so that the colors run together even more if you want them to, just let the colors swirl together one your page, it's very pretty once it's dry
(I used the only colors I had in re-inkers LOL, I don't have many)


For the second card, I tried a different color combo and actually used silver fixative and black this time


So this one came out so cool and amazing and then I ruined it!! I had to toss it and start again and my second one didn't come out as good but I used it anyway

I then glued my pieces of colored paper onto my playing cards


and trimmed to size
First Card


second card

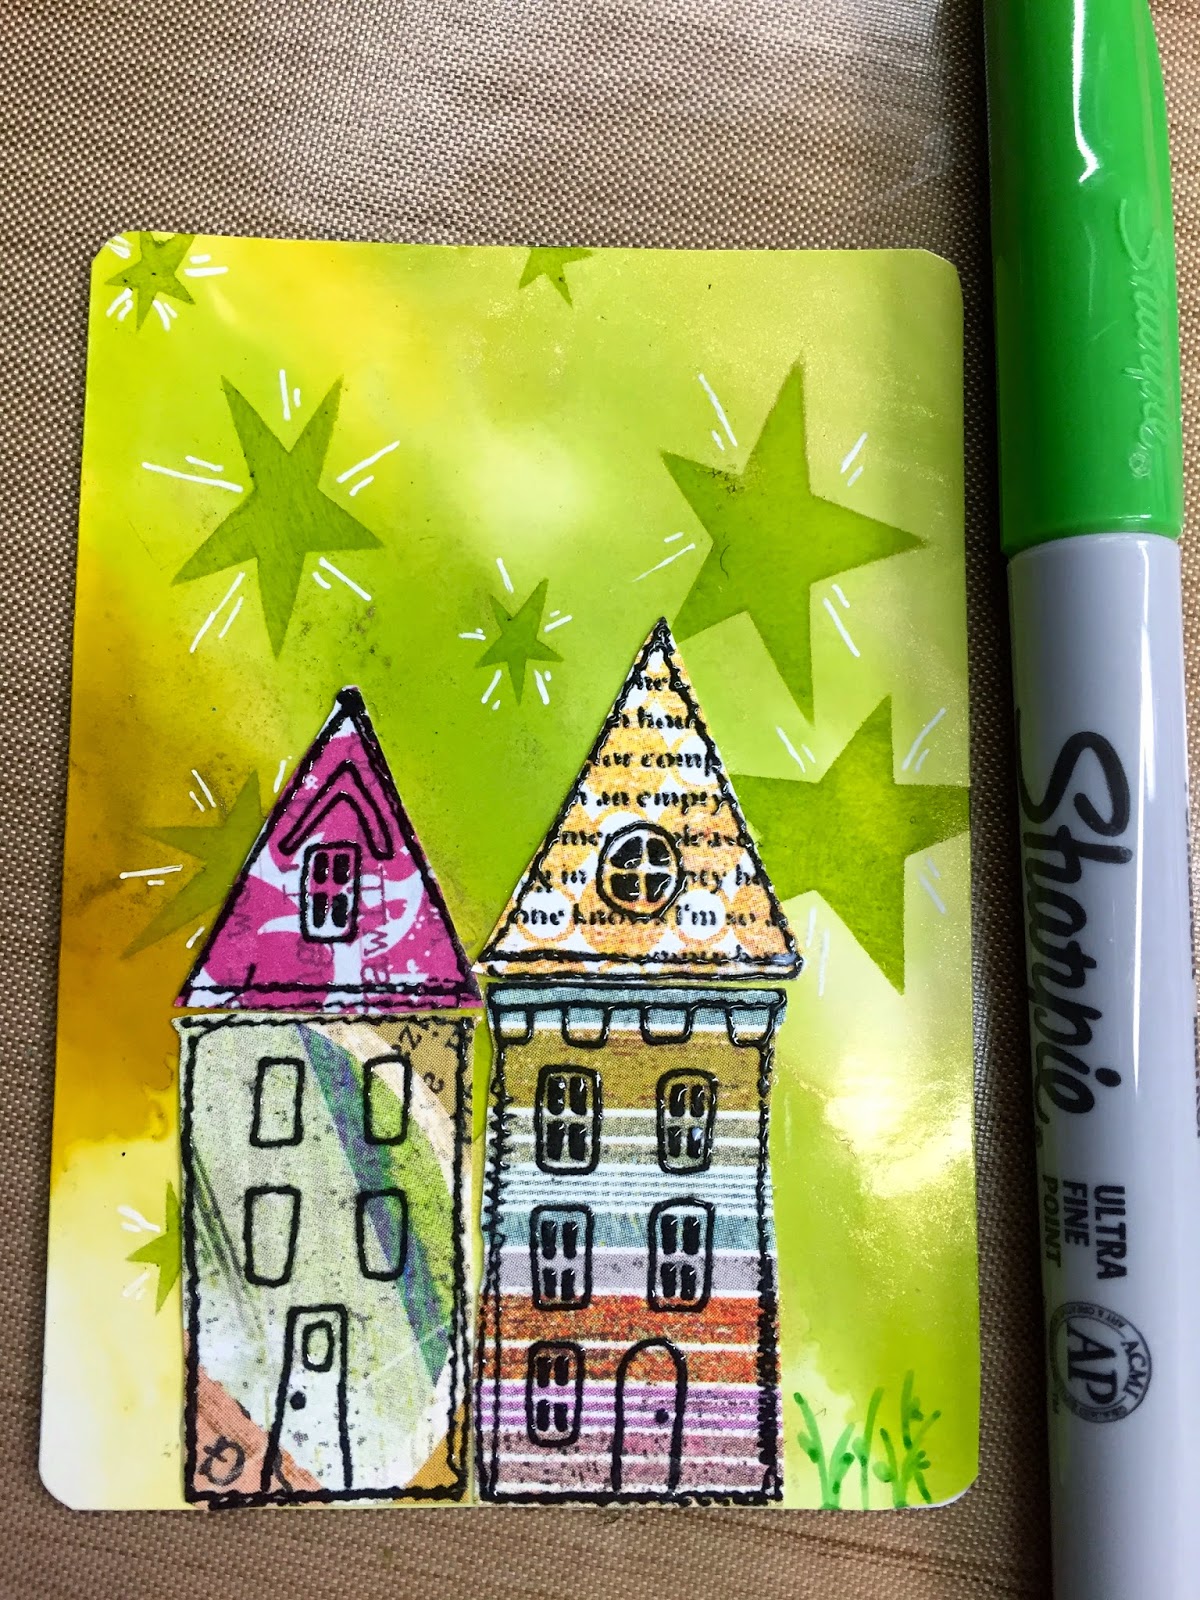
Playing with the first card I added some stenciling onto my background with a star stencil that I made myself
Using Archival Ink and a distress tool, I went to town
(I didn't have a start stencil that I liked, so I made my own with card stock and an exact knife lol, you should really try this one day, it's fun)


I really love how the archival ink goes onto this glossy background, it's almost transparent

Next I created some whimsy houses with printed card stock and  Janet Klein's new stamp Stitched Houses


I also used my gel pen to draw some "twinkles" around all my stars


Then I adhered my houses
I used permanent markers like Sharpie's and Bics
to draw stems and flowers

I used another permanent black marker by Faber Castell to draw a border around my card


and lastly I added my sentiment with Kate Crane's new stamp
Peace and Love
Here is my final card

For my second card, I used a stencil and archival green ink to create a background


I taped off the parts I didn't want on my card and used a distress tool to stencil


the green in the butterfly and grass really brings out the green in my background

Here I go using washi tape again LOL
I am going to use this thin washi tape around my edges


I got all carried away and forgot to take photos of the steps... so sorry
I added my washi tape around the edges and used a sentiment from a fortune cookie fortune
The Gnome guy is a stamp from Kira Nichols called 4 Dwarfy Gnomes - there are 4 of them but I only used one here
I just colored him with copic markers and cut him out
Here is my finished card


and here are my two cards together


This week was really fun, I bet it would be more fun with more re-inker colors, I need to get some more of them. 
Have fun and enjoy this week!!!
See you all next week, only a few more to go!!

Saturday, March 7, 2015

Her Soul Danced - Roc Nicholas Design Team Post

Welcome back to the blog and thanks for stopping by. Today is my day to post for the Roc Nicholas Design Team
I can't tell you how thrilled I am to be on this team, Roc's stamps are so fun and whimsical and I just love using them

By the way, have you seen Roc's new released stamps? 
Come by Stampotique and check them out, they are fabulous!


I started this canvas with acrylic paint and added a bit of white paint with a credit card over it


I then added loads of elements to make up my background, the black honeycombs is black embossing paste, applied through a stencil


For the row of houses at the bottom, I added words stamped with Roc's brand new stamp Roc's Tree
I also added flourishes around the edges of my canvas with Roc's stamp called Heart Vine

Here is a close up look at the row of houses


I then added my main images and Phrase


The two girls are stamps:

and the phrase is one of Roc's new stamps

On a side note - those beautiful wings are the art of Tanager Hammerface one of my wonderful artsy friends. I love her! You can check out her Facebook page here: Fairies and Finds She is amazing.

Thanks for coming by and make sure to check out all of Roc's stamps at Stampotique.com

Cheers!

Wednesday, March 4, 2015

Stampotique Challenge 185 - Use Numbers

Thanks for stopping by today. The new challenge over at Stampotique Designer's Challenge Blog is "Use Numbers" and our hostess is Jackie Payne

Here is what Jackie says about this challenge:
"Numbers have been around for a very long time! They feature so much in our lives! I would like you to incorporate a minimum of one number into your project! I hope you have fun"
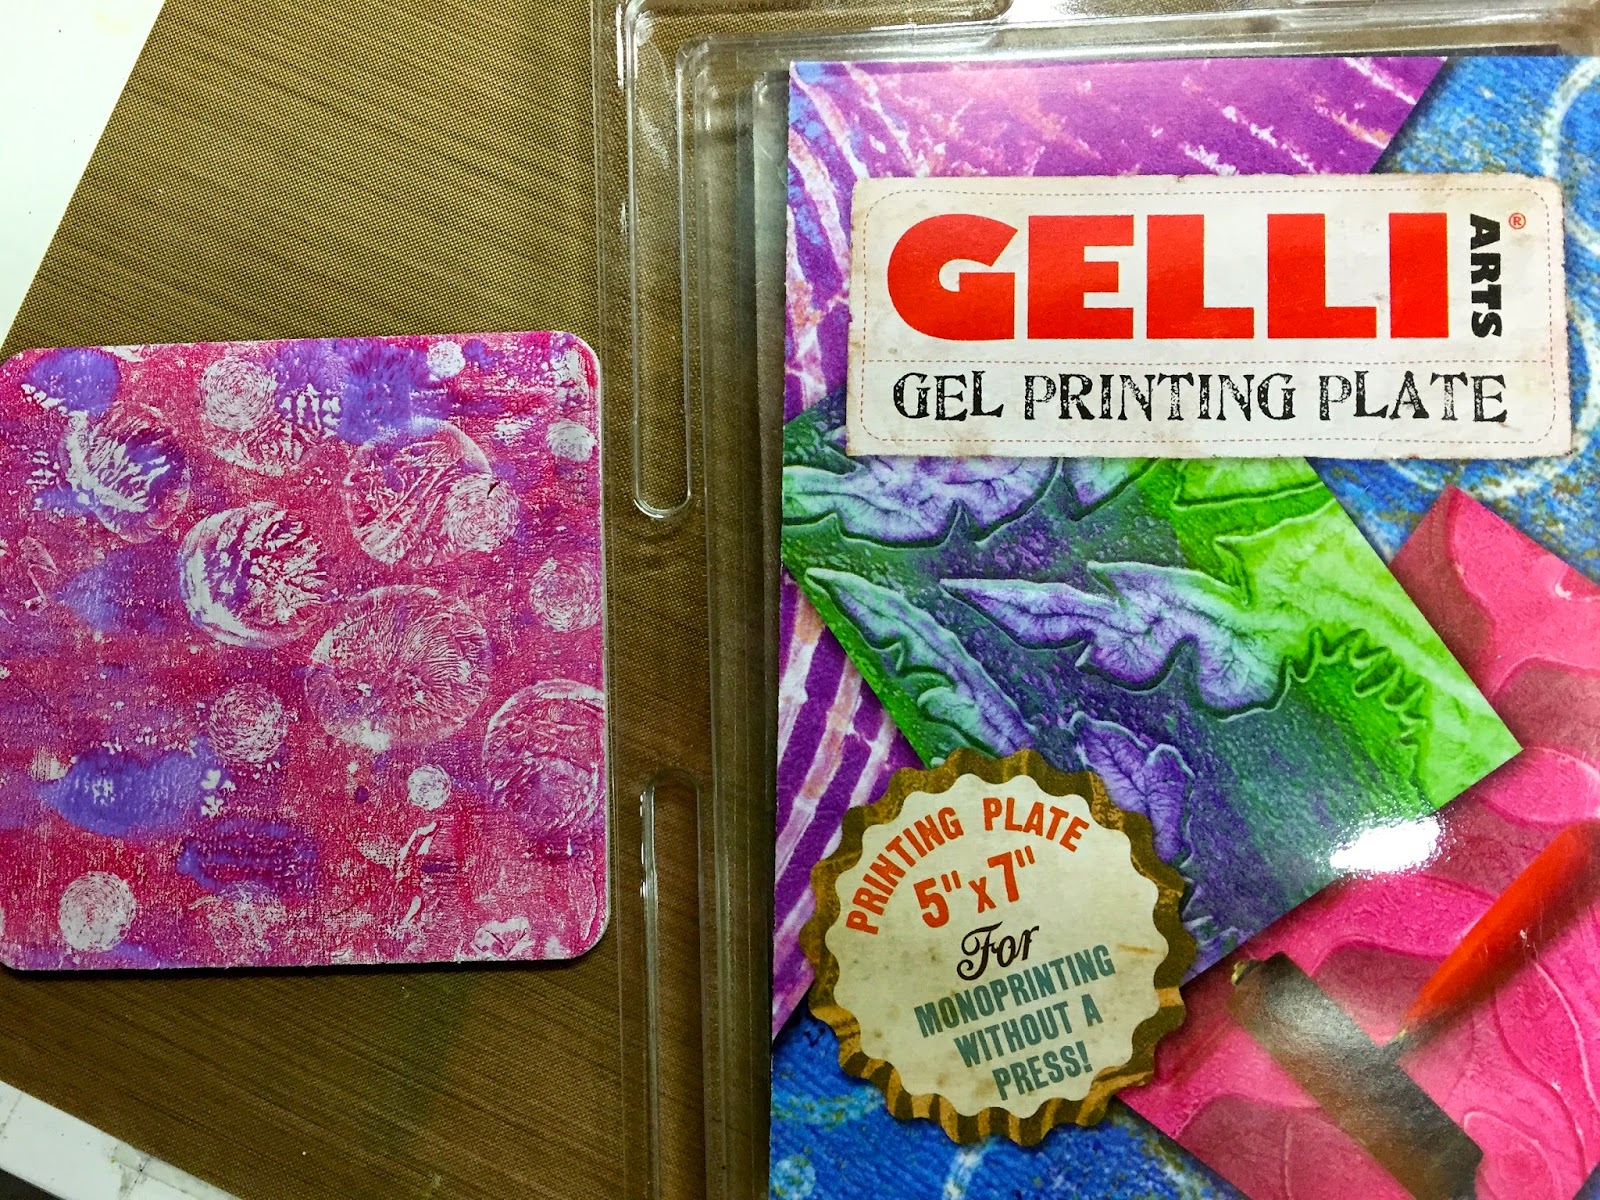
For this challenge I decided to make another coaster, this is my last one and I have a full set of 6 of them

I used my gelli plate for this background


I think the background came out so fun, I love it!

I added some stenciling with black archival ink and a number stencil

here is my finished coaster


I used new release Stampotique stamps:

Rudy and Roger - By artist Daniel Torrente

Here is a photo of all my coasters


I hope you will come by the  Stampotique Designer's Challenge Blog and join us for this fun challenge. You could win a 30.00 gift certificate to the online store